
Everyone feels a bit intimidated to make Italian meringue for the first time. The process of making it is simple, but many things can go wrong if we don't know the right tips. But no worry! In this post, I am guiding you through the simple steps and essential tips to make the perfect Italian meringue at home.
Let's get started. 💪🏻
📌 What is Italian Meringue?
Italian meringue is made by combining hot sugar syrup and whipped egg white. By heating egg white, it remains more stable and can hold its shape for a longer time than un-cooked meringue. It is often used for a variety of desserts, such as mousse, lemon meringue cake, lemon tarts, meringue cookies, etc.
How is Italian meringue different from French meringue?
French meringue is made by just whipping egg whites and sugar. It is the easiest type of meringue, yet the most unstable one since it's not heated. It is ideal for many baked desserts, such as sponge cakes, meringue cookies, souffle cakes, etc.
📌 3 Simple Ingredients to Make Italian Meringue
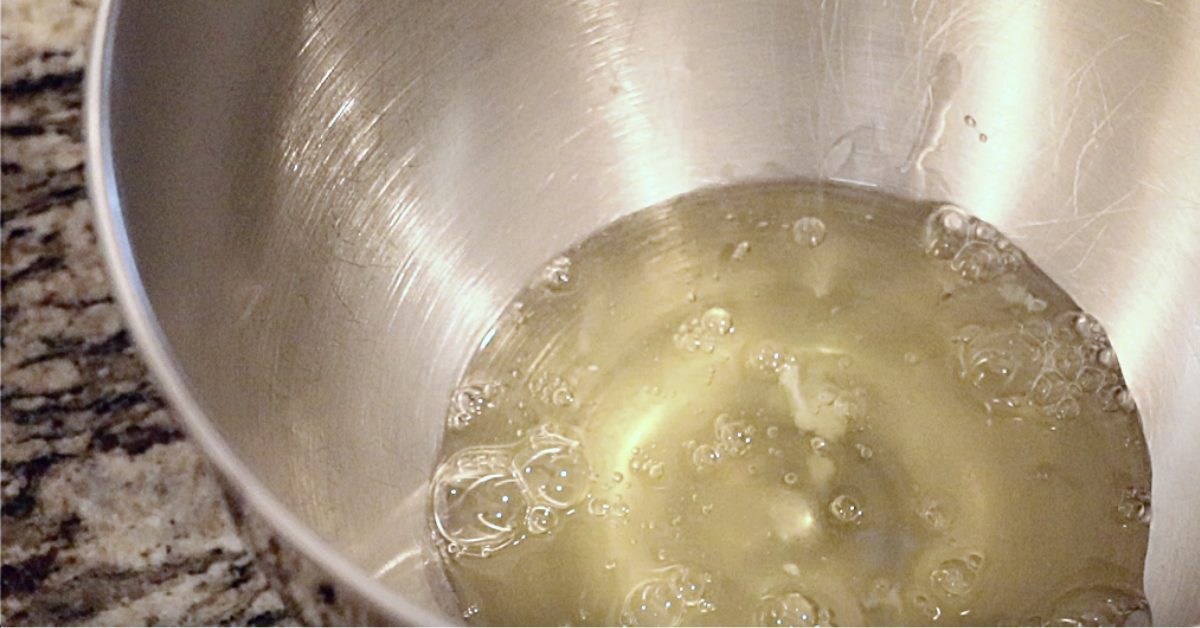
- Egg white: Ensure no oils (yolks, etc.) and liquids are mixed in the egg white since they prevent it from whipping well. I recommend using pasteurized eggs to avoid any risk of Salmonella.
- Granulated sugar: Use white sugar, such as granulated sugar and caster sugar.
- Water: We make hot sugar syrup by heating the sugar and water.
Can I add food coloring?
Yes! I recommend paste or gel food colorings - They color better and won’t affect the consistency much compared to liquid food coloring.
📌 4 Steps to Make Italian Meringue
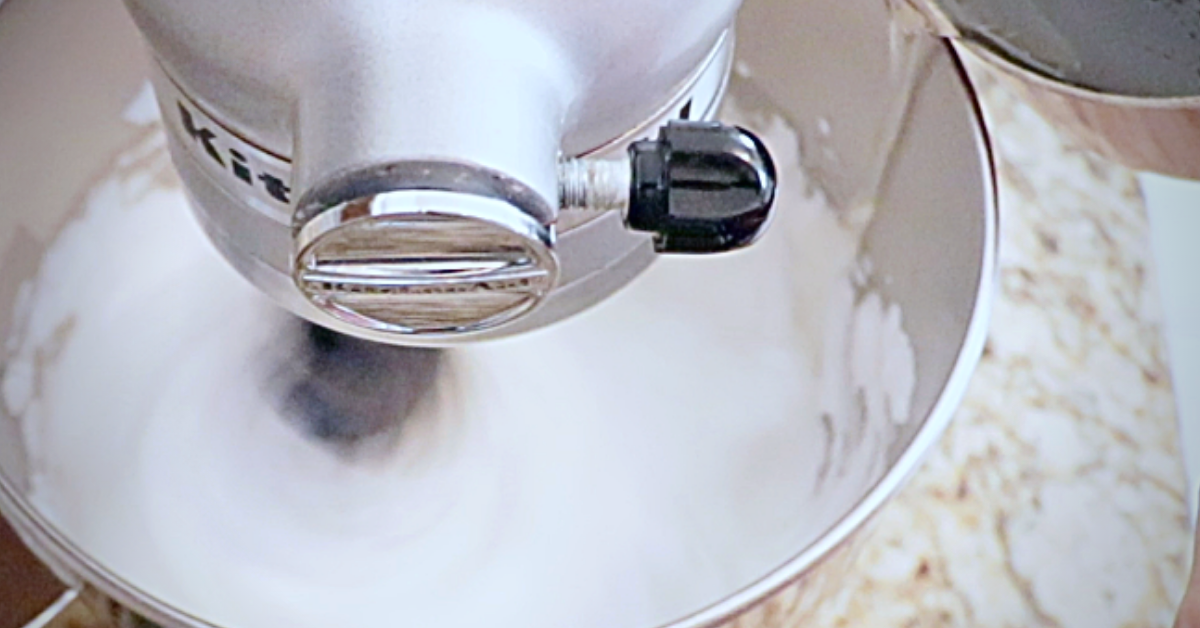
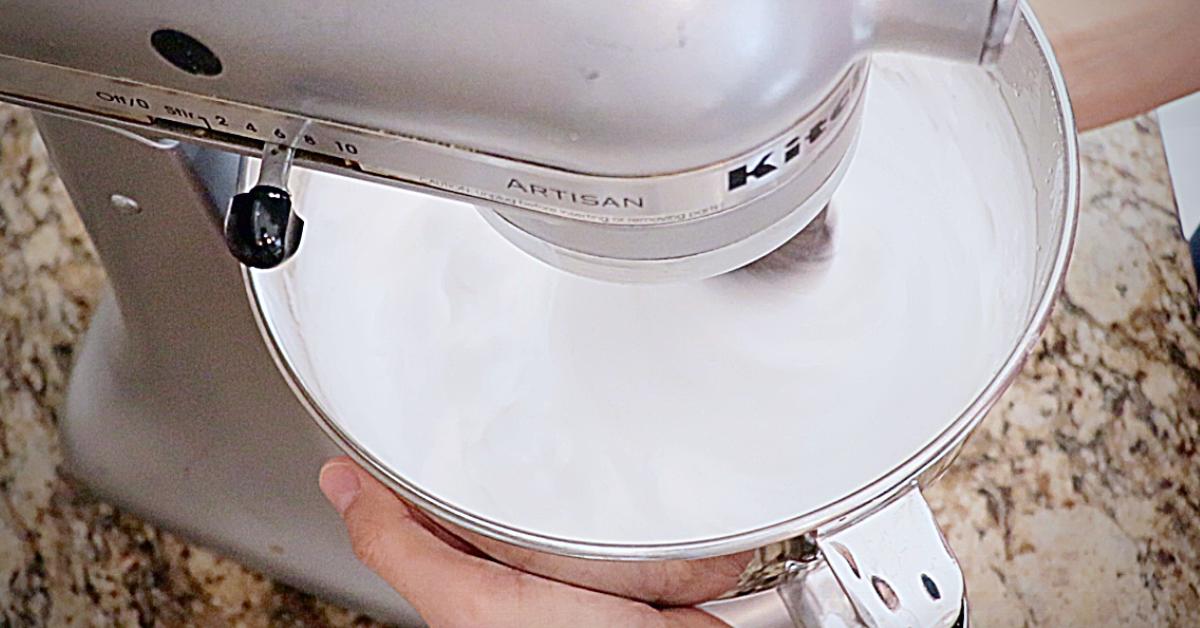
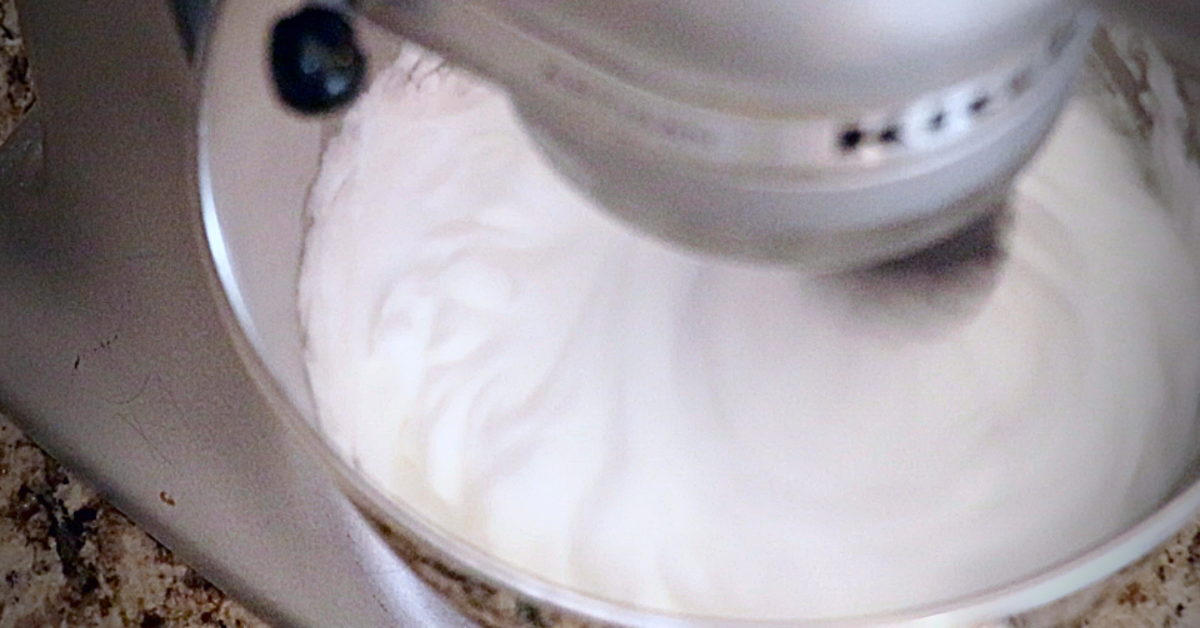
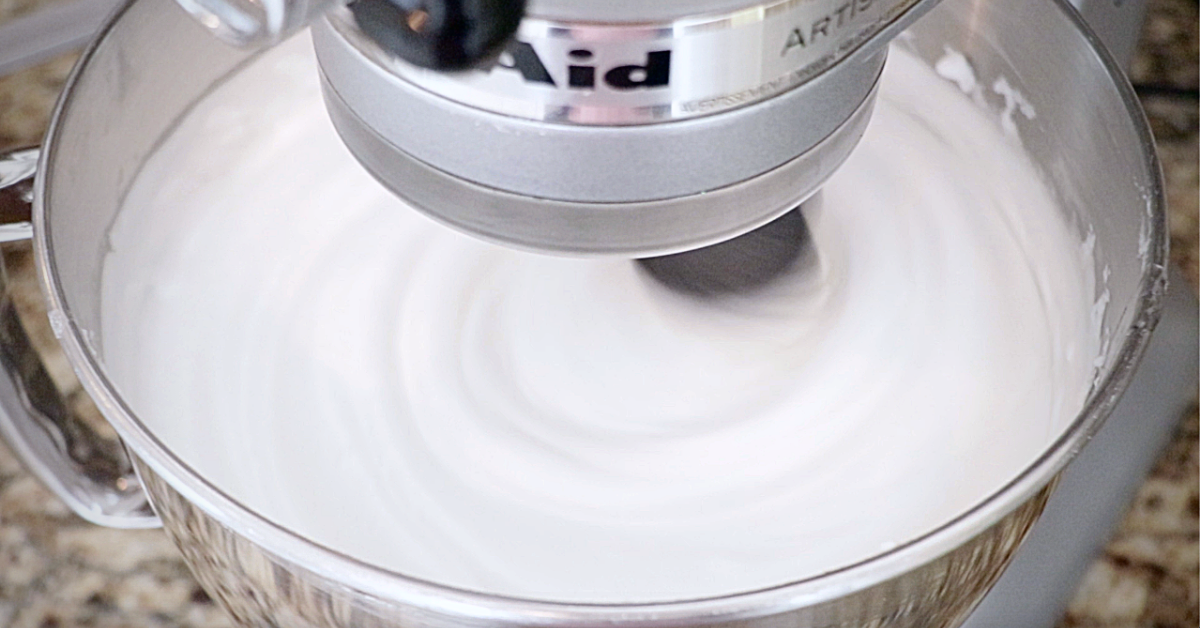
- Whip egg white in a bowl of a stand mixer with a whisk attachment until it gets very fluffy. (Mix it with low to high speed, adjusting the timing with the hot sugar syrup.) *Use a hand mixer when you don't have a stand mixer.
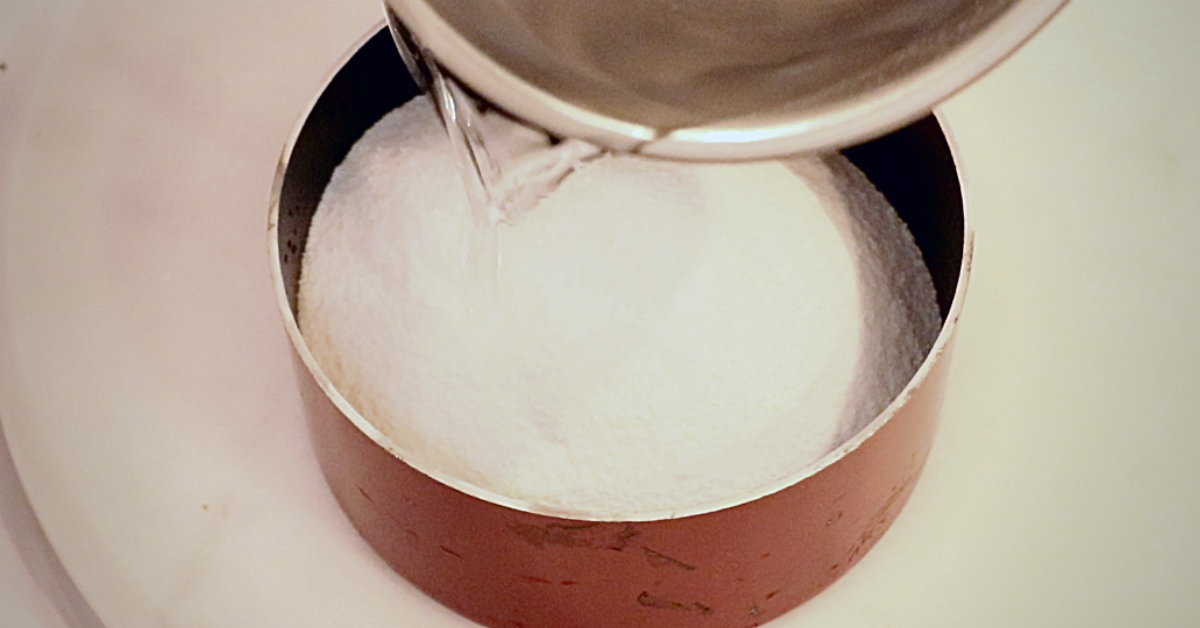
- Meanwhile, Make hot sugar syrup: Add sugar and water in a small saucepan. Ensure all the sugar is wet before heating. Heat it at medium heat until it reaches 244ºF | 118ºC. (Or between 242.6 - 246°F | 117 - 119°C.). Brush the sides of the pan with water using a pastry brush at least once or a few times while it's heated to avoid sugar crystalization. Don't shake the pot or touch the syrup while heating until it starts thickening slightly - Swirl the pot at the end to get an accurate temperature. Lower the heat toward the end to avoid overheating the syrup. Remove it from the heat right away once the syrup reaches the temperature.
- Add the hot syrup immediately to the fluffy meringue slowly from the side of a mixing bowl as you continue whipping it at high speed.
- Continue whipping it at high speed while the bowl feels hot. Turn it down to medium speed when it feels warm and medium-low speed when it's gently warm. Stop it when it cools down to room temperature. (or slightly warm)

📌 Essential Tips To Make Italian Meringue
Preparation
- Ensure all the tools are completely dry and clean with no oil, liquids, or chemicals attached - This is very important to make a fluffy meringue - Egg whites do not get whipped well when coming in contact with them. Even a small amount of them can affect the result! Egg yolks contain natural oil, so carefully separate eggs.
Meringue
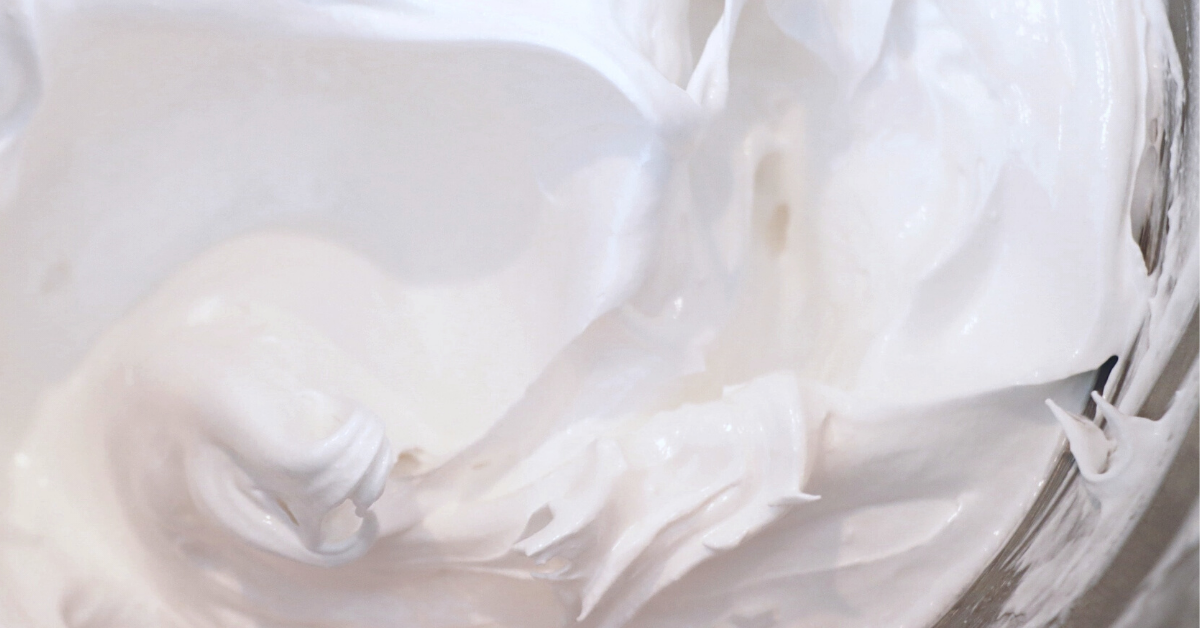
- Make a very fluffy meringue by the time the hot sugar syrup is ready. The timings are very important! The finished Italian meringue gets loose when the hot sugar syrup is added to the loose meringue. Also, do not over-whip the meringue until it gets separated. Pay close attention to both at the same time and control the timing. I usually start whipping it at a low speed and gradually increase the speed toward the end to adjust the timing.
Hot Sugar Syrup
- Ensure the sugar is completely wet before you heat the pot. It's essential to avoid the risk of sugar crystalization while heating it. Wash off any sugar attached to the sides with a pastry brush. (You can also cover a pot with a lid while heating it for the same effect instead of applying the water.)
- Don't shake a pot or touch the syrup while heating it until it starts to thicken slightly. It could also cause sugar crystallization by lowering the temperature of the syrup or letting it touch the air. We'll need a little patience here!
- Heat it to 244ºF | 118ºC. (Or between 242.6 - 246°F | 117 - 119°C.) to make a stable, stiff meringue. Aim for 242.6ºF (117°C) for a slightly softer meringue and 246°F (119°C) for a slightly stiffer one. The meringue can get too loose by heating less or too stiff and grainy by heating more than the range.
- The sugar syrup gets too thick and sticky quickly as the temperature goes down. Don't wait more than 5 - 10 seconds before you pour it into the meringue.
Can I make Italian meringue without a candy thermometer?
I highly recommend using a candy thermometer to get the most accurate temperature. You can also check the temperature by hand by following the steps below:
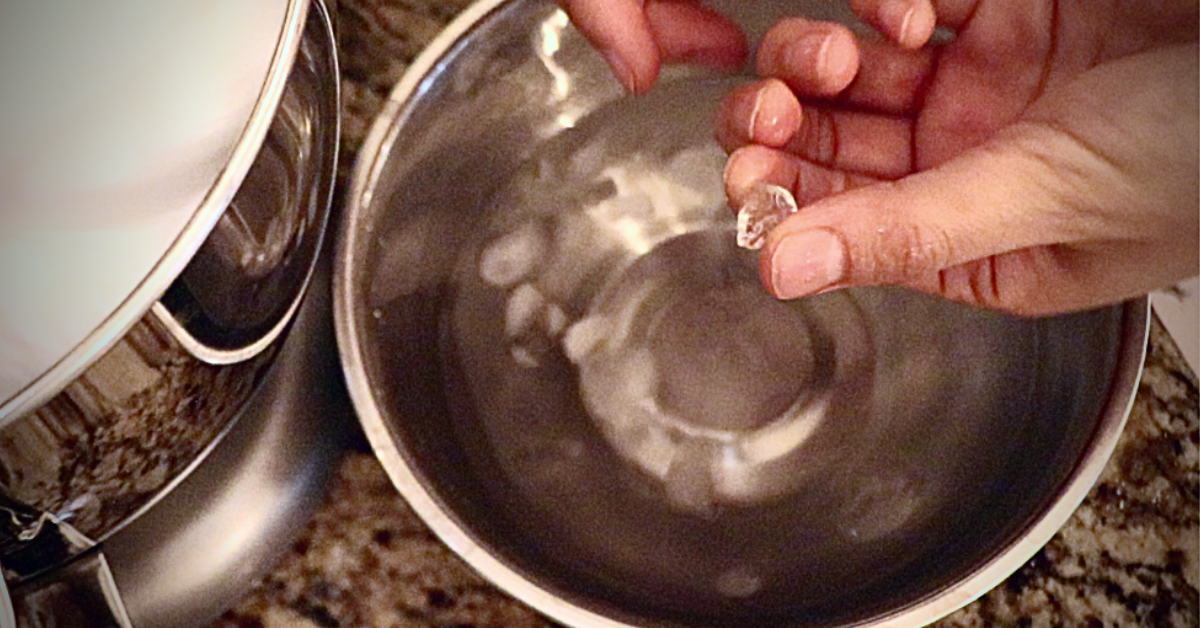
How to check if the hot sugar syrup reached 244ºF (118ºC) without a thermometer:
- Prepare icy water in a bowl.
- Drop a small amount of the hot syrup into ice water using a spoon.
- Wait for a second until it cools down completely.
- Squish with your fingers. It should be firm but still elastic enough to form a ball, like clay. (See an image below.)
But the tricky part is, that the temperature often rises a bit too much while checking the consistency, even when removing the pot from the heat. Try to check quickly when you need to do this method.
Finishing Italian Meringue
- Add the sugar syrup to the meringue slowly, letting it slide down from the side of the bowl. The syrup gets picked up by a whisk more easily that way to let it incorporate well with the meringue. When pouring hot syrup onto the top of a whisk, for example, it could scatter everywhere or stick to the whisk. When adding a lot of it at once, it could sink to the bottom of the bowl.
- Flip a pan toward the end to drop all the sugar syrup in a pot. Leaving too much sugar in a pot can mess up the ratio.
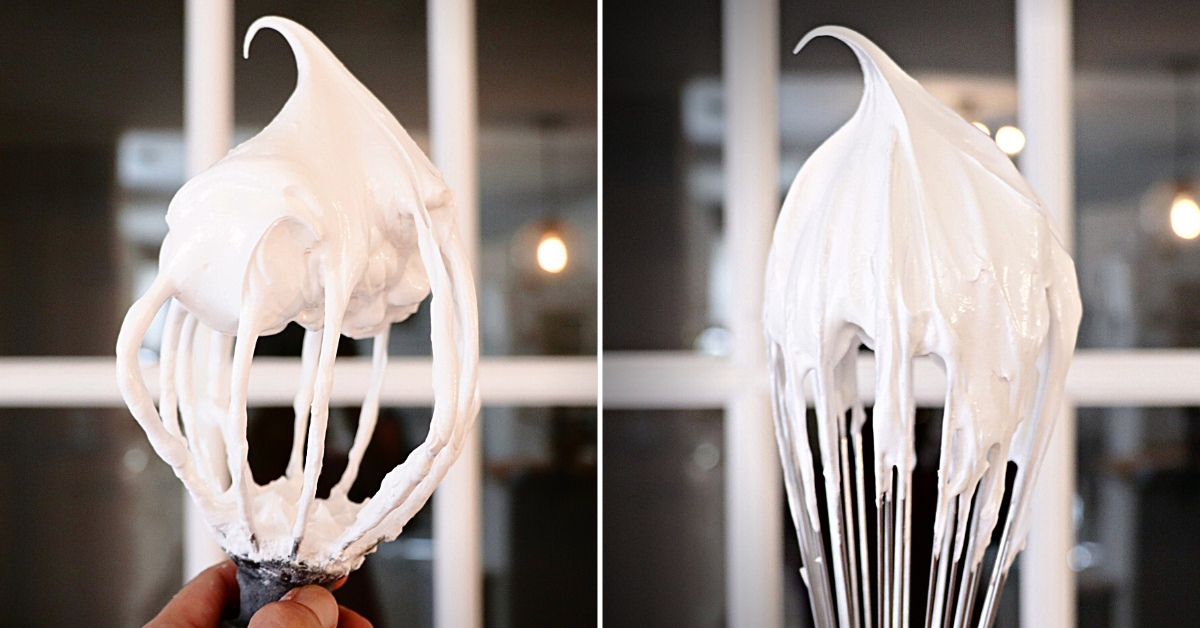
- Continue whipping at high speed initially to make a very fluffy Italian meringue. The bowl or the meringue feels very hot at this point.
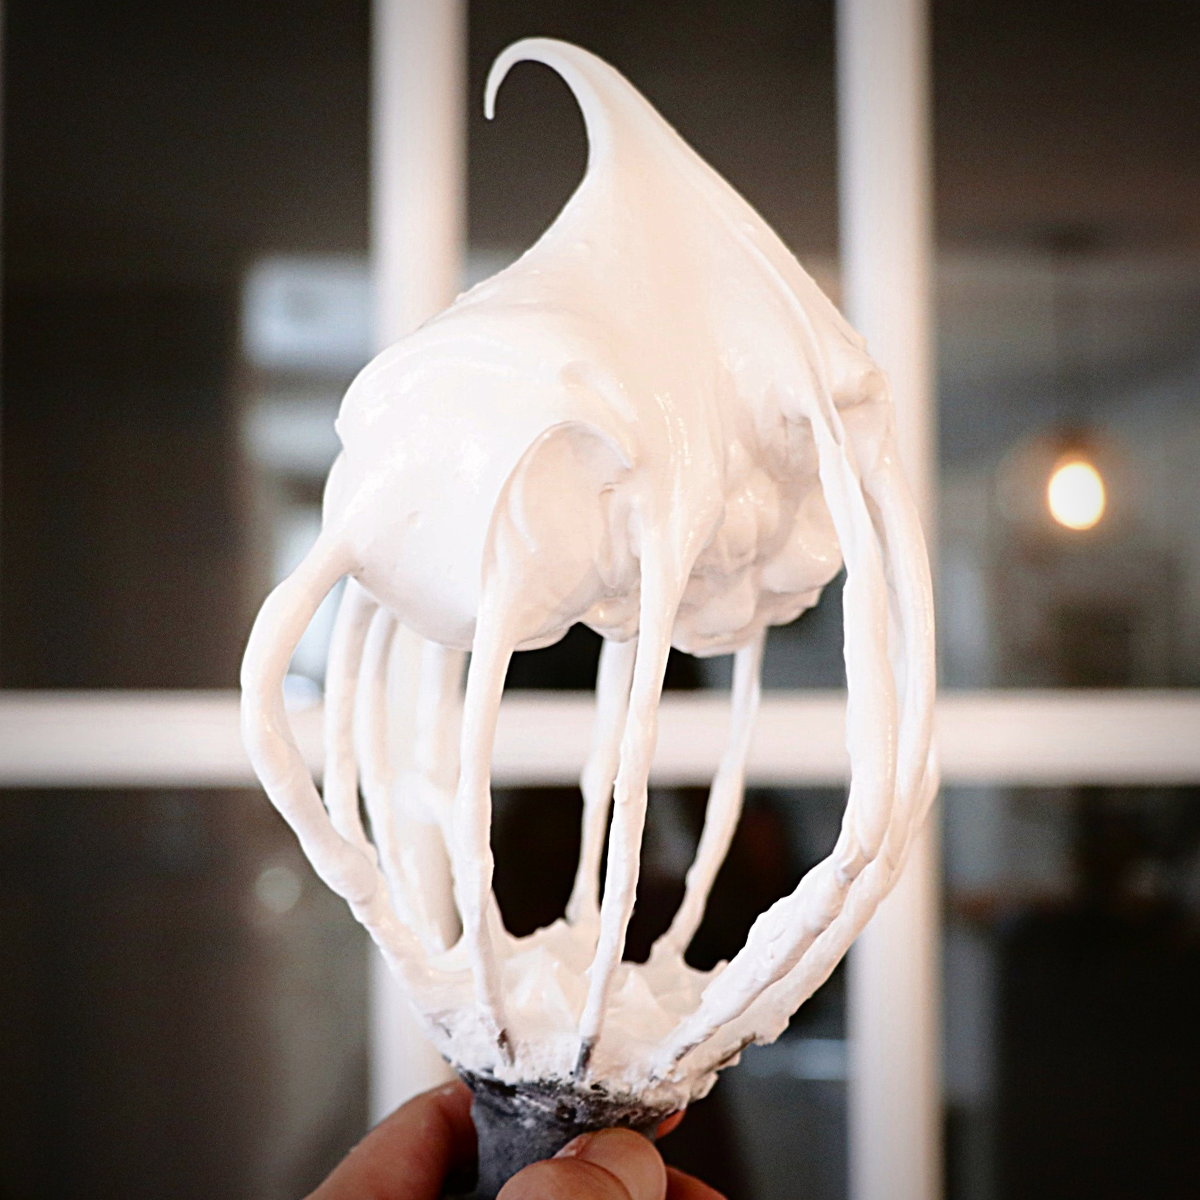
- Stop whipping it when it cools down to room temperature. (Very slightly warm is fine when you are piping it. The temperature goes down by the time you finish piping or frosting.) It'll slowly lose the volume if you continue whipping it after it cools down.
- Use it right away: It is important to use it right after the Italian meringue is made while it's still elastic. The meringue gets set and hard as it sits and it'll collapse by trying to re-mix it.
📌 Uses for Italian Meringue
Use Italian meringue for a variety of desserts, such as:
- Italian buttercream: The buttercream is so fluffy and stable. It is made by combining Italian meringue and butter.
- Meringue tart (pie): Lemon meringue tart is one of my favorite desserts! The fluffy meringue is a perfect addition to the tangy and creamy lemon curd and crispy tart crust.
- Mousse: The fluffy meringue creates a light and airy mousse. I often add it to fruit mousse, such as strawberry mousse, raspberry mousse, etc.
- Frosting for a whole cake: You can frost a cake with meringue to create a unique, crowd-like look. Torch the surface with a kitchen torch to make it look more dynamic. One of the most famous cakes is a baked Alaska, covering ice cream with fluffy meringue!
- Decorations: Pipe it on plated desserts and cakes to make them look very fancy!
- Macaron with Italian method: You can add French, Italian, or Swiss meringue to make macarons. Italian meringue is my go-to since it gives a nice shine to the surface of macarons with a thick body and fluffy texture without making them taste too sweet.
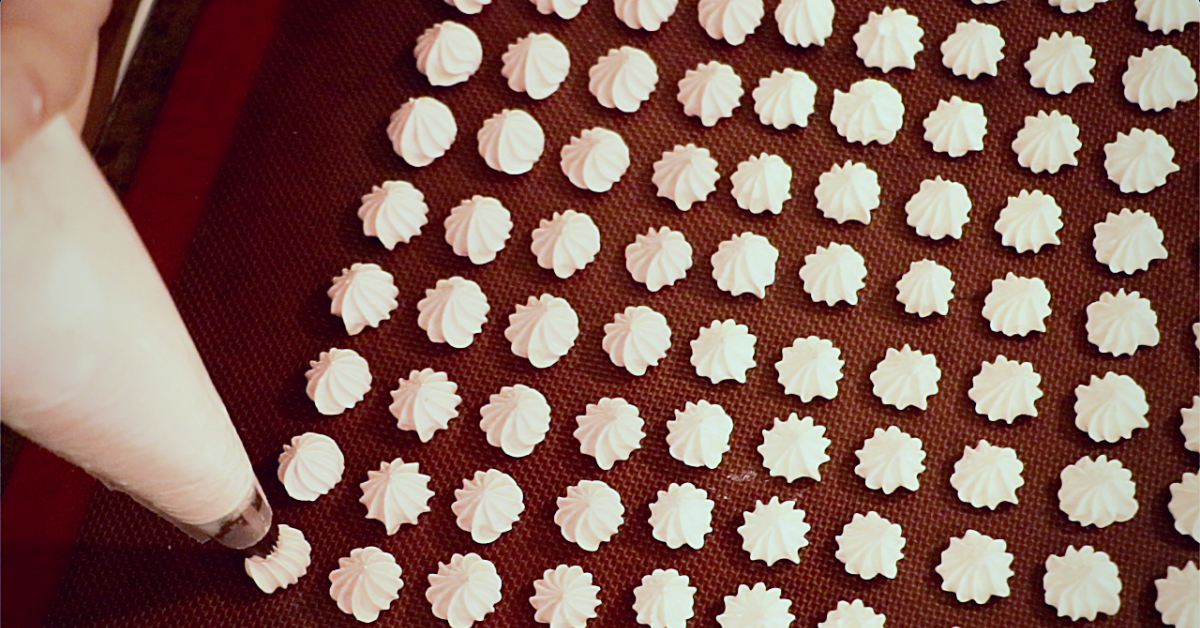
- Meringue cookies: The quick & easy meringue cookie is lightly crispy and quickly melts in a mouth. It'll be a great snack for kids and family. Check below to see how to make them in a few simple steps!
- Pipe the Italian meringue with a piping bag right after it's made. Pipe them small if you want them to cook up faster.
- Bake at 210 - 220ºF (100 - 105ºC) for 1 - 3 hours, depending on the size. Gently touch the surface to check if it's baked enough. It should feel dry and firm. Cool them before eating.
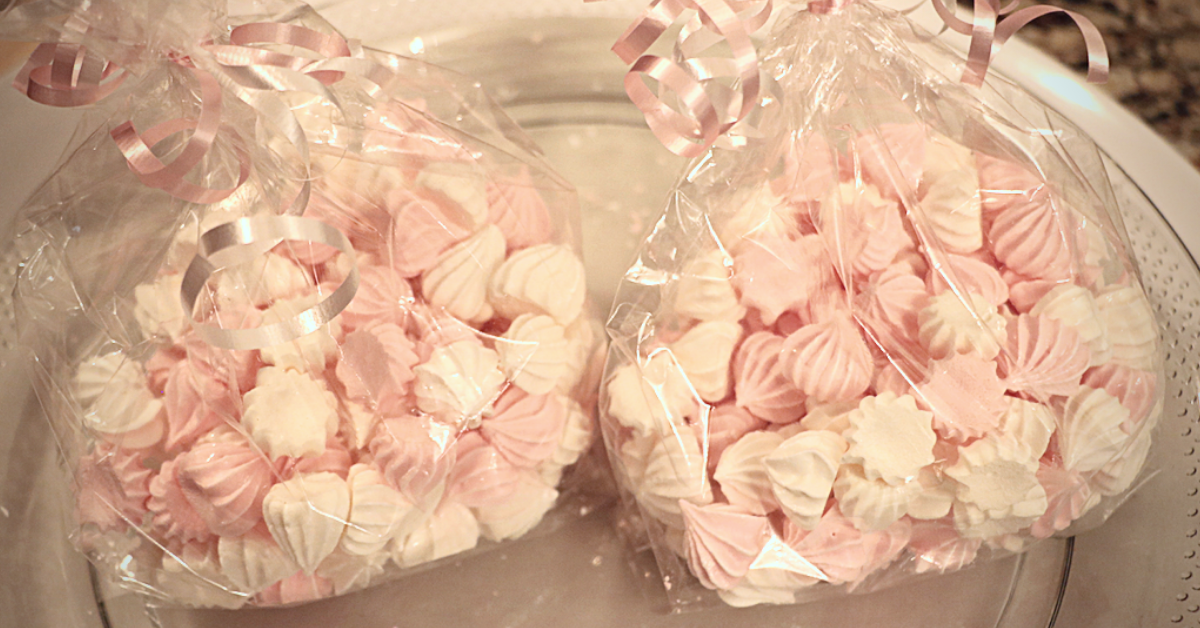
How to store meringue cookies
Store them in an airtight container with silica gel. Any type of meringue gets sticky after a few hours or earlier, depending on the humidity in the room because it likes to soak humidity fast. The silica gel soaks all the moisture in the air so that meringue can not.
Why are meringue cookies still very sticky after baking them for a long time?
Here are the possible causes I can think of:
- The temperature was not high enough with the oven. Each oven is different. Try a slightly higher temperature if it's taking too long.
- It needed more time to cook through the center because the cookies were large.
- The meringue was loose. It happens when:
- The temperature of the syrup was not high enough.
- The meringue was not whipped enough before adding syrup.
- liquid or oil mixed in the bowl, etc.
📌 Frequently Asked Questions
Why is my Italian meringue loose?
There are some possible causes you can think of, such as:
- The meringue was loose before adding the hot sugar syrup.
- The temperature of the syrup was too low.
- It was whipped for too long.
- There were oil, liquids, or chemicals attached to the tools or ingredients.
Why is my Italian meringue grainy?
The hot sugar syrup hardens quickly and leaves sugar crystals in the finished meringue when the temperature is too high.
Can I reduce the amount of sugar?
It’s possible, but I wouldn't recommend reducing it too much. With less sugar, the meringue is less stable and can't hold its shape as much.
Can I make Italian meringue with a hand mixer?
Yes, you can use a hand mixer if you don't have a stand mixer. Whip the meringue right next to the hot syrup so that you can check the temperature at the same time. Pour the hot sugar syrup slowly from the side of the bowl while whipping the Italian meringue constantly at high speed with the other hand. All the other tips apply the same. Whipping it until it cools down takes some time, but it's certainly possible!
Can I make a half batch of the recipe?
Yes. But the whisk can not pick up the syrup well and ends up in runnier meringue oftentimes, especially when you are using a stand mixer. To prevent that, try the list below:
- Use a smaller bowl (if it's possible).
- Ensure that the meringue looks very fluffy before you add syrup.
- Whip it well at ultra-high speed while adding syrup and after adding it until it starts to cool down.
- Use a very small saucepan for the sugar syrup to make it successful.
📌 More Frosting Recipes
Check out other frosting recipes to complete your cakes!
- Italian Meringue Buttercream
- Swiss Meringue Buttercream
- Cream cheese buttercream frosting
- Lemon buttercream frosting
📌 VIDEO: Watch How To Make It!
To see how to make Italian meringue visually and get a better understanding of all, check out the video tutorial:
Don't forget to subscribe if you liked it😉
📌 Printable recipe
💬 If you loved this Italian meringue recipe, please share your feedback on this post! I always love hearing how you enjoyed it with your friends and family.
Perfect Italian Meringue
Equipment
- Stand mixer with a whisk attachment or hand mixer
- Small saucepan
- Pastry brush
- Thermometer
Ingredients
- 7.9 oz Egg white
- 15.9 oz Granulated sugar
- 5.3 oz Water
Instructions
4 Steps to Make Italian Meringue
- Whip egg white in a bowl of a stand mixer with a whisk attachment until it gets very fluffy. (Mix it with low to high speed, adjusting the timing with the hot sugar syrup.) *Use a hand mixer when you don't have a stand mixer.7.9 oz Egg white
- Meanwhile, Make hot sugar syrup: Add sugar and water in a small saucepan. Ensure all the sugar is wet before heating. Heat it at medium heat until it reaches 244ºF | 118ºC. (Or between 242.6 - 246°F | 117 - 119°C.). Brush the sides of the pan with water using a pastry brush at least once or a few times while it's heated to avoid sugar crystalization. Don't shake the pot or touch the syrup while heating until it starts thickening slightly - Swirl the pot at the end to get an accurate temperature. Lower the heat toward the end to avoid overheating the syrup. Remove it from the heat right away once the syrup reaches the temperature.15.9 oz Granulated sugar, 5.3 oz Water
- Add the hot syrup immediately to the fluffy meringue slowly from the side of a mixing bowl as you continue whipping it at high speed.
- Continue whipping it at high speed while the bowl feels hot. Turn it down to medium speed when it feels warm and medium-low speed when it's gently warm. Stop it when it cools down to room temperature. (or slightly warm)Check the note section for other essential tips to make Italian meringue.
Video
Notes
Essential Tips To Make Italian Meringue
-
PreparationEnsure all the tools are completely dry and clean with no oil, liquids, or chemicals attached - This is very important to make a fluffy meringue - Egg whites do not get whipped well when coming in contact with them. Even a small amount of them can affect the result! Egg yolks contain natural oil, so carefully separate eggs.
-
MeringueMake a very fluffy meringue by the time the hot sugar syrup is ready. The timings are very important! The finished Italian meringue gets loose when the hot sugar syrup is added to the loose meringue. Also, do not over-whip the meringue until it gets separated. Pay close attention to both at the same time and control the timing. I usually start whipping it at a low speed and gradually increase the speed toward the end to adjust the timing.
-
Hot Sugar Syrup* Ensure the sugar is completely wet before you heat the pot. It's essential to avoid the risk of sugar crystalization while heating it. Wash off any sugar attached to the sides with a pastry brush. (You can also cover a pot with a lid while heating it for the same effect instead of applying the water.)* Don't shake a pot or touch the syrup while heating it until it starts to thicken slightly. It could also cause sugar crystallization by lowering the temperature of the syrup or letting it touch the air. We'll need a little patience here!* Heat it to 244ºF | 118ºC. (Or between 242.6 - 246°F | 117 - 119°C.) to make a stable, stiff meringue. Aim for 242.6ºF (117°C) for a slightly softer meringue and 246°F (119°C) for a slightly stiffer one. The meringue can get too loose by heating less or too stiff and grainy by heating more than the range.* The sugar syrup gets too thick and sticky quickly as the temperature goes down. Don't wait more than 5 - 10 seconds before you pour it into the meringue.
-
Finishing Italian Meringue* Add the sugar syrup to the meringue slowly, letting it slide down from the side of the bowl. The syrup gets picked up by a whisk more easily that way to let it incorporate well with the meringue. When pouring hot syrup onto the top of a whisk, for example, it could scatter everywhere or stick to the whisk. When adding a lot of it at once, it could sink to the bottom of the bowl.* Flip a pan toward the end to drop all the sugar syrup in a pot. Leaving too much sugar in a pot can mess up the ratio.* Continue whipping at high speed initially to make very fluffy Italian meringue. The bowl or the meringue feels very hot at this point.* Stop whipping it when it cools down to room temperature. (Very slightly warm is fine when you are piping it. The temperature goes down by the time you finish piping or frosting.) It'll slowly lose the volume if you continue whipping it after it cools down.* Use it right away: It is important to use it right after the Italian meringue is made while it's still elastic. The meringue gets set and hard as it sits and it'll collapse by trying to re-mix it.
Leave a Reply