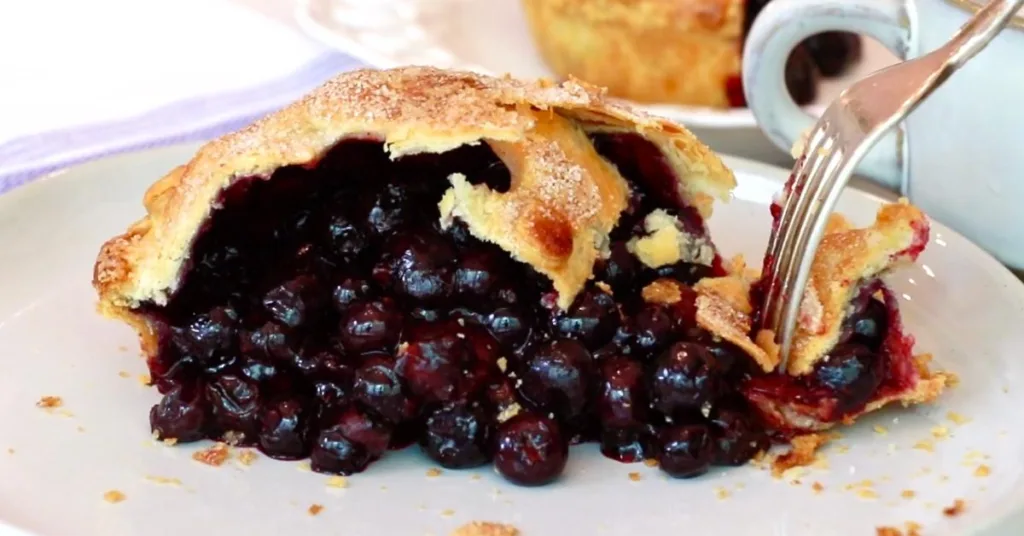
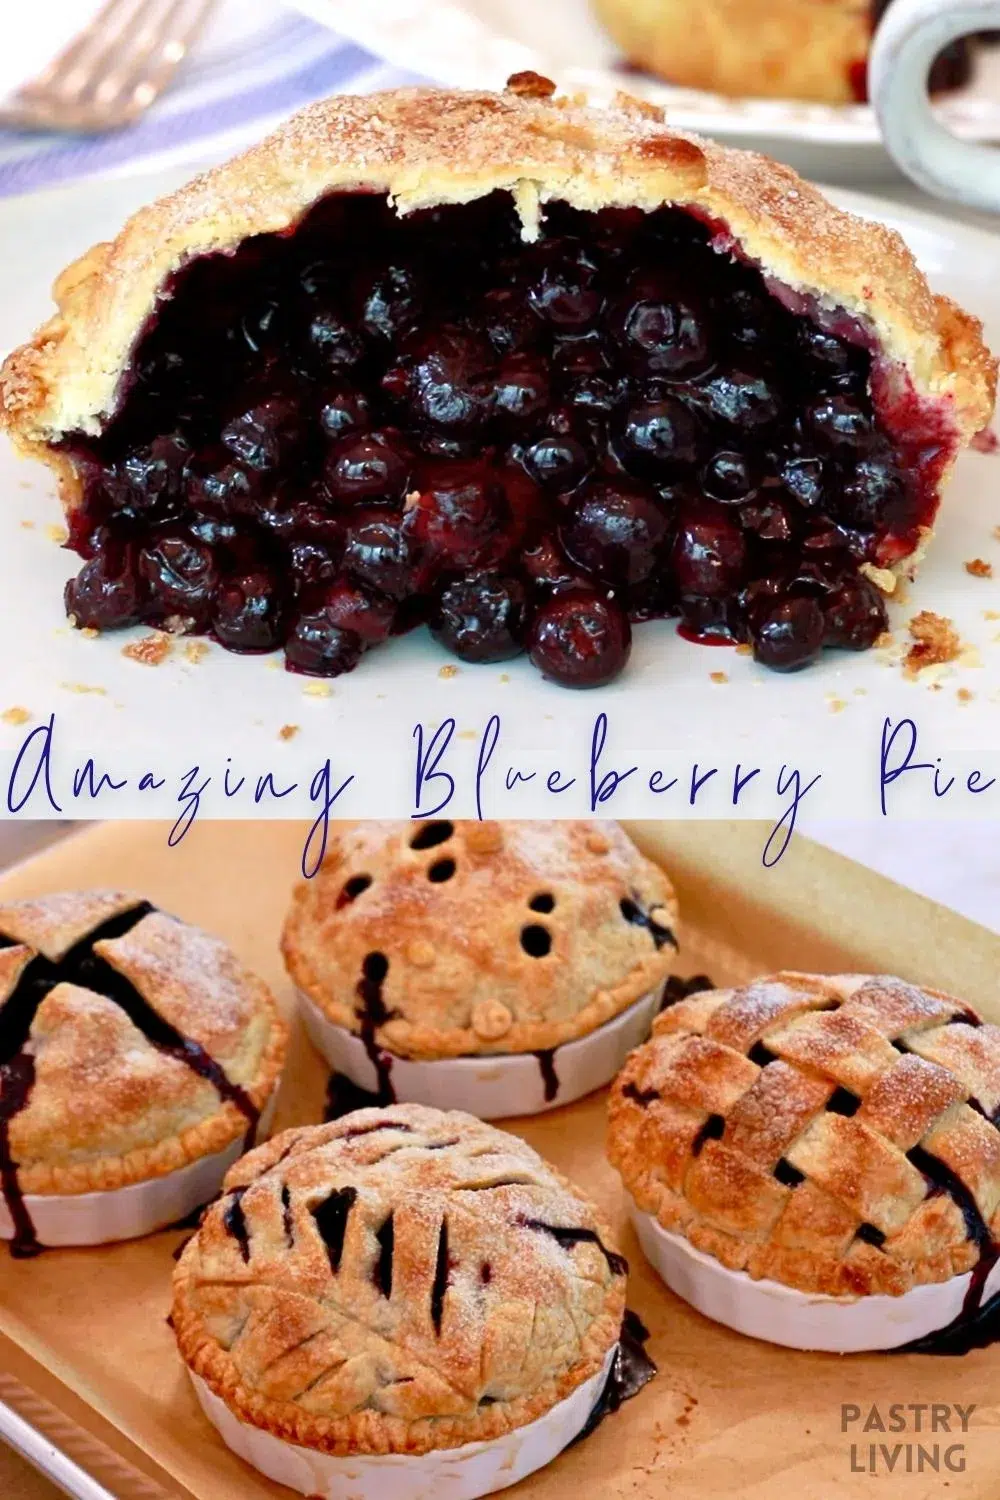
Every now and then, I crave homemade blueberry pie... especially after I created this recipe. The juicy blueberry filling and perfectly flaky crust taste heavenly together.
I am breaking down the steps and essential tips with detailed images and a video so you can make it successful at home!
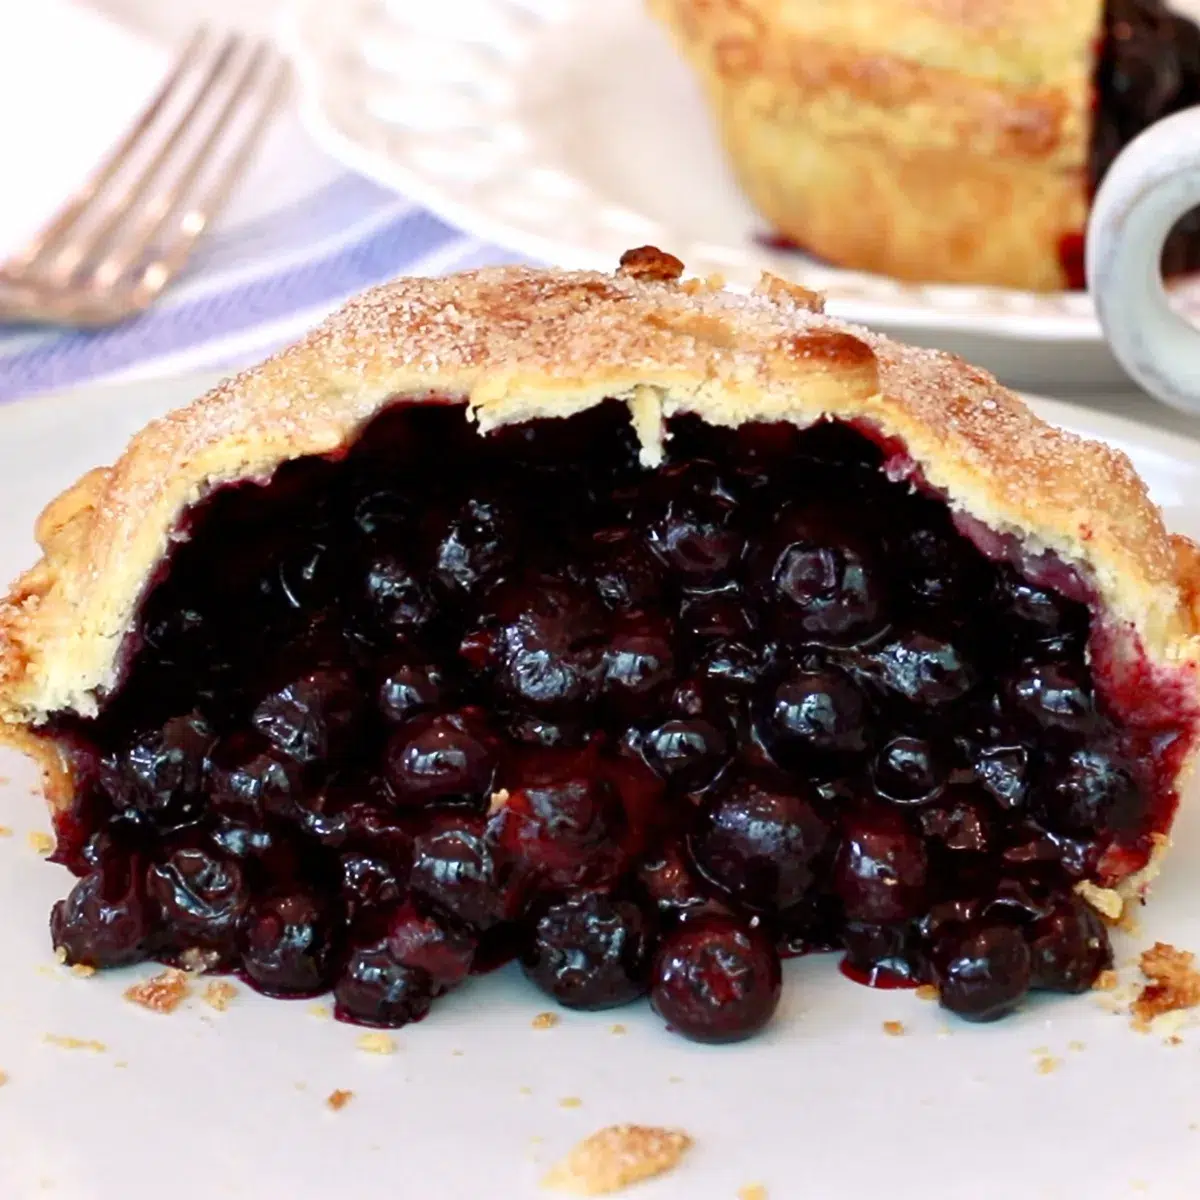
📌 What I love about this blueberry pie:
- It's perfectly sweetened.
- The splash of lemon zest and cinnamon adds another depth to the flavor.
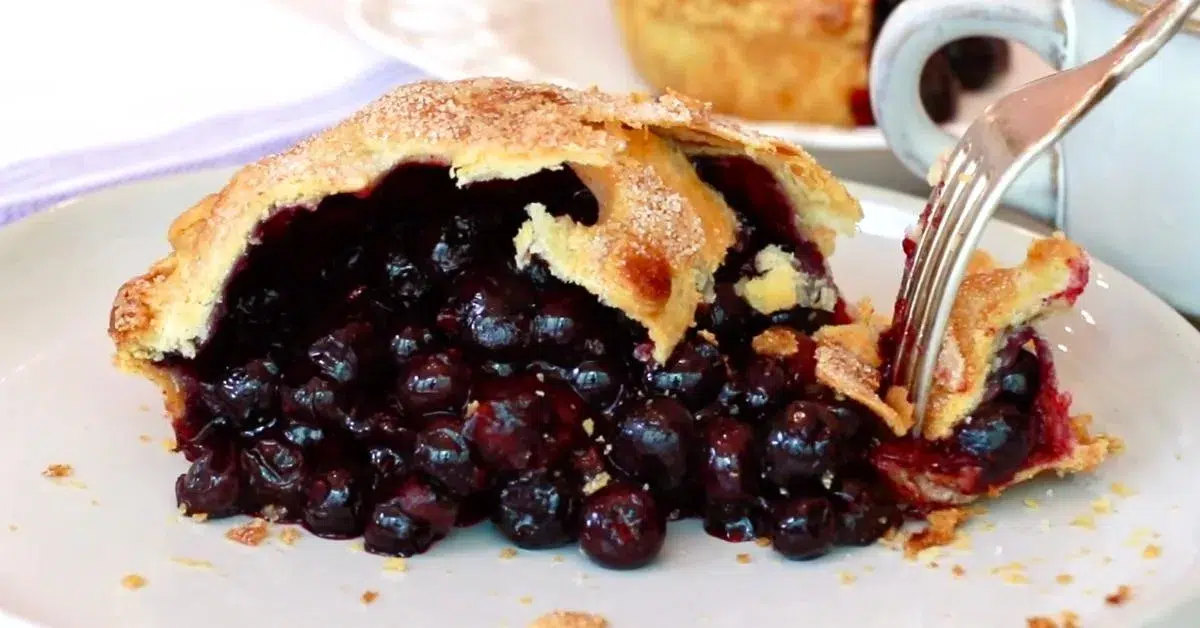
- It is juicy but not runny.
- You can enjoy it in many sizes and shapes.
💬 The best part is the crust: It is incredibly flaky and crispy and goes amazing with the filling. It makes this pie truly exceptional!
📌 What you'll learn in this post:
In this post, you'll learn essential baking tips, such as:
- How to set the dough on a plate
- Tips for maximizing the flaky crispiness of the crust
- How to avoid soggy pie crust.
- How to judge if it's baked enough
... and much more!
📌 What's In Blueberry Pie?
Pie Dough
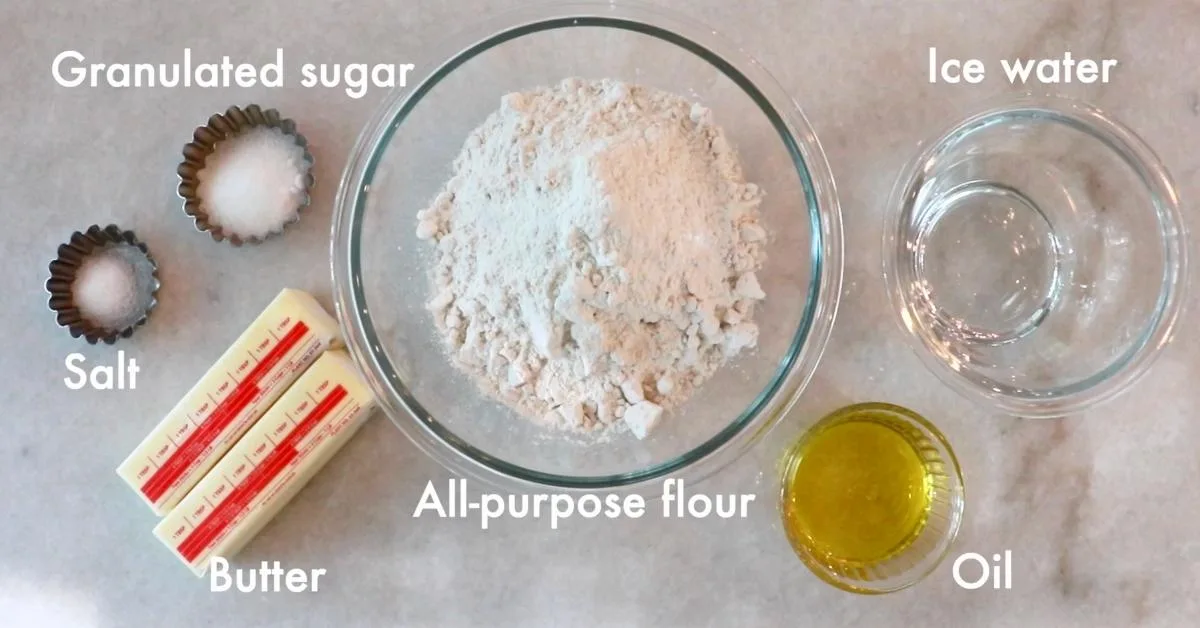
- All-purpose flour
- Granulated sugar
- Salt: It enhances all the flavor in the crust and filling.
- Unsalted butter: Use cold butter.
- Icy water: Use very cold water to keep the butter firm.
- Oil: It is my secret ingredient to make the flakier, lightly crispy crust.
The Filling
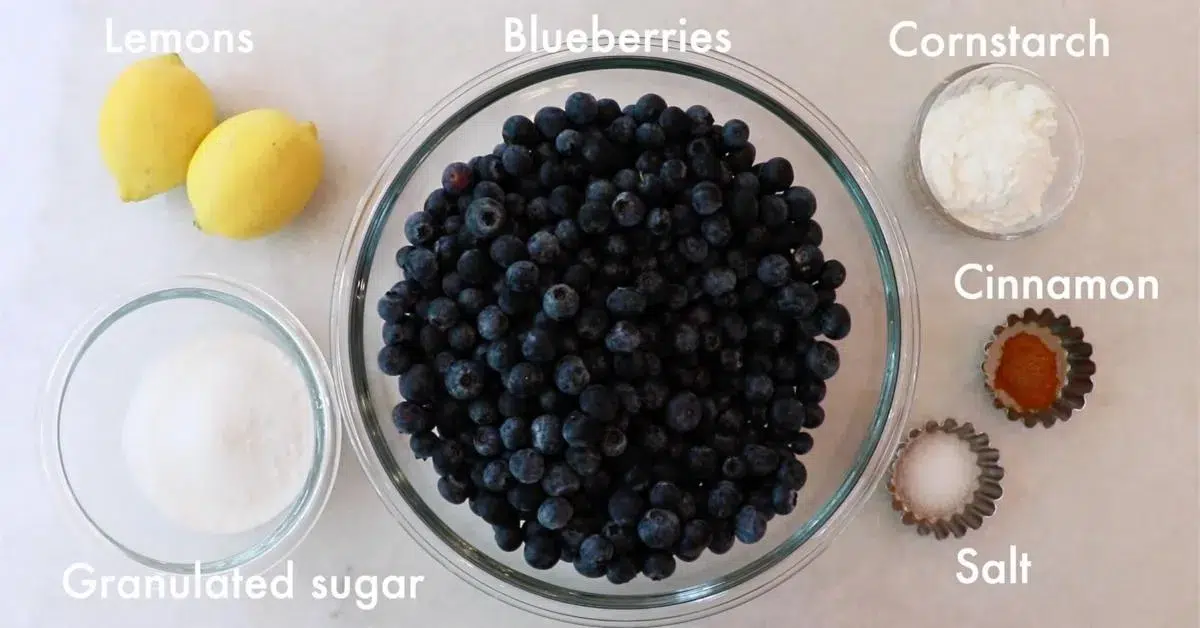
- Granulated sugar: I don't add a lot of sugar to blueberry pie, but the filling is sweetened perfectly since blueberries feel sweeter after they are warmed.
- Salt: It adds depth to the flavor.
- Cornstarch: Cornstarch thickens the filling.
- Cinnamon powder: It surprisingly matches so well with blueberries. It adds depth in flavor.
- Lemon zest: The refreshing flavor matches perfectly with blueberries.
- Blueberry: You can use frozen blueberries as well. Drain them before use if the bag contains too much liquid.
- Lemon juice
To Finish Assembling
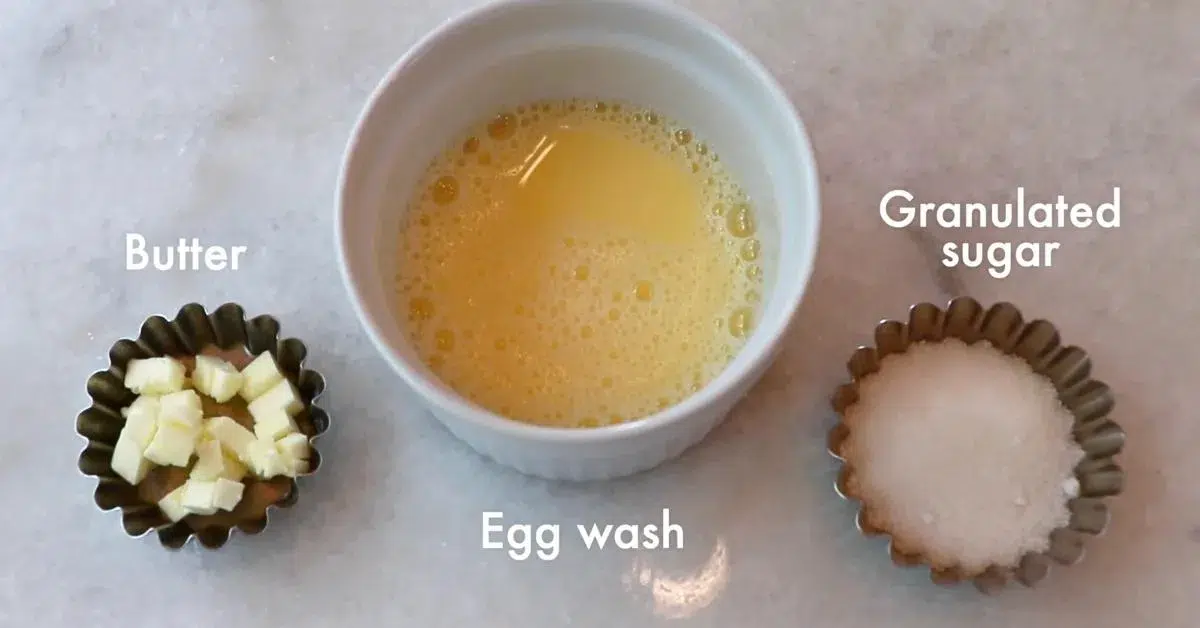
- Some butter
- Egg wash (Egg : Water = 1 : 1)
- Granulated sugar
📌 How To Make Blueberry Pie
Now, let me share detailed tips on each step, which are crucial for making the blueberry pie successful.
Step 1: Make one batch of my pie dough. Let it rest in the fridge for a few hours.
Follow all the steps in this post to make one batch of pie dough.
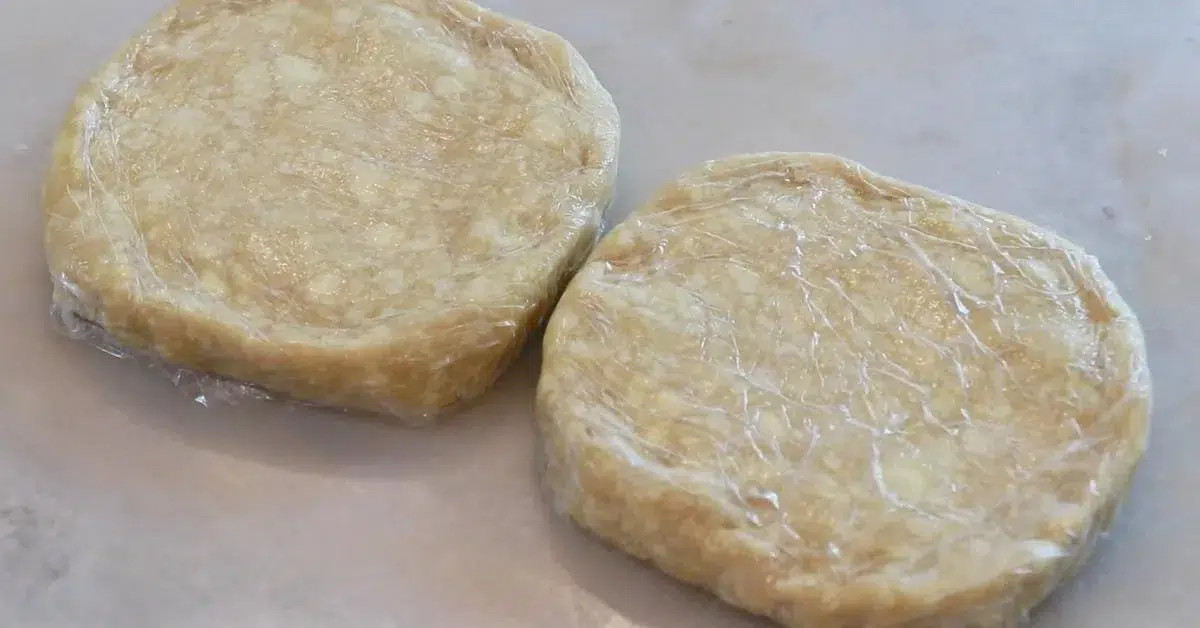
The reasons to chill the pie dough before rolling:
- We can save the butter pieces: When the dough is just made, it is too soft to roll. (Again, we want to let the butter remain as small pieces for a flaky pie crust!)
- You can roll it easier: The gluten in flour gets weakened after resting it in the fridge. You'll feel more resistance and shrink as you roll the dough when the glutens form too strongly.
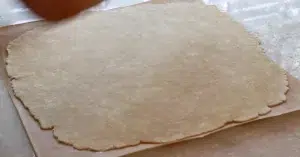
Step 2: Roll it very thin; 0.1 inches | 2 - 3 mm thickness.
Now, let's start rolling it!
I shared how to roll the dough in the pie dough post. Check out all the essential tips listed there.
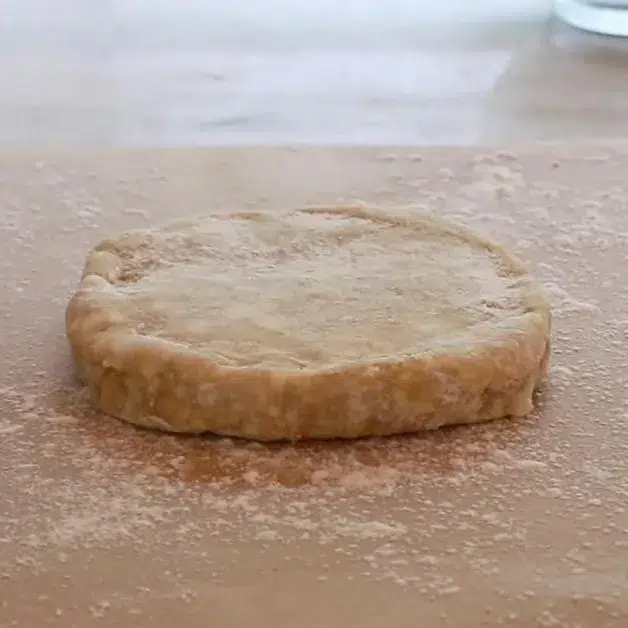
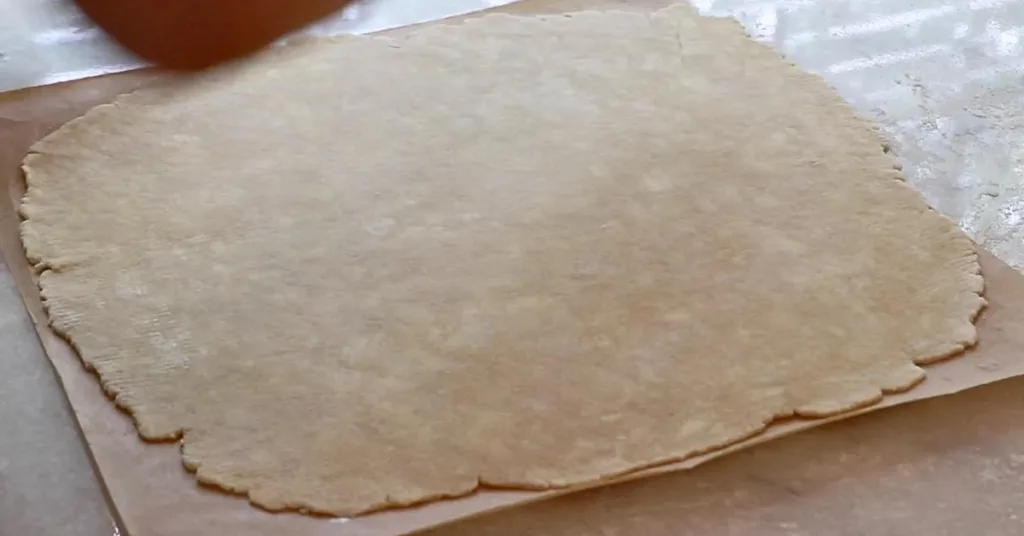
Roll 2 pie dough for 2 pie sheets: Set aside one in the fridge for the top layer and use the other for the bottom layer.
Tips💡:
Today, I rolled it on parchment paper. But of course, you can also roll it on a table directly.
Step 3: Cut the dough for the bottom layers and set them on pie plates.
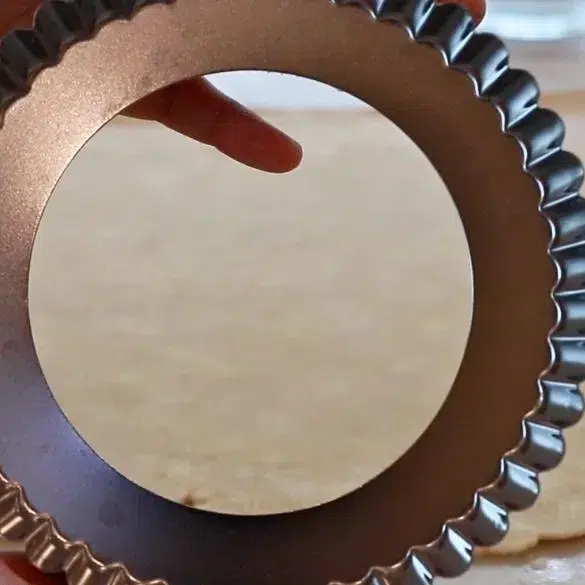
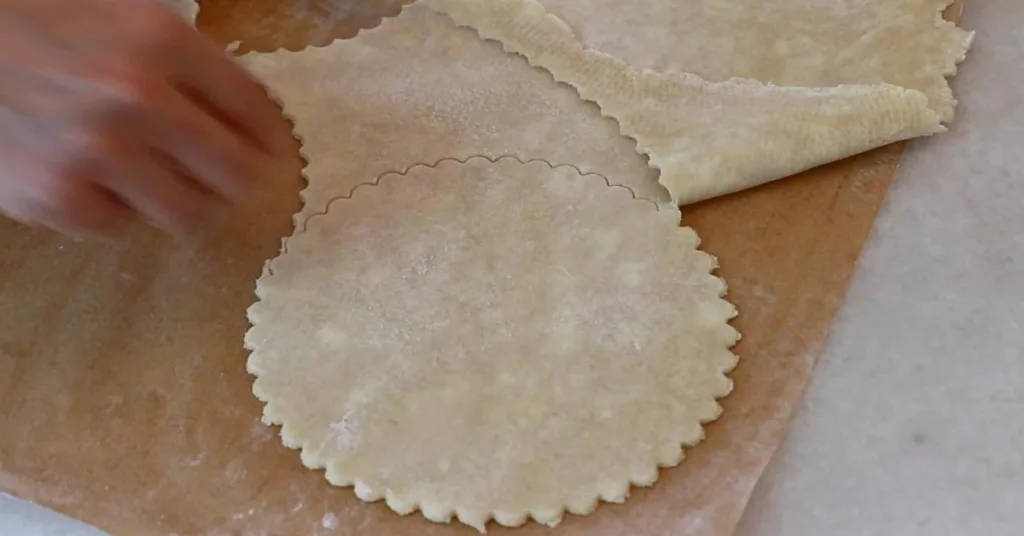
I'm using the tart pan (6.3 inches | 16 cm) to cut 4 circles for the bottom layers with one pie sheet.
Tips💡:
- You can cut with anything similar (such as a plate), pie roller, or knife. Cut into a different size/shape depending on the type of pan you are using.
- Chill the pie sheet in the fridge to cut it easier if the dough gets too sticky.
- Today, I am baking it with 4 5-inch ramekins, but one batch of this recipe is also enough for a 1 10-inch pan.
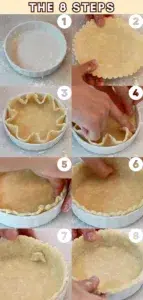
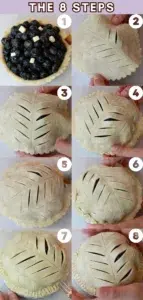
8 steps to set the bottom layer in a pie plate:
- (Apply a very thin layer of butter all around the pan to get the darker caramelization and make the crust crispier.) Dust some flour on the bottom so that the crust comes off easier after it's baked.
- Place the pie dough in the very center.
- Let it sink on a plate equally.
- Fold the corner well so the side will not slide down as you bake it.
- Let it stick to the side completely by adding some pressure with your thumb.
- Push the corners with a finger to check if the dough fits completely.
- When you need to make the dough longer or thicker, apply a piece of dough on the lower side and push it up instead of attaching it to the top edge because it can come off easier.
- Open up the edge so we can apply egg wash more easily later.
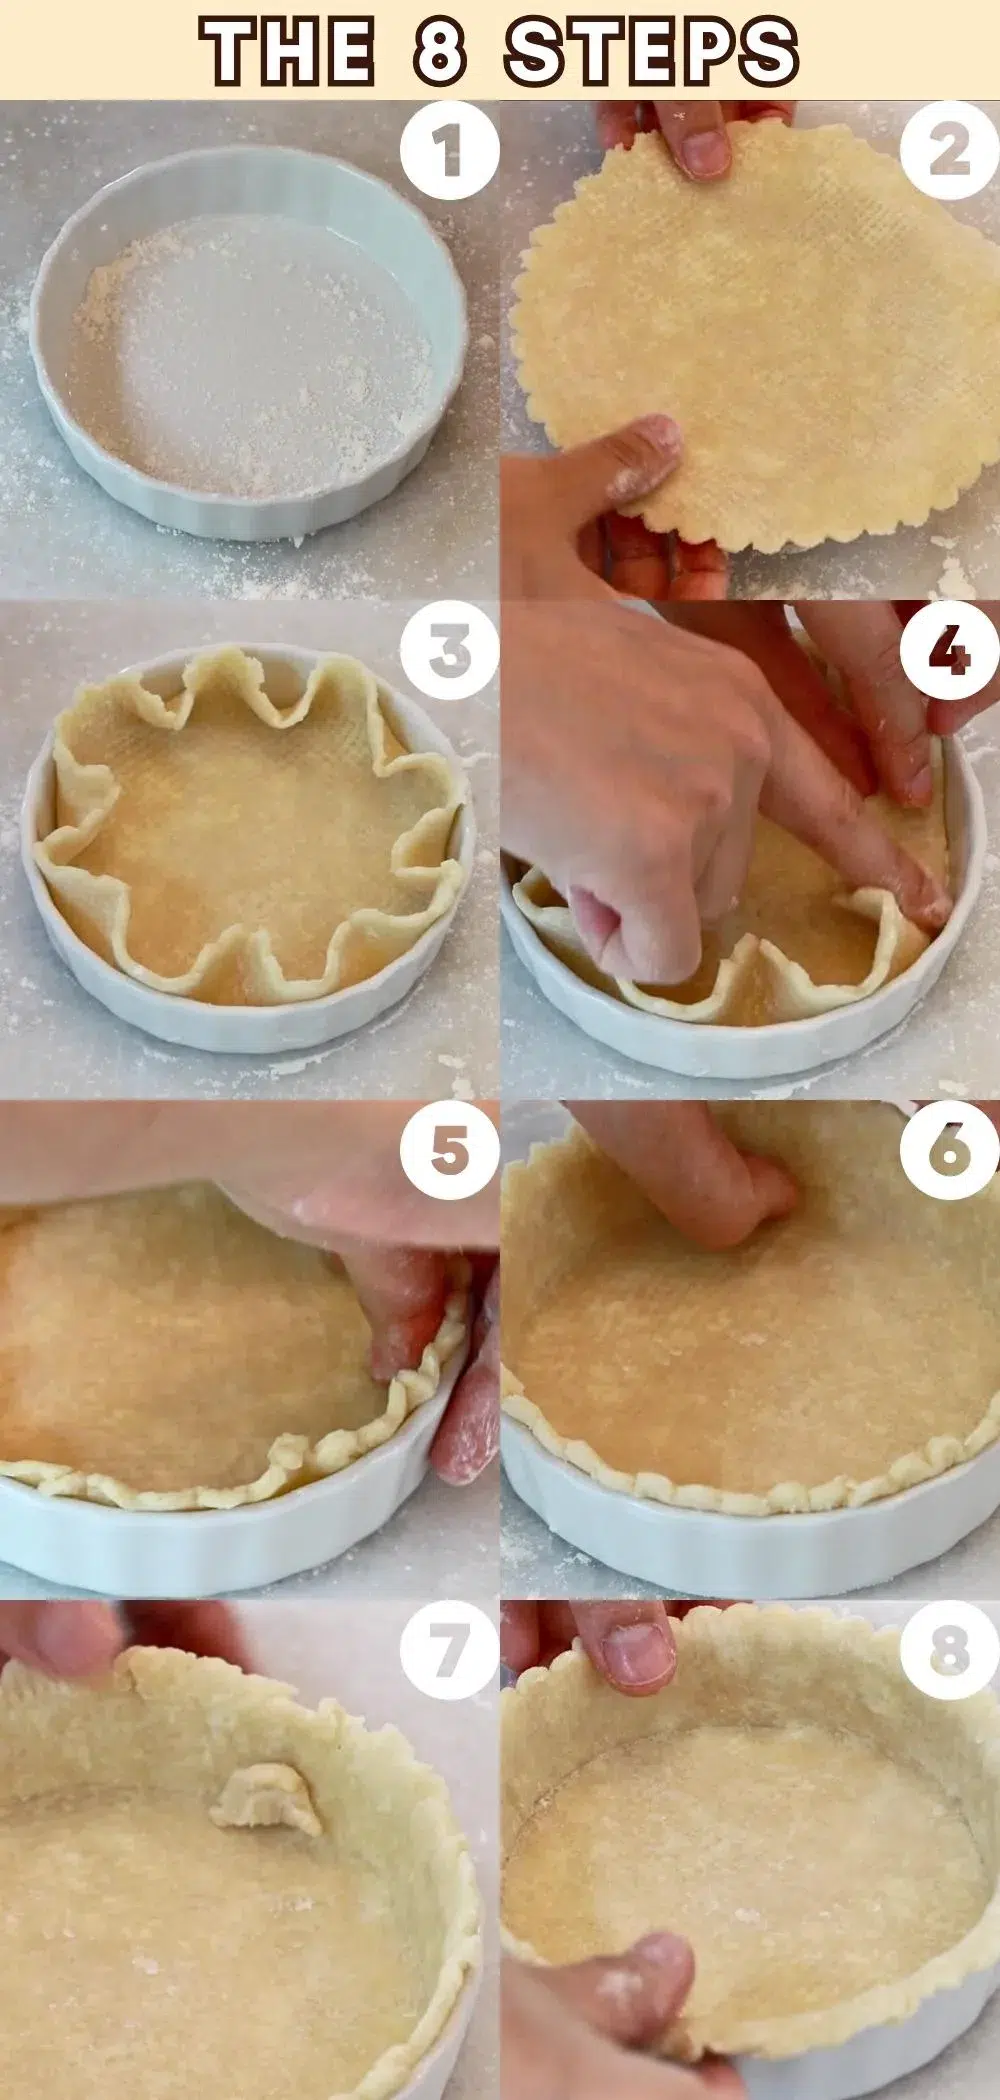
Set them aside in the fridge while working on the pie filling.
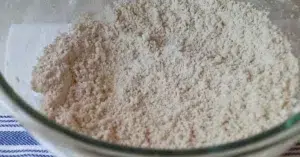
Step 4: Mix all the dry ingredients in a bowl.
First, add sugar, salt, cornstarch, and cinnamon. And roughly mix.
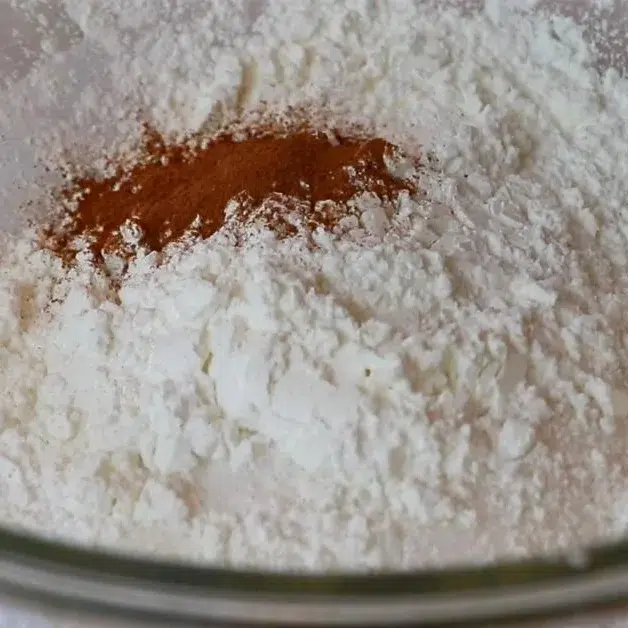
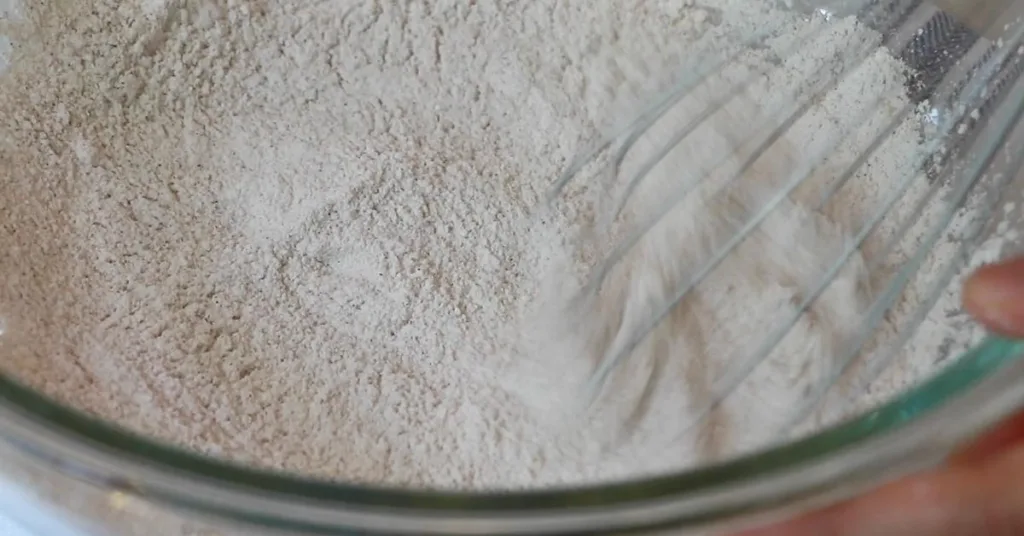
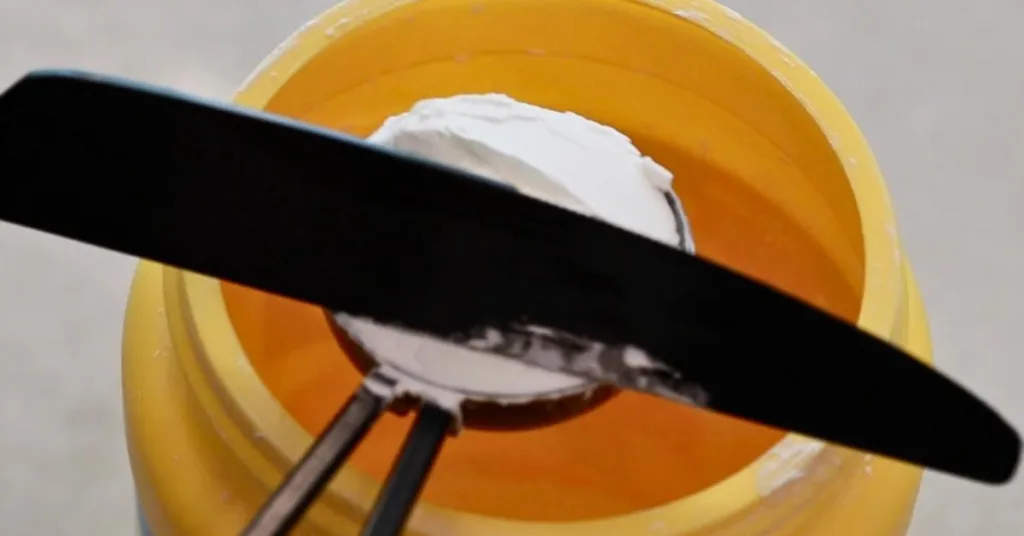
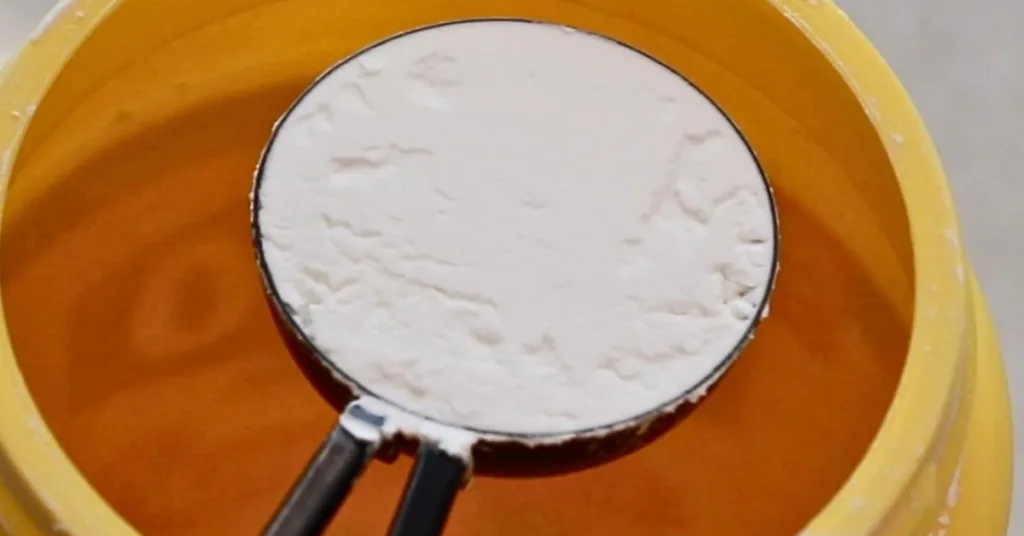
Tips💡:
[Cornstarch] It's very important to level the surface to get the accurate amount so that the filling is not too thick or too thin.
Add lemon zest and mix. The refreshing flavor goes so well with blueberries.
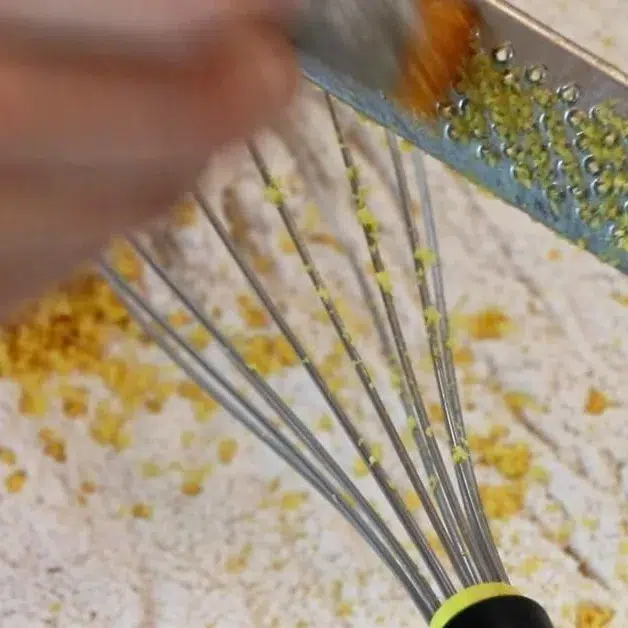
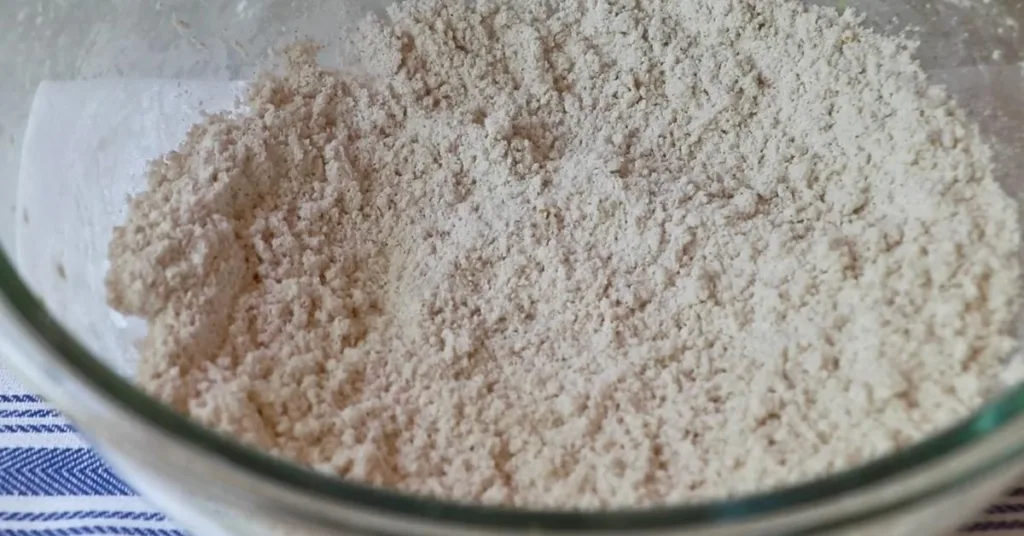
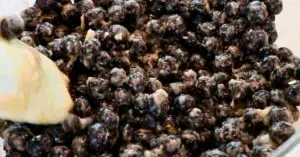
Step 5: Mix it with blueberries and lemon juice well.
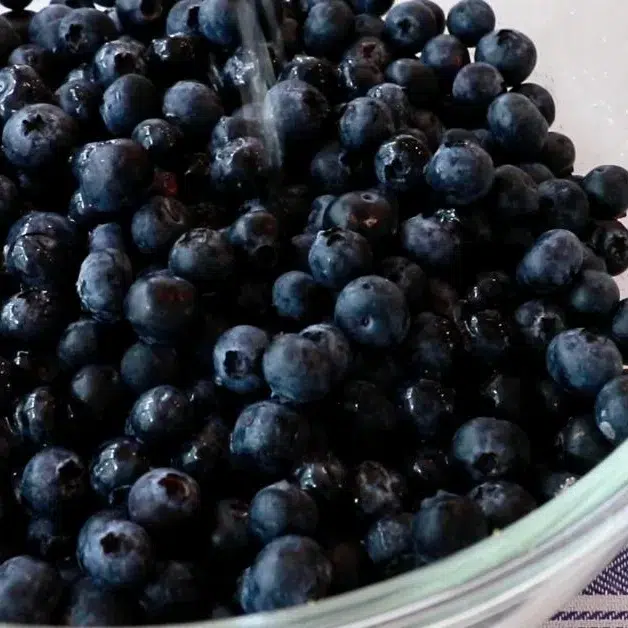
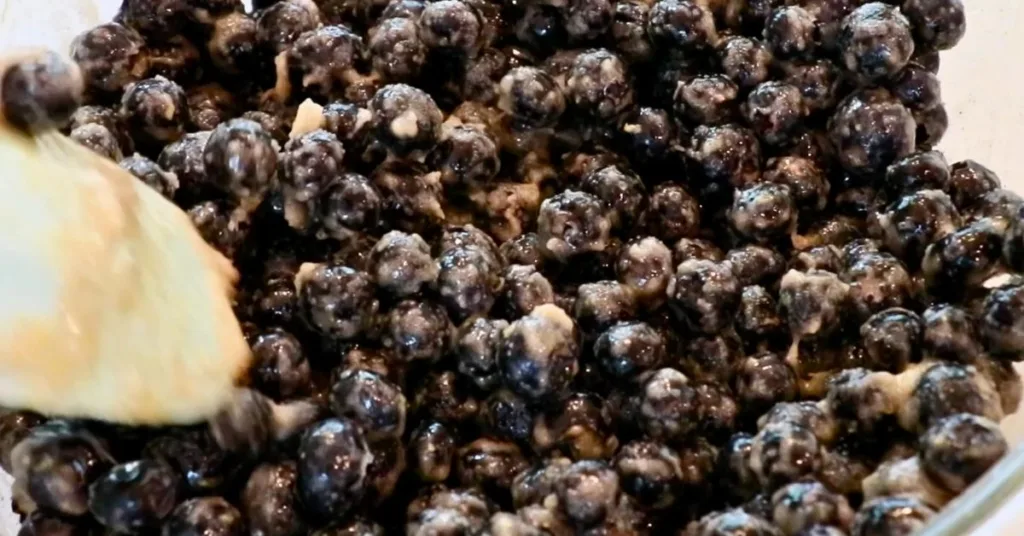
Tips💡:
- Flip the bottom of a bowl and check if no ingredients are hiding there.
- Mix well to ensure that each plate has the same amount of ingredients.
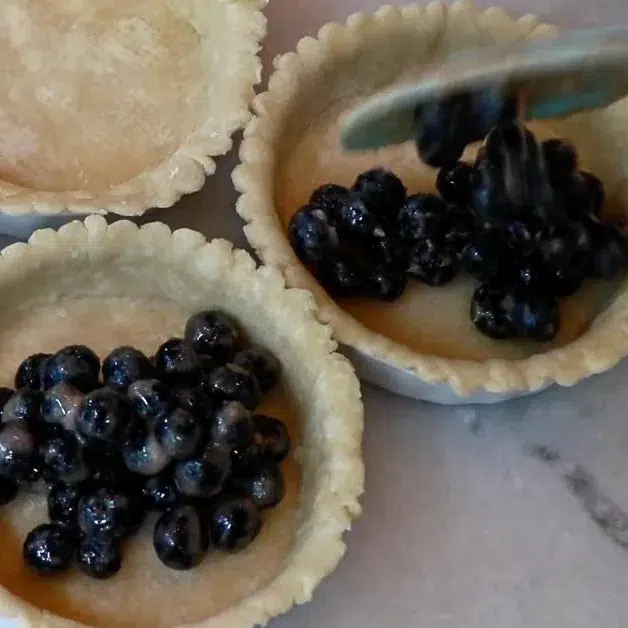
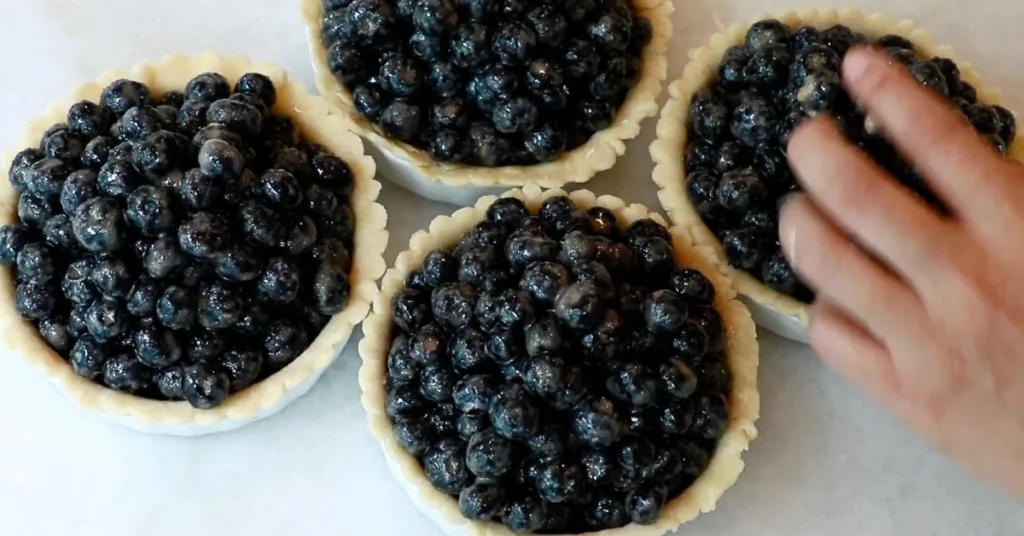
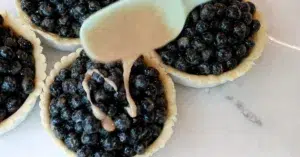
Step 6: Divide the filling into pie plates.
Tips💡:
- It may look like a lot of filling in one pie, but the amount gets reduced after being cooked in the oven.
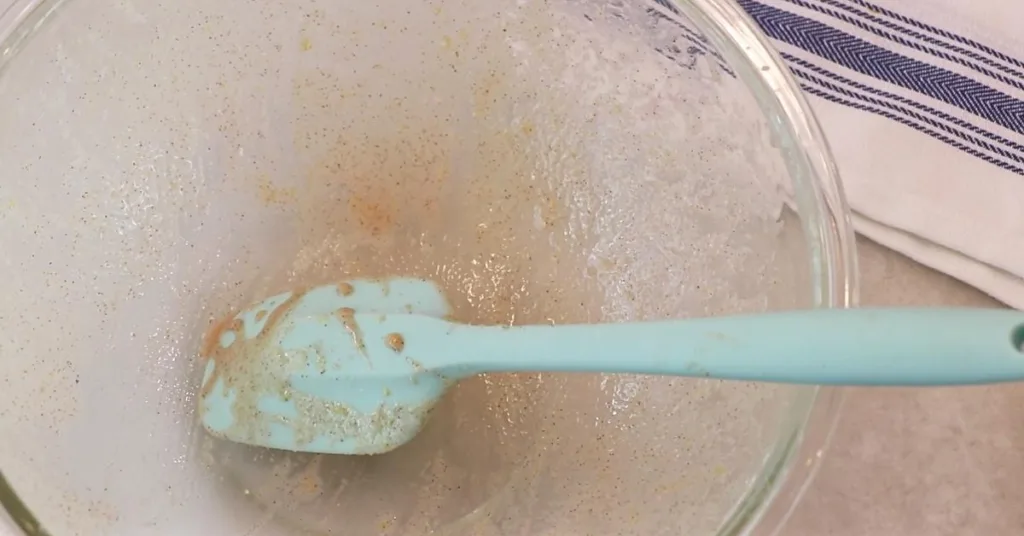
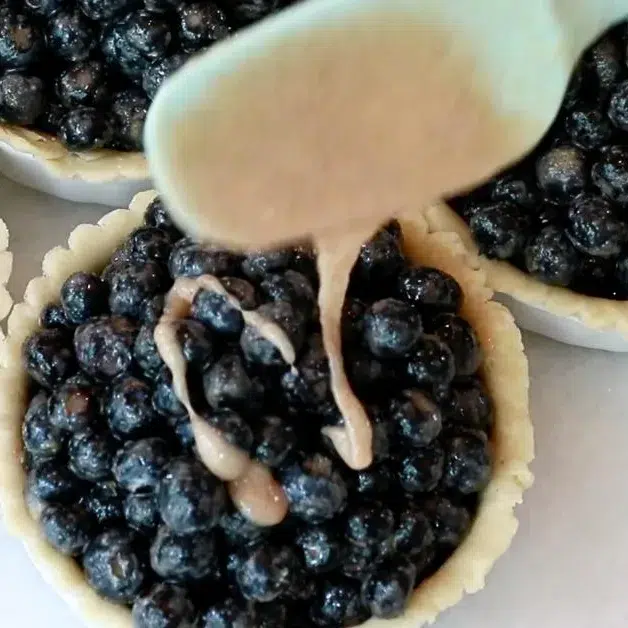
- You'll see ingredients attached to the bowl at the end. Collect it well and add it on top equally since it contains all the flavors and a good amount of cornstarch.
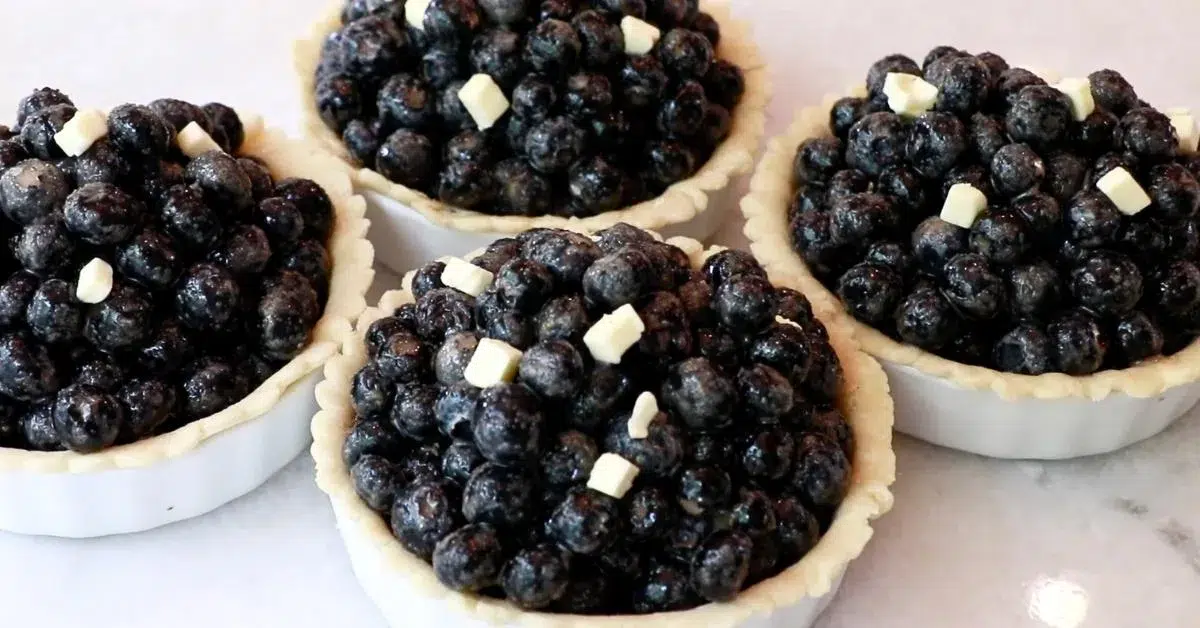
Step 7: Add some chunks of butter on top of the filling.
As an option, add a small amount of butter on top.
Step 8: Cut out the 2nd dough for the 2nd layer.
Take out the 2nd pie dough sheet from the fridge.
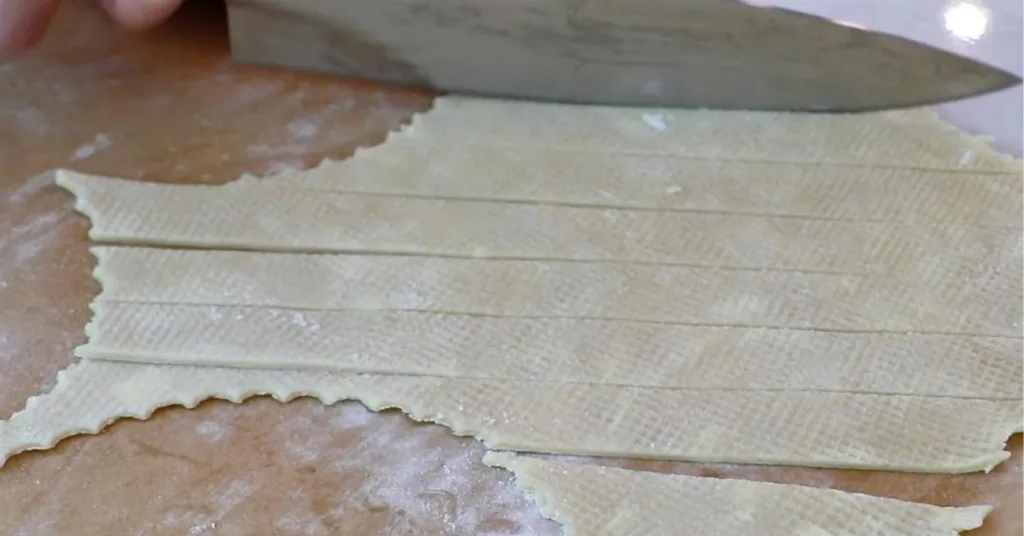
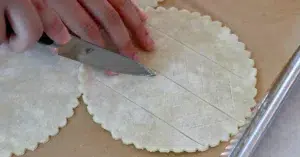
I cut 3 of them with the same circle tart pan (6.3 inches | 16 cm) and ribbon stripes using the rest of the dough to weave them later. You can change the design as you like!
Tips💡:
Cutting it is much easier when chilled in the fridge. You can also cut them in advance and set them aside in the fridge.
Next, cut the surface and add some patterns.
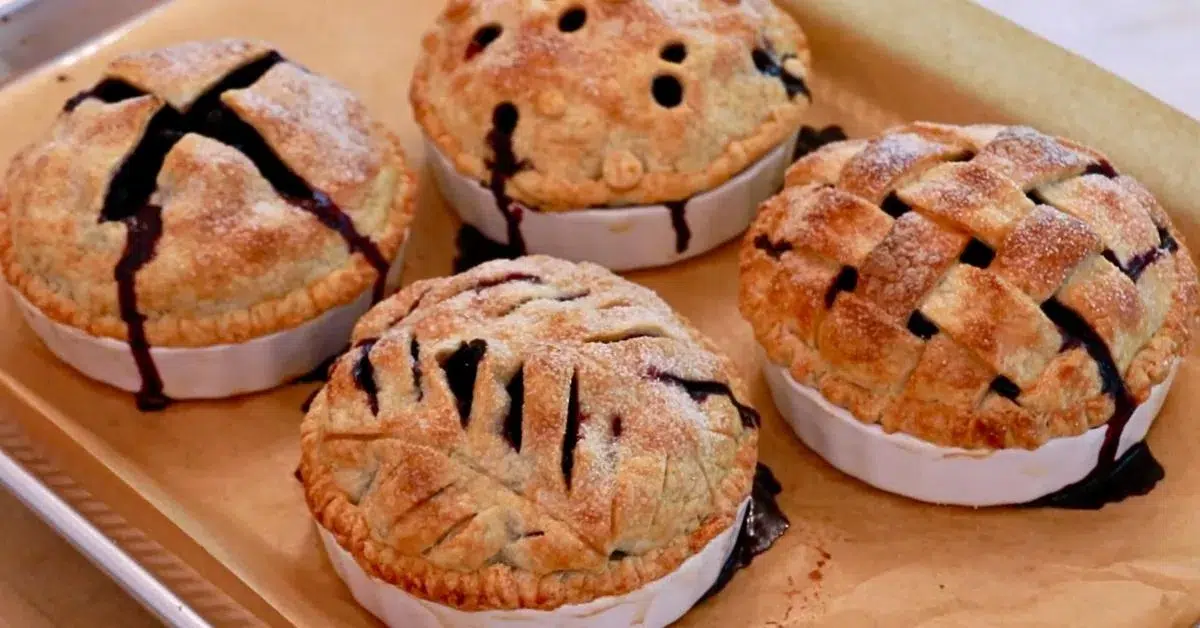
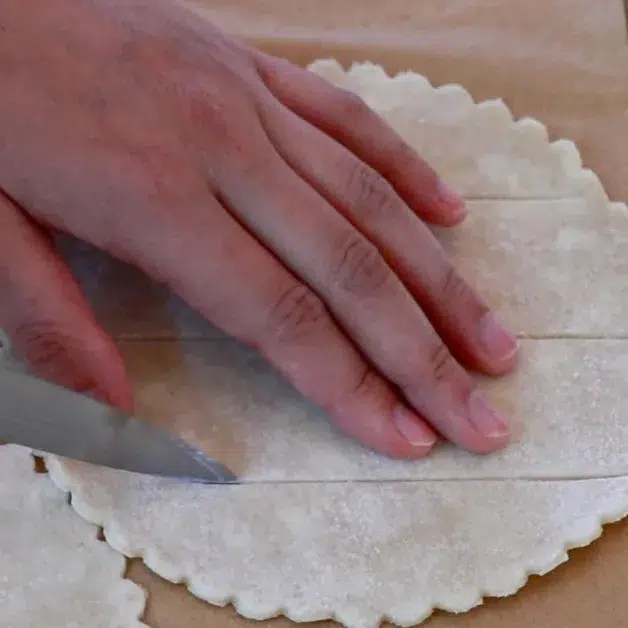
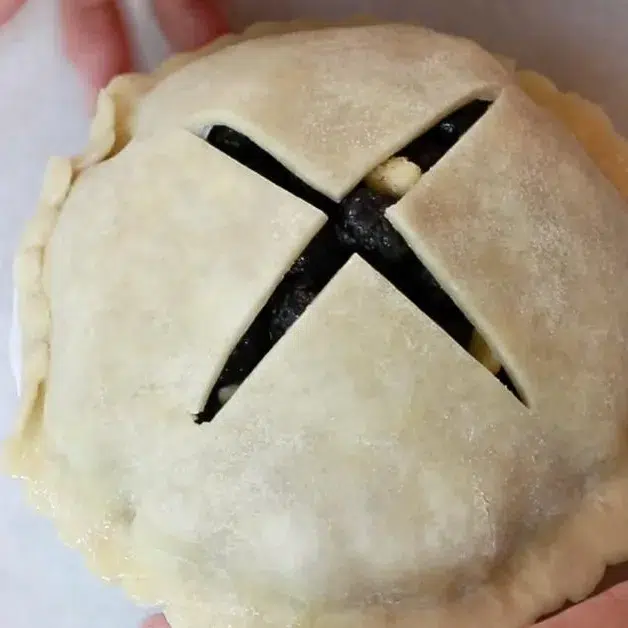
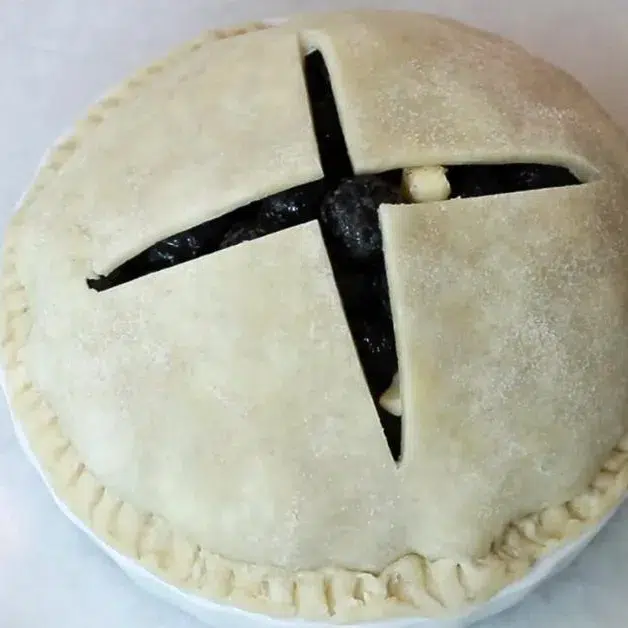
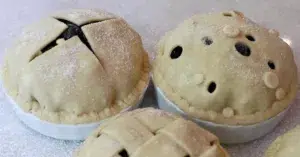
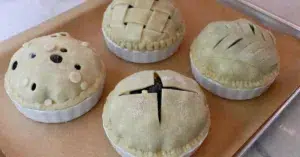
(Pattern 1) A very simple cross-cut:
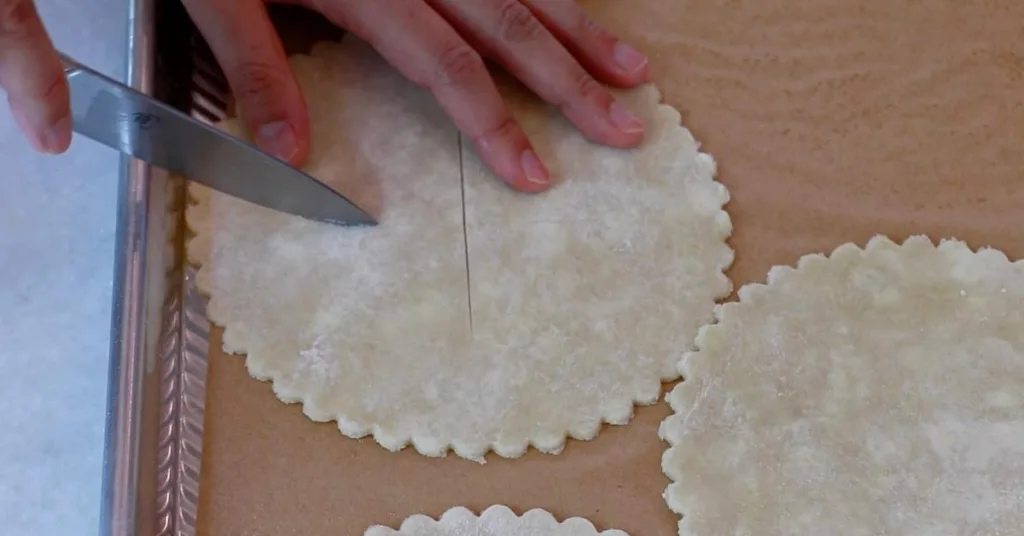
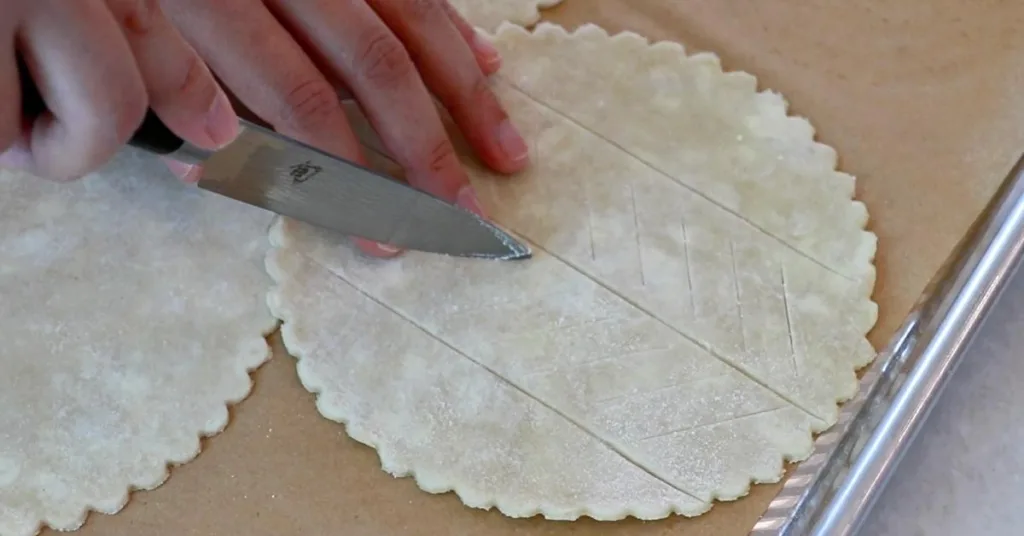
(Pattern 2) First, I added 3 lines with the back of the knife. And made small diagonal cuts between them.
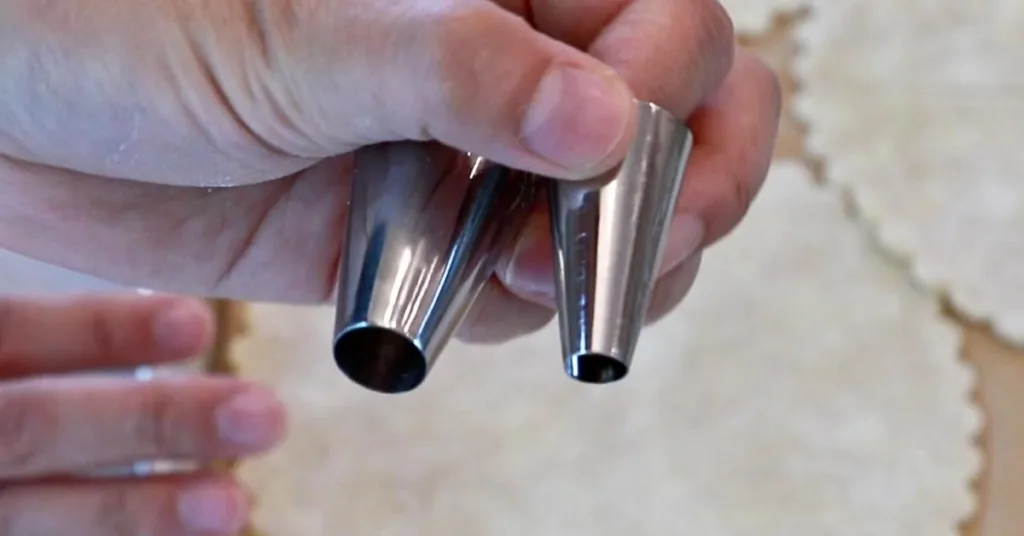
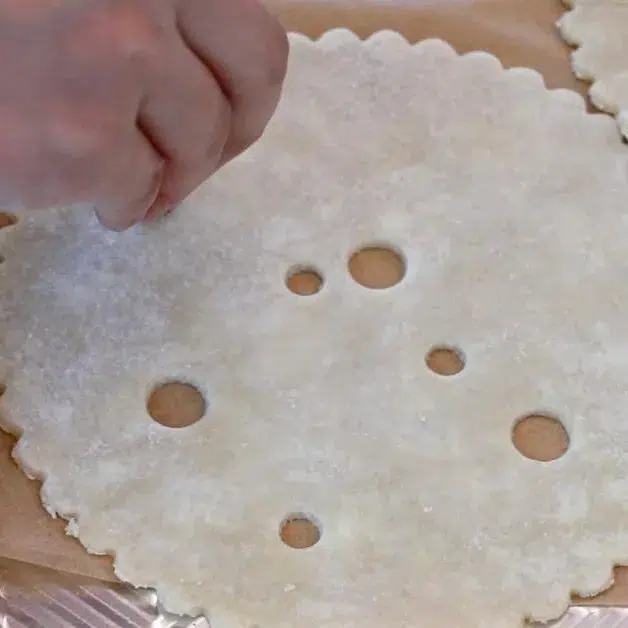
(Pattern 3) I used round tips (8 mm & 13 mm) to make the holes.
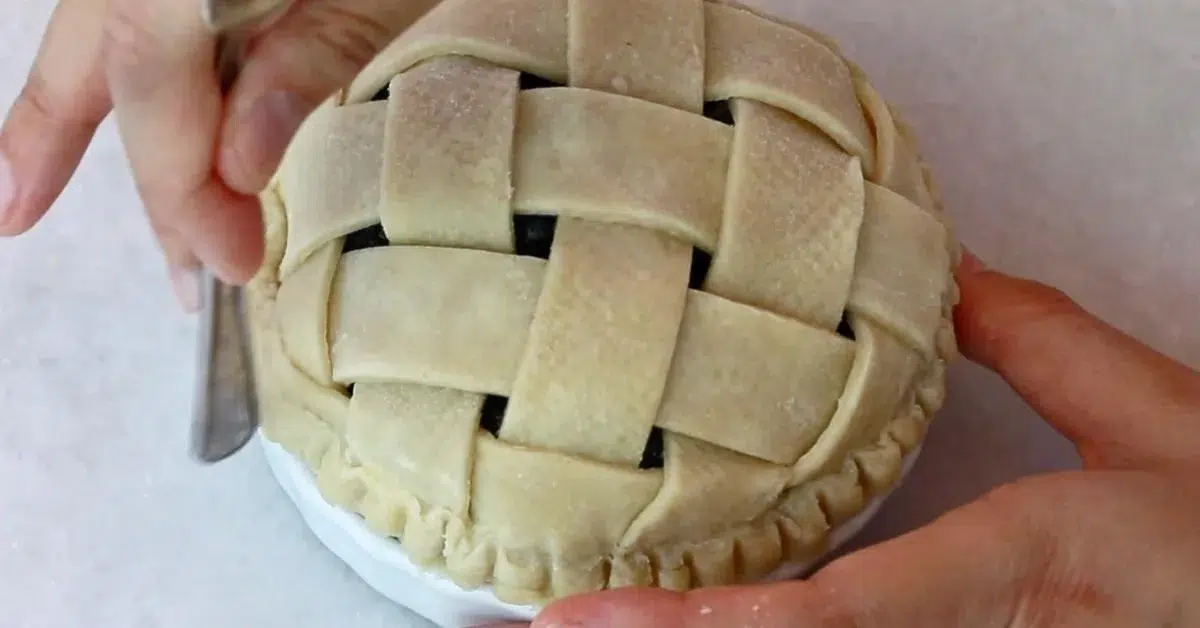
(Pattern 4) Lattice pattern. I'll show you how I weaved it in the next section, step 9!
Step 9: Apply egg wash on the edge of the dough and seal the filling with the 2nd layer.
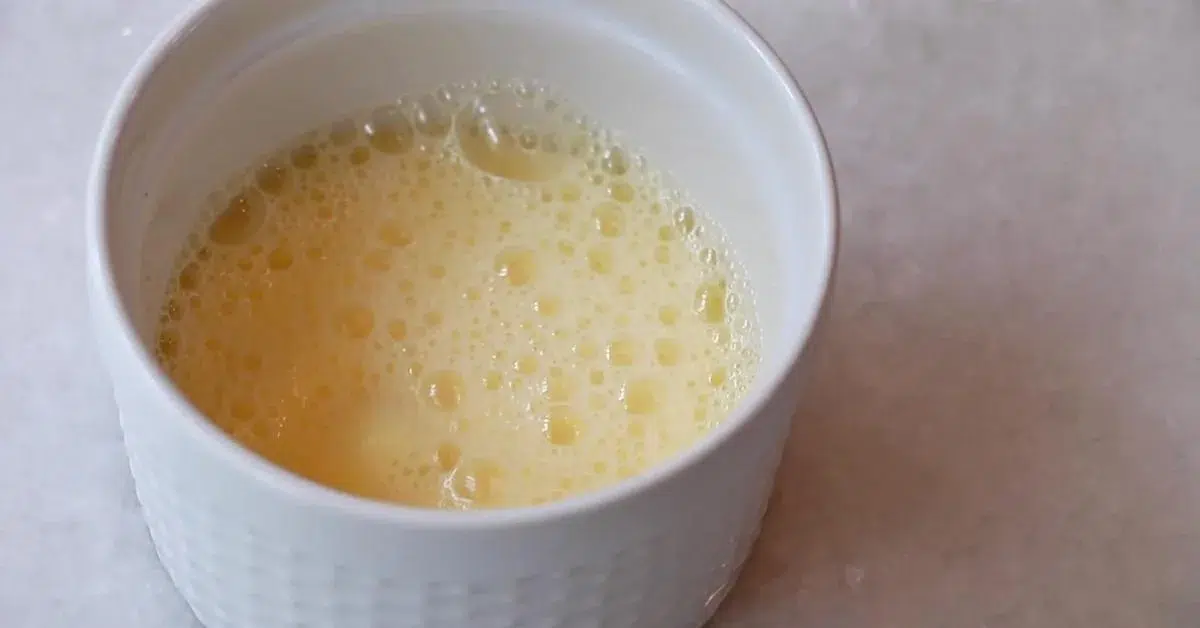
Mix the same amount of whole egg and water to make the eggwash. I like to mix eggs and water for pies since they tend to get too dark when I only brush eggs.
8 steps to set the 2nd layer on top:
- Apply egg wash to the edge as glue.
- Attach 4 - 8 corners so that the sheet doesn't slide.
- Push down and seal the filling completely.
- Pinch the edge well so that the filling will not come out.
- Apply egg wash on top of the edge.
- Fold the edge over.
- As an option, add some patterns on the edge with a fork.
- Adjust the shape by hand.
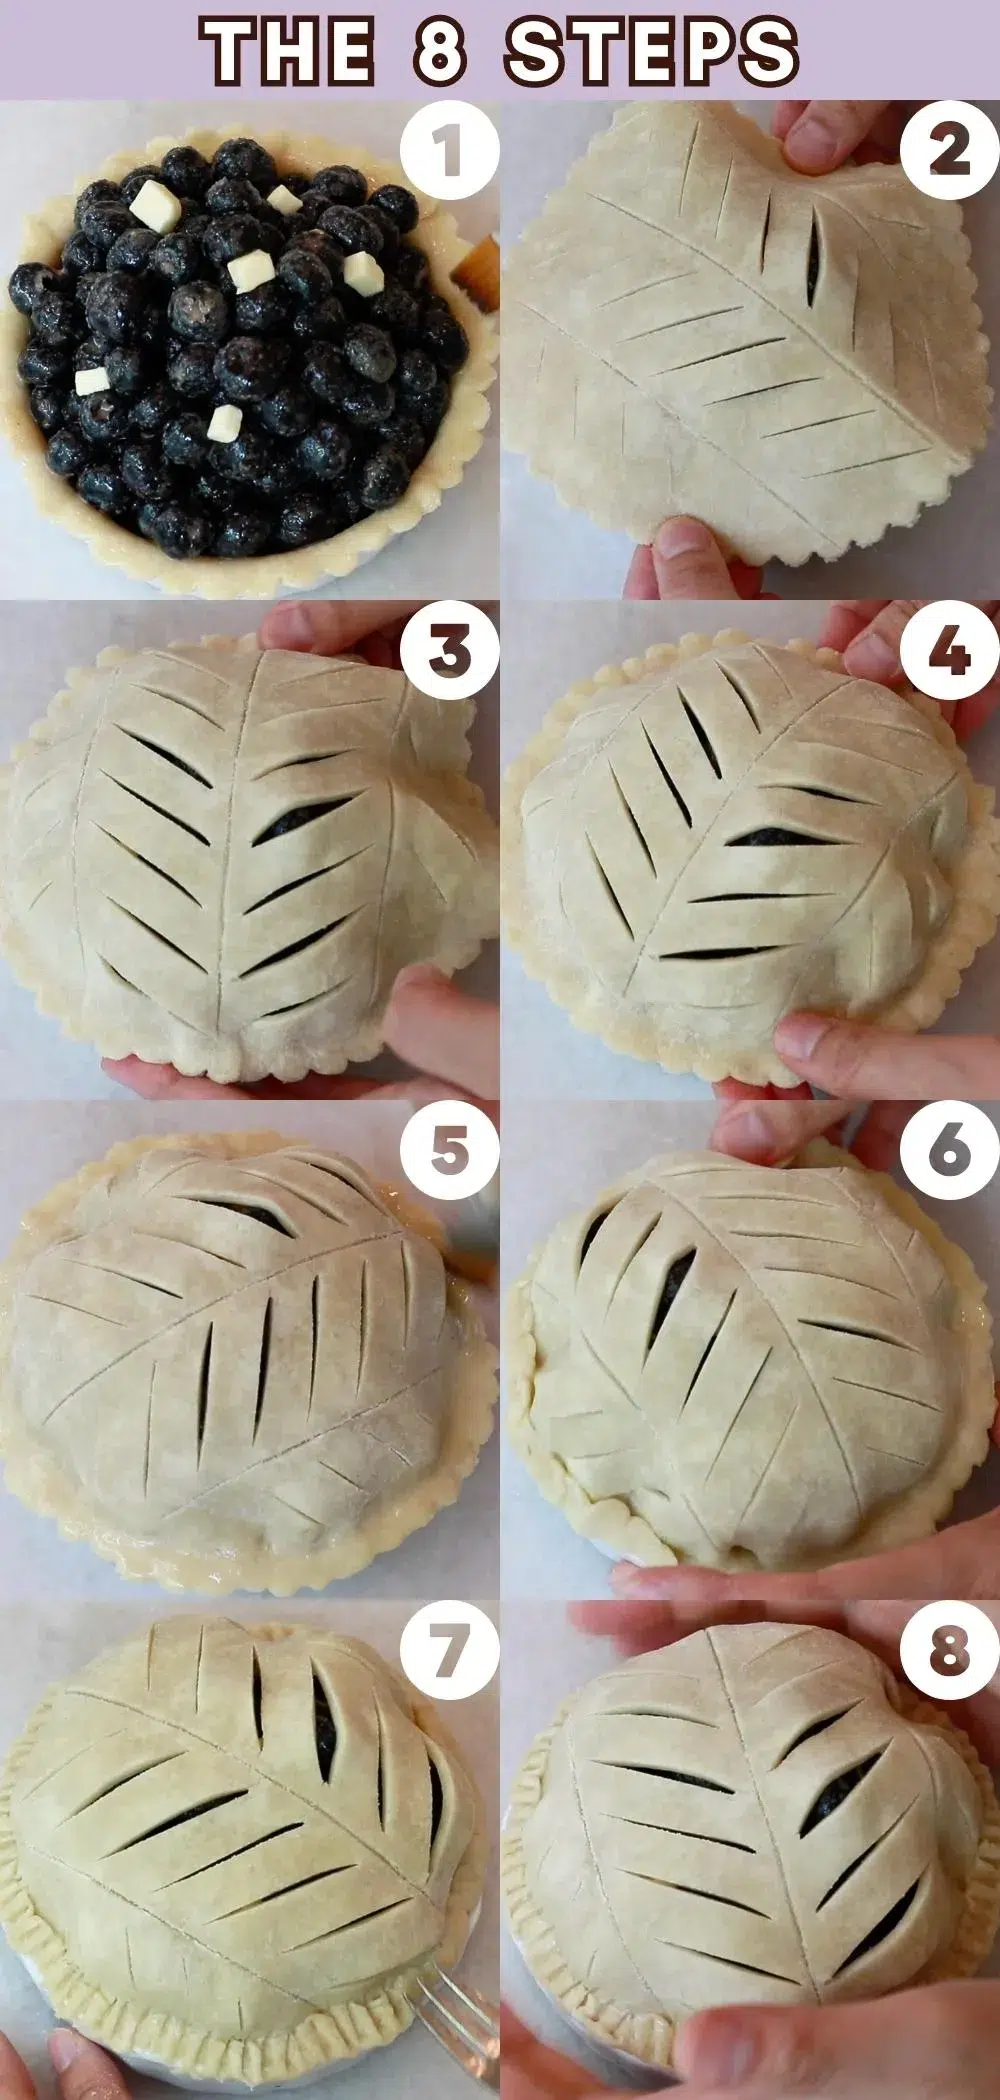
Tips💡:
- When your pie dough is still cold and harder to bend, warm it up by hand.
- Check if there's no extra dough attached to the side because they stick to the plate once they are baked. It will be a lot harder to remove the pies from the plates.
Repeat the same steps for patterns 2 & 3, also.
How to make a lattice pie crust:
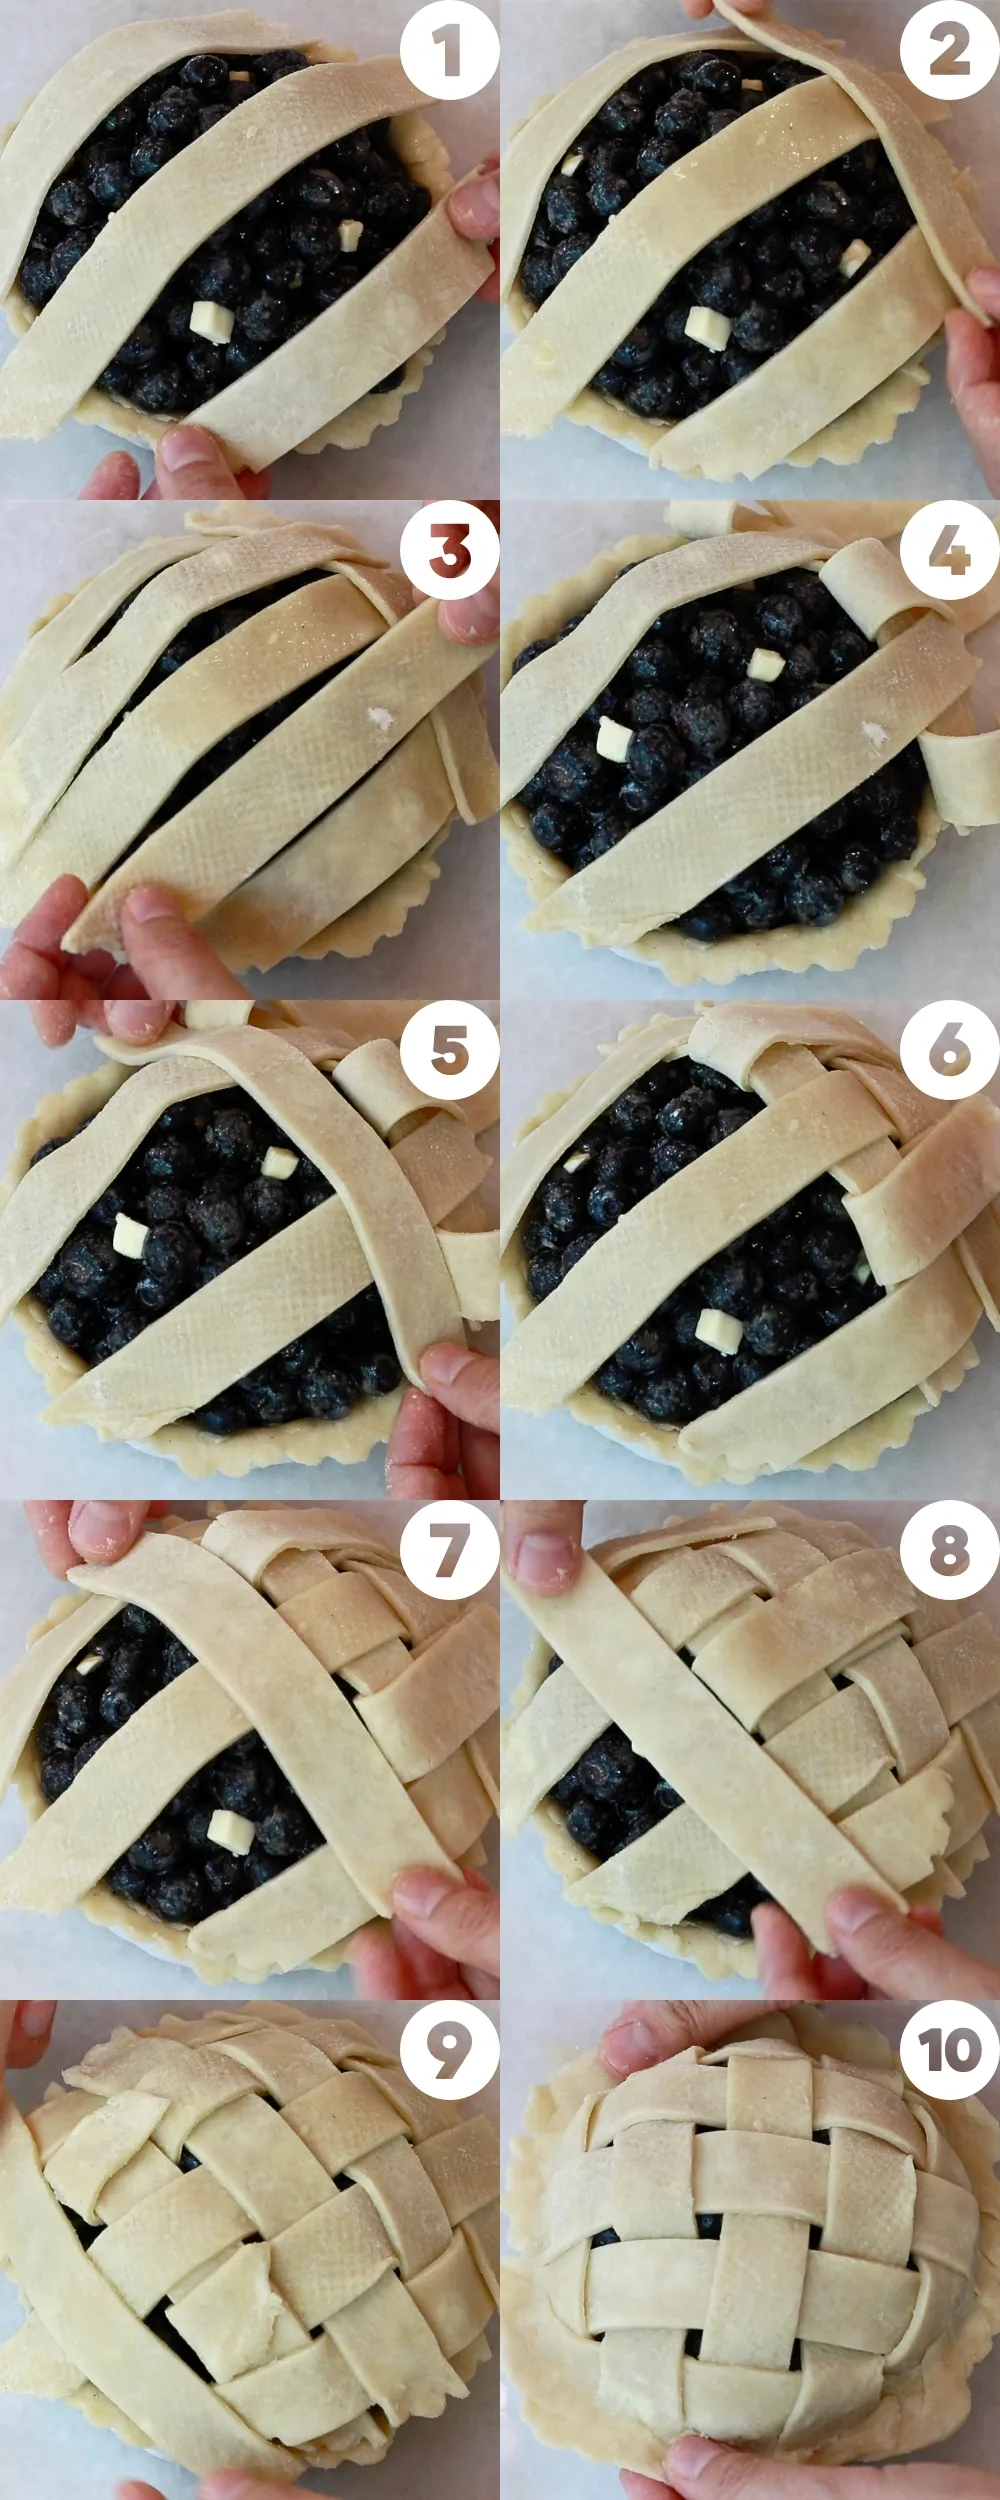
Trim the edge with a scissor if necessary. And finish the rest the same way as other pies.
You can add a different pattern on the edge:
Step 10: Apply eggwash all over the surface and sprinkle some granulated sugar.
Apply a thin layer of eggwash all around the surface.
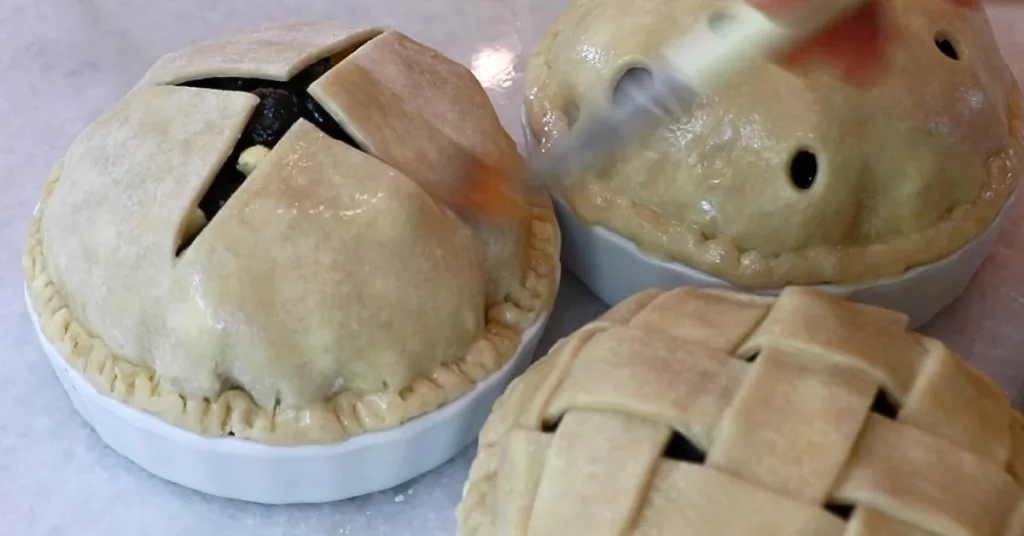
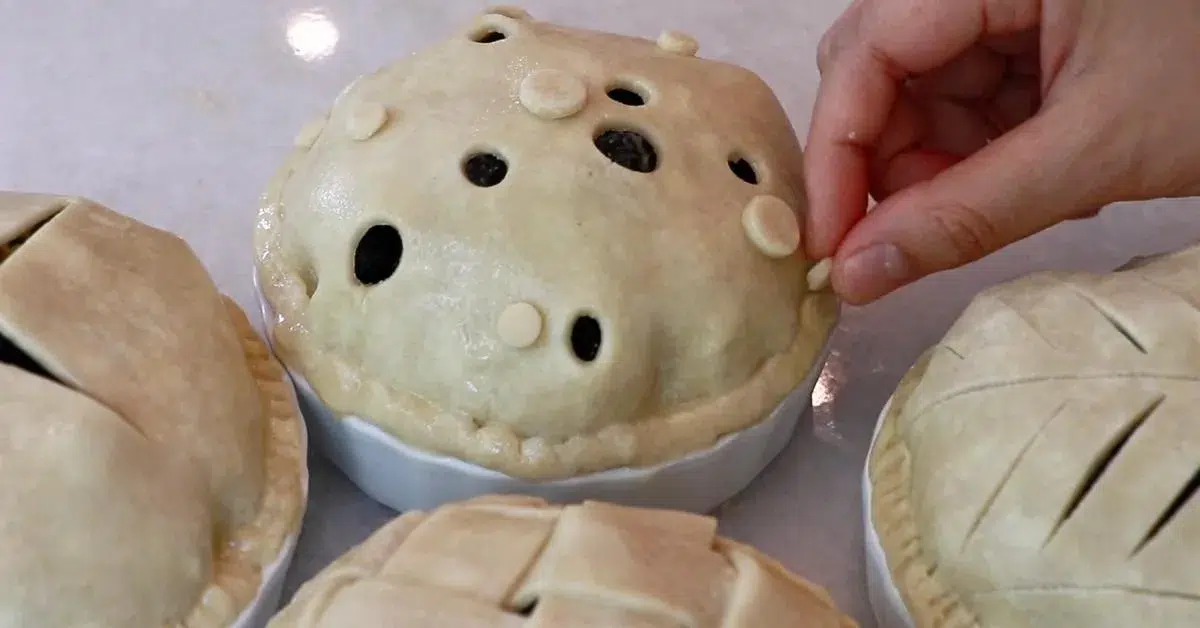
Sprinkle some sugar. This adds such a nice texture and sweetness!
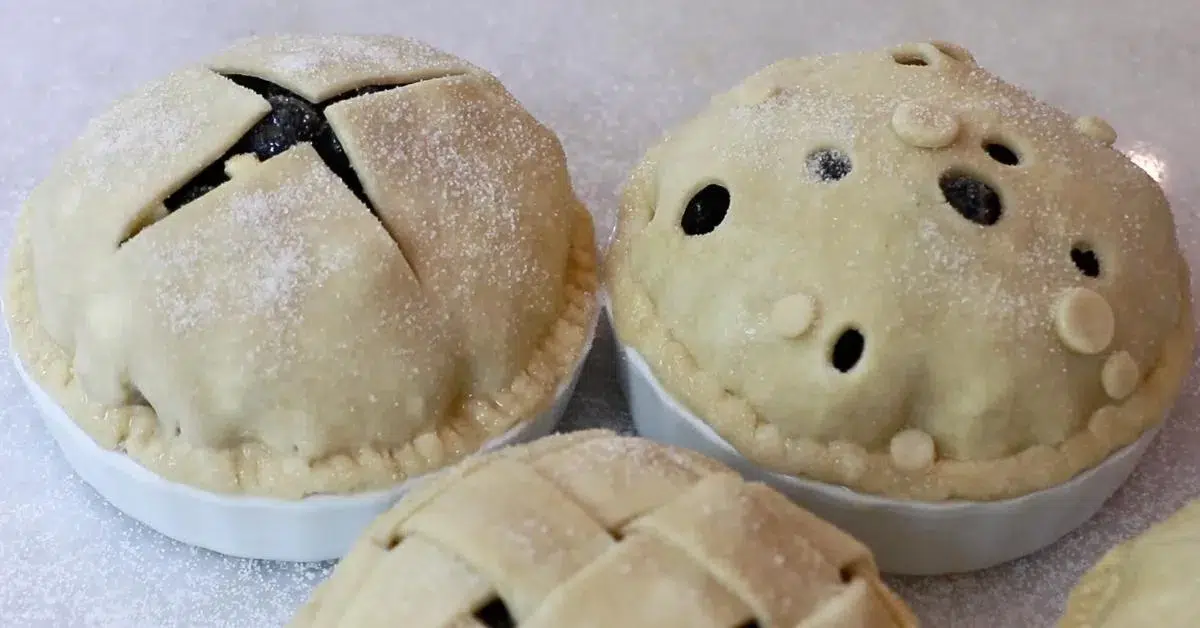
Step 11: Chill them in the fridge before baking.
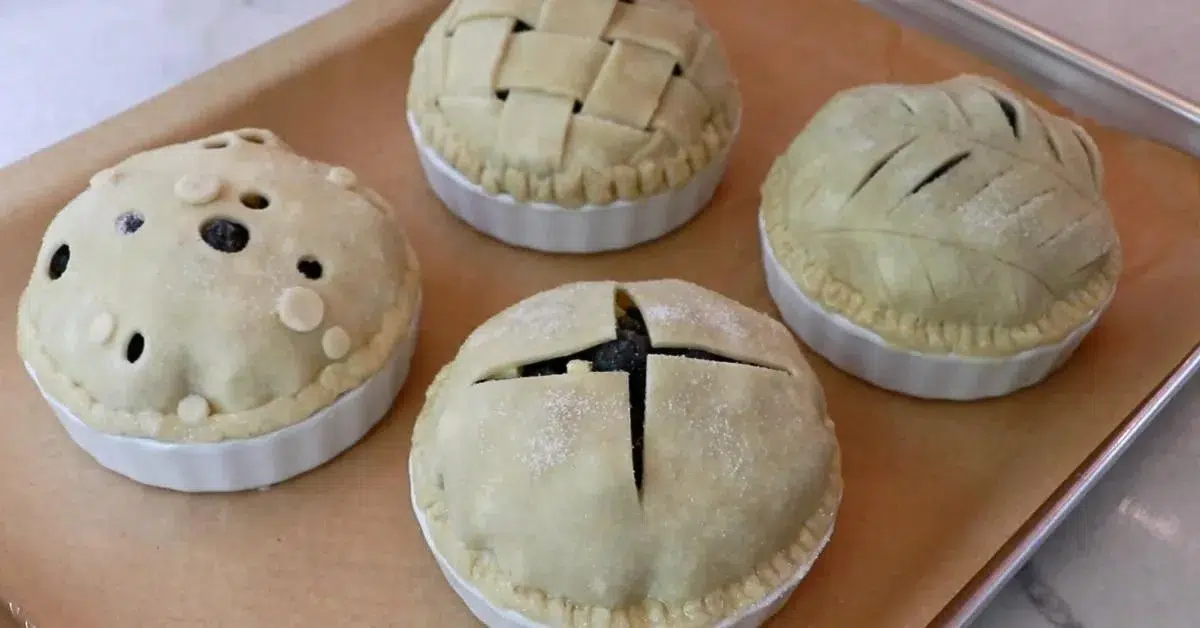
Chill them for at least 30 minutes to 1 hour in the fridge before you bake them. By doing it, the dough can hold the shapes a lot better in the oven while it's being baked, leading to a flakier and more delicious crust.
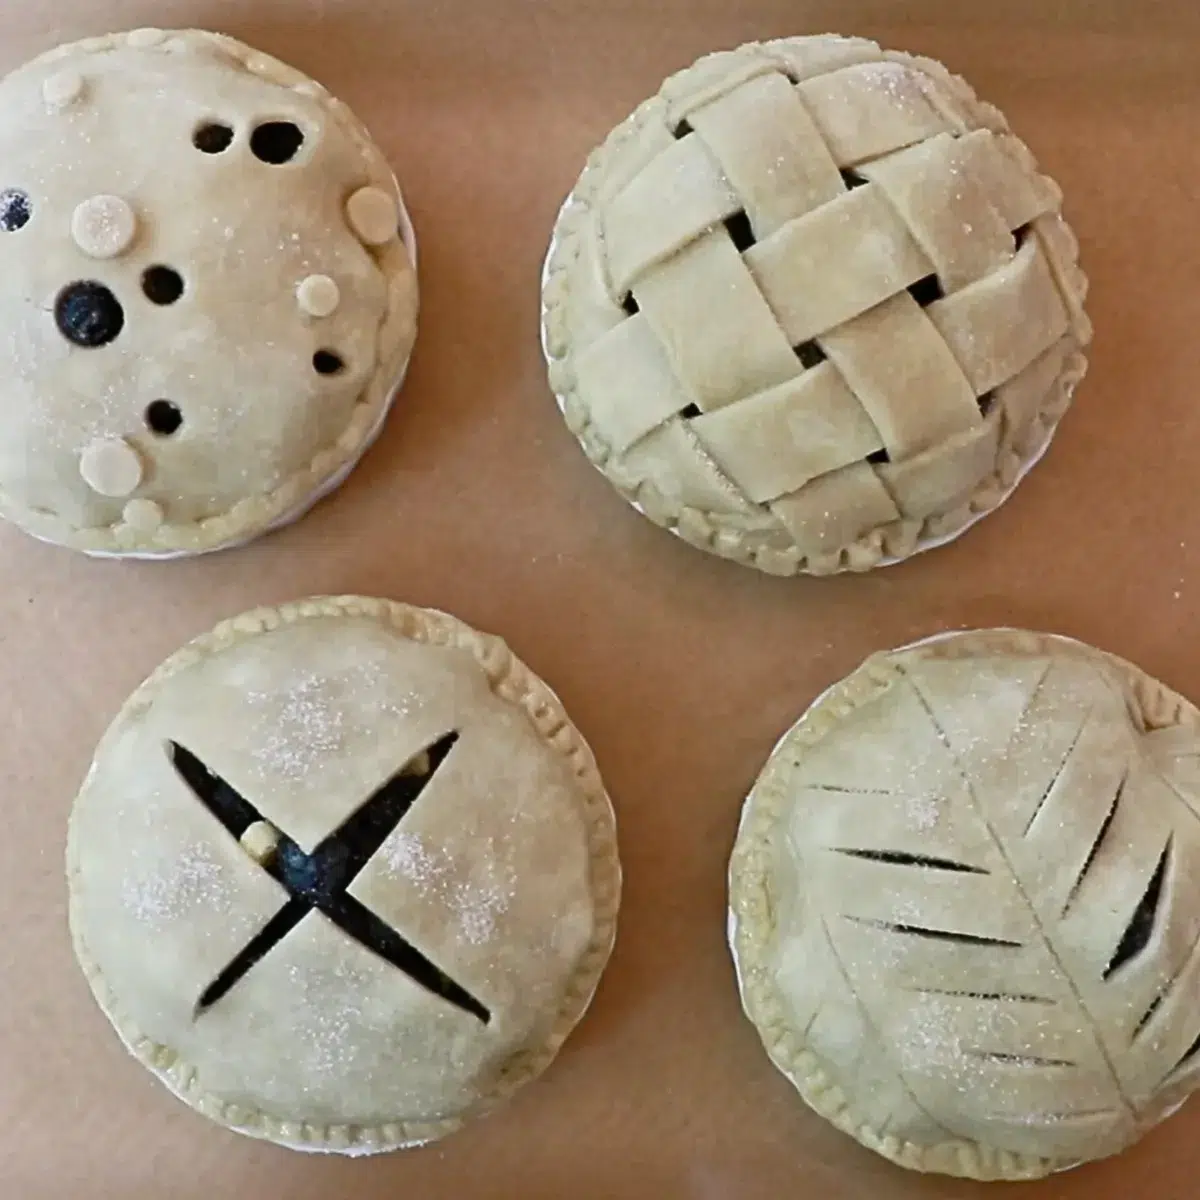
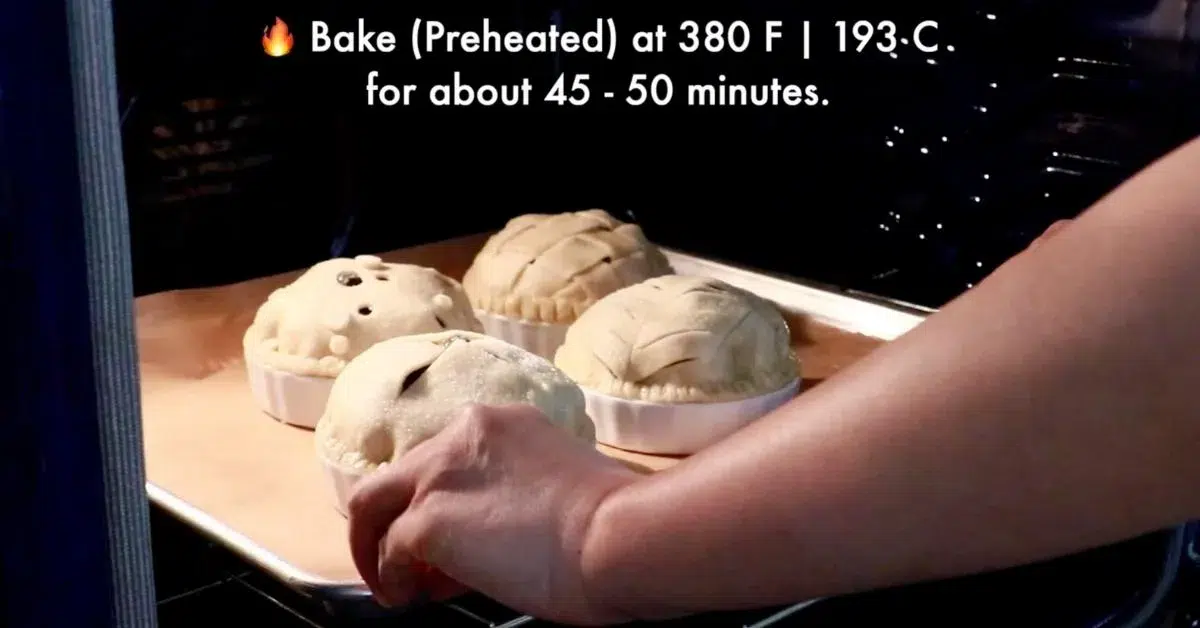
Step 12: Bake at 380 F | 193 C for about 45 - 50 minutes
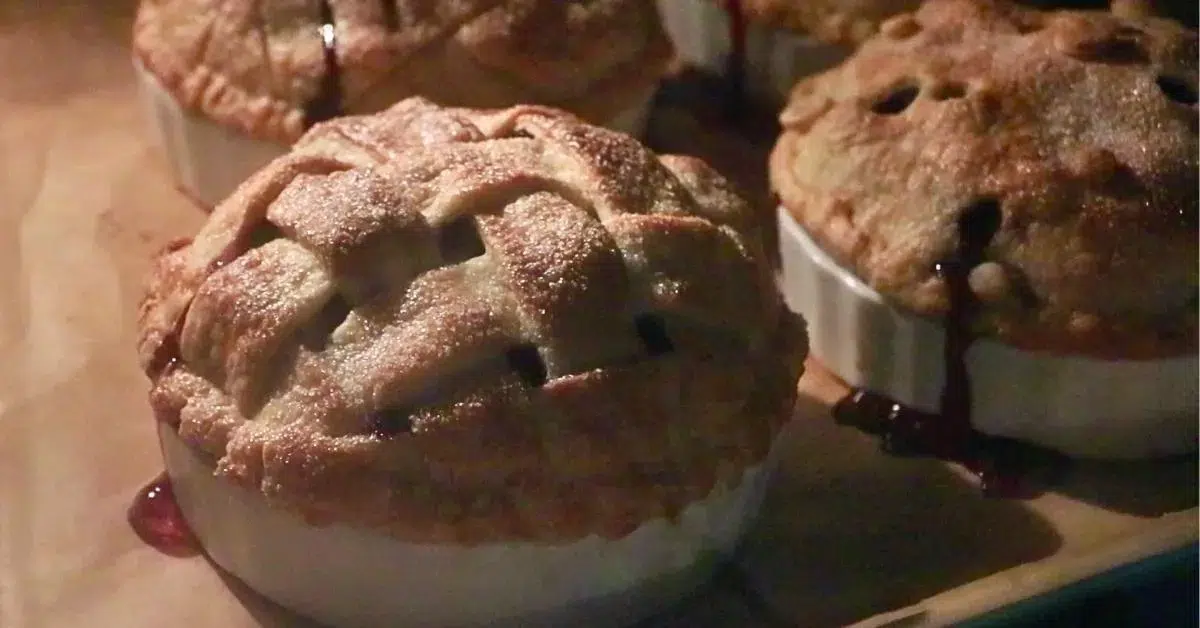
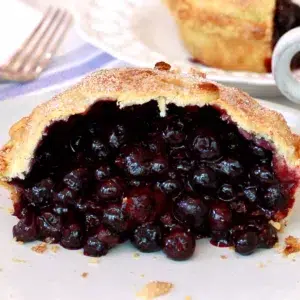
Once you see that the pie filling starts bubbling out, like in the image below, it is done!
Tips💡:
- It's important to bake them long enough until you see nice golden caramelization all around the surface to maximize the crispy texture.
- They are extremely hot right after they are made. Let them cool down a little bit.
- Wait for at least 20 to 30 minutes to remove the pies from the pie plates. Wear gloves if they are still too hot to touch directly.

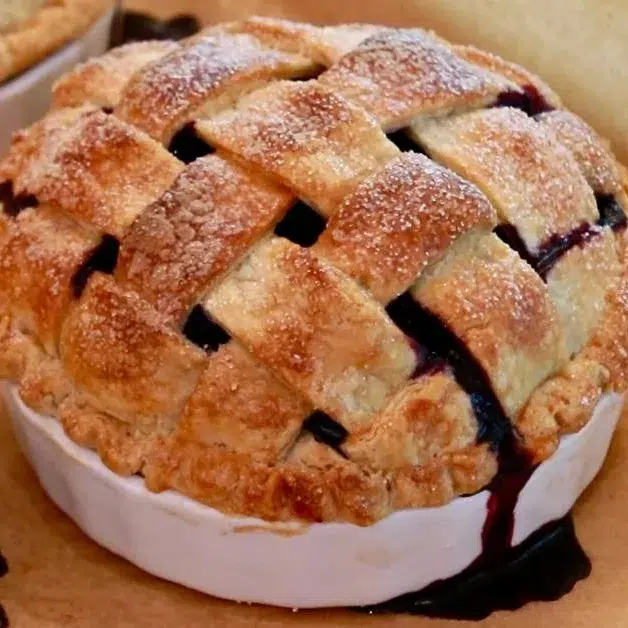
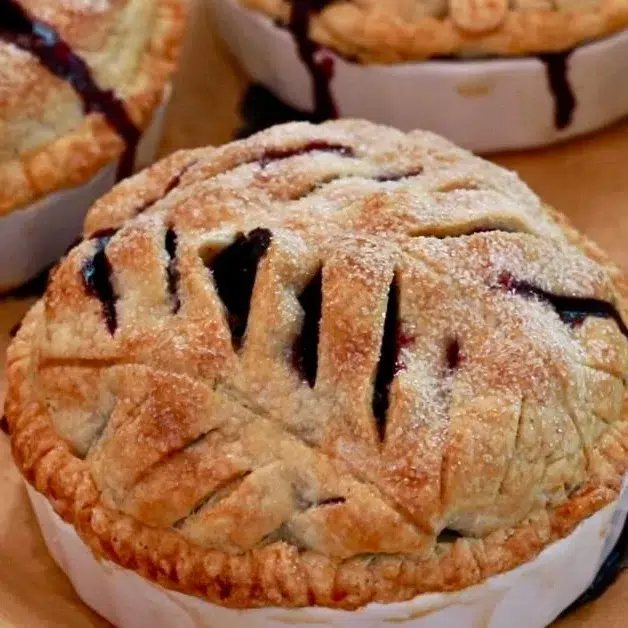
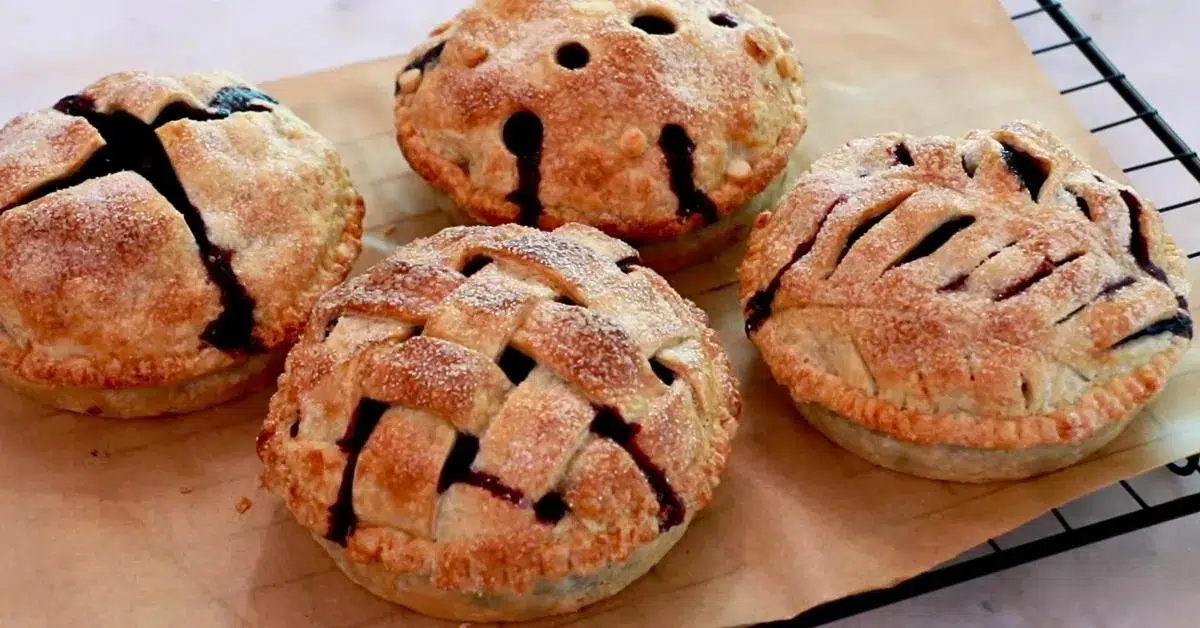
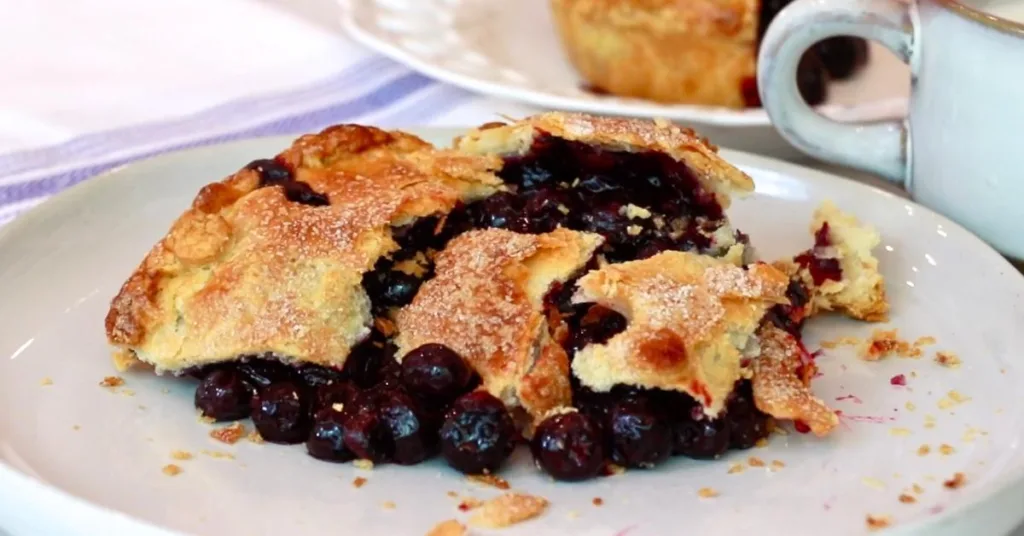
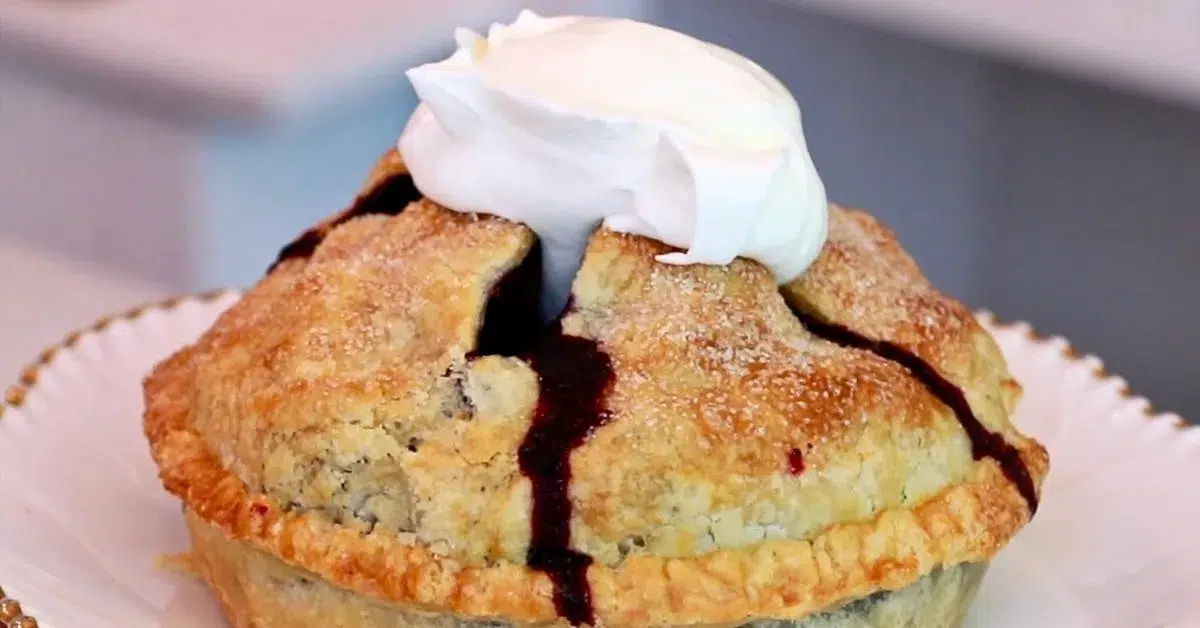
This pie tastes amazing, especially when it's warm and fresh. Nothing beats the melty filling and the flaky pie crust!
I often like to bake on smaller pie plates like today because I can enjoy the flaky and crispy pie crust in every single bite. They taste so perfect together.
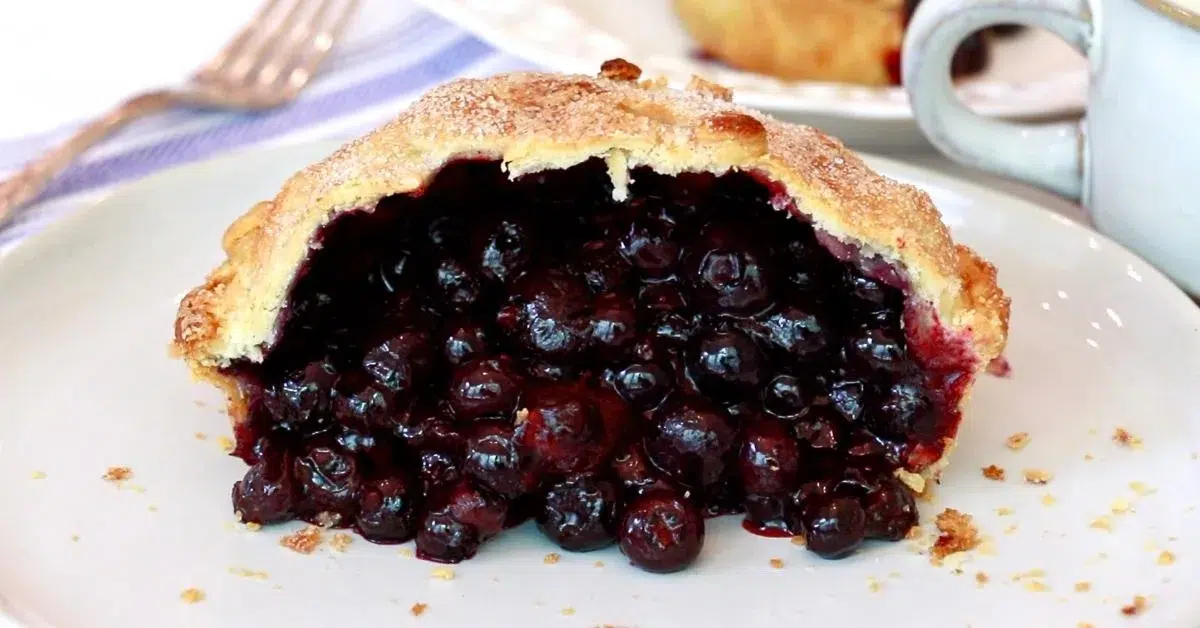
📌 How To Store Blueberry Pie
Cover it with plastic wrap or store it in a container, and you can store it for up to four to five days, although I recommend consuming it sooner.
When the pie is cold:
The filling gets much thicker when cold because of its cornstarch.
I recommend warming it up again before you eat it unless you like the texture!
How to reheat the blueberry pies:
Bake it again in the oven to maximize the crispiness of the crust.
Bake at 350 F | 176 C for 10 to 20 minutes or longer, depending on the oven or the size of the pans.
📌 Frequently Asked Questions
Cover it with plastic wrap or store it in a container, and you can store it for up to 4 - 5 days, although I recommend consuming it right away when you can.
Yes, you can! Some frozen blueberry bags might contain a lot more liquids, so drain them first if necessary.
Yes! Just note that the bigger the pans are, the longer you'll have to bake them in the oven. Adjust the time and temperature accordingly.
📌 VIDEO: Watch How To Make It!
To learn how to make blueberry pie visually and have a deeper understanding of all, watch this video!
Don't forget to subscribe if you liked it 😉
📌 Other Pie & Tart Recipes
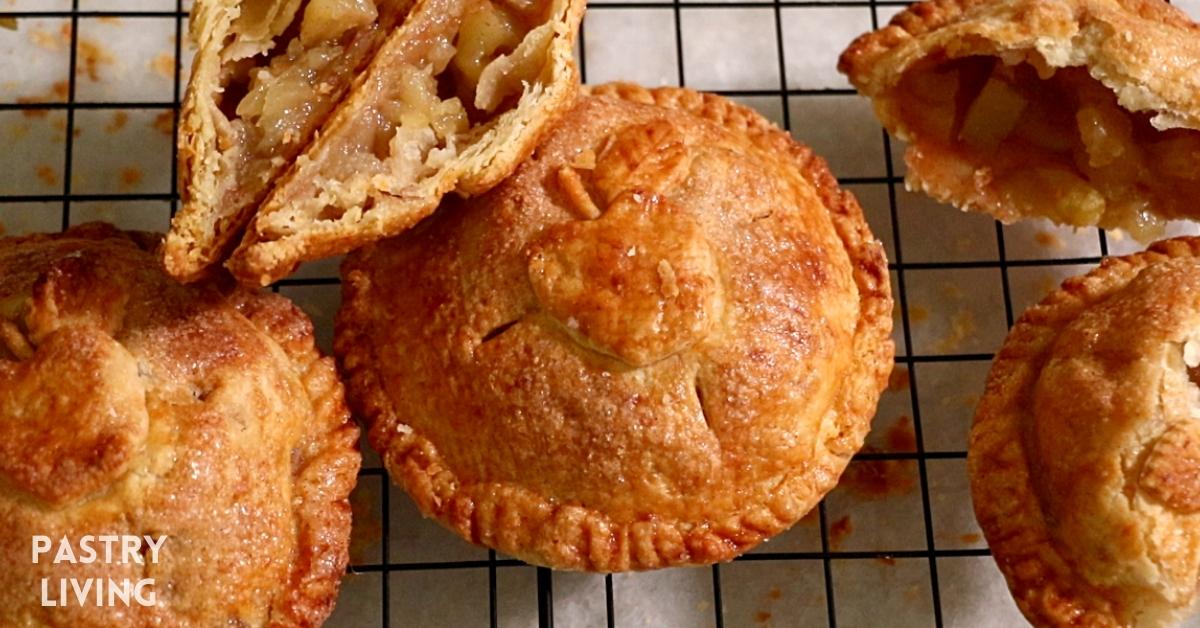
Apple Hand Pies
If you loved this blueberry pie, also check out the delicious apple hand pie recipe! This is what I like to bake often during the Holiday season.
📌 Printable Recipe
💬 If you loved this recipe, please share your feedback on this post! I always love hearing how you enjoyed it with your friends and family.
Amazing Blueberry Pie
Equipment
- Food processor
- Knife
- Bowl
- Spatula
- Rolling Pin
- Plastic wrap
- Pie plates I used 4 5" ramekins today. You can use any pie plates you like, from smaller to bigger sizes.
- Brush
- Baking tray
Ingredients
Pie Dough
- 13.2 oz All-purpose flour 3 US cups * Calculated as 1 cup = 125 g
- 1 tablespoon Granulated sugar
- ½ teaspoon Salt
- 8 oz Unsalted butter 2 US sticks
- 3.9 oz Icy water ⅓ + ⅛ US cups
- 1 tablespoon Oil I used olive oil, but you can use any other regular oils
- Some Bread flour to roll the dough
- Some Butter to apply on pie plates (optional)
Blueberry Pie Filling
- 4 oz Granulated sugar ½ US cup + 1 Tbsp
- ½ teaspoon Salt
- 4.5 tablespoon Cornstarch
- ½ teaspoon Cinnamon powder or 1 teaspoon if you love cinnamon!
- from 2 lemons Lemon zest
- 36 oz Blueberry about 6.5 US cups
- 2 tablespoon Lemon juice Adjust the amount as you like.
To Finish Assembling
- Some Butter
- Some Egg wash Egg : Water = 1 : 1
- Some Granulated sugar
Instructions
Pie Dough
- Make one batch of my pie dough. Divide in half and wrap each. Let it rest in the fridge for a few hours.13.2 oz All-purpose flour, 1 tablespoon Granulated sugar, ½ teaspoon Salt, 8 oz Unsalted butter, 3.9 oz Icy water, 1 tablespoon Oil
- Roll it very thin; 0.1 inches | 2 - 3 mm thickness. Use one sheet for the bottom layer and the other for the top layer. (Chill it in the fridge until right before use.)Some Bread flour
- Cut the dough for the bottom layer and set them on pie plates. (I used 4 5" ramekins to make 4 pies today. Change as you like.)Some Butter
Blueberry Filling
- Mix all the dry ingredients in a bowl; granulated sugar, salt, cornstarch, cinnamon powder, and Lemon zest.4 oz Granulated sugar, ½ teaspoon Salt, 4.5 tablespoon Cornstarch, ½ teaspoon Cinnamon powder, from 2 lemons Lemon zest
- Mix it with blueberries and lemon juice well.36 oz Blueberry, 2 tablespoon Lemon juice
- Divide it into pie plates.Scrape off all the left liquids attached to the bowl!
Finish Assembling & Bake!
- Place some chunks of butter on top of the filling.Some Butter
- Cut out the 2nd pie sheet (Today, I cut 3 circles and stripes for 4 5" plates.) and make cuts on the surface to create any patterns you like.
- Apply egg wash on the edge of the dough and seal the filling with the 2nd layer.Some Egg wash
- Apply eggwash all over the surface and sprinkle some granulated sugar all over it.Some Granulated sugar
- Chill them in the fridge before baking. (30 mins - 1 hour)
- Bake (Preheated) at 380 F | 193 C for about 45 - 50 minutes until the filling starts bubbling out.Adjust the time and temperature depending on the oven and the size of the plates.Enjoy them while they are warm for the best taste!
Video
Notes
Nutrition
📌 Pin It!
Pin it if you love this recipe, and find so many other recipes on my Pinterest page!





Katrina says
Thank you for your work, you’re an excellent teacher. Question: if using frozen berries, to thaw or not to thaw?
ayacaliva says
Thank you! You don't need to thaw it, just remove unnecessary ice chunks from them if there is any. The temperature should go up a lot by the time the pie is ready to be baked - but bake longer if the juice is not coming out from the pie yet! Hope that helps 😉