
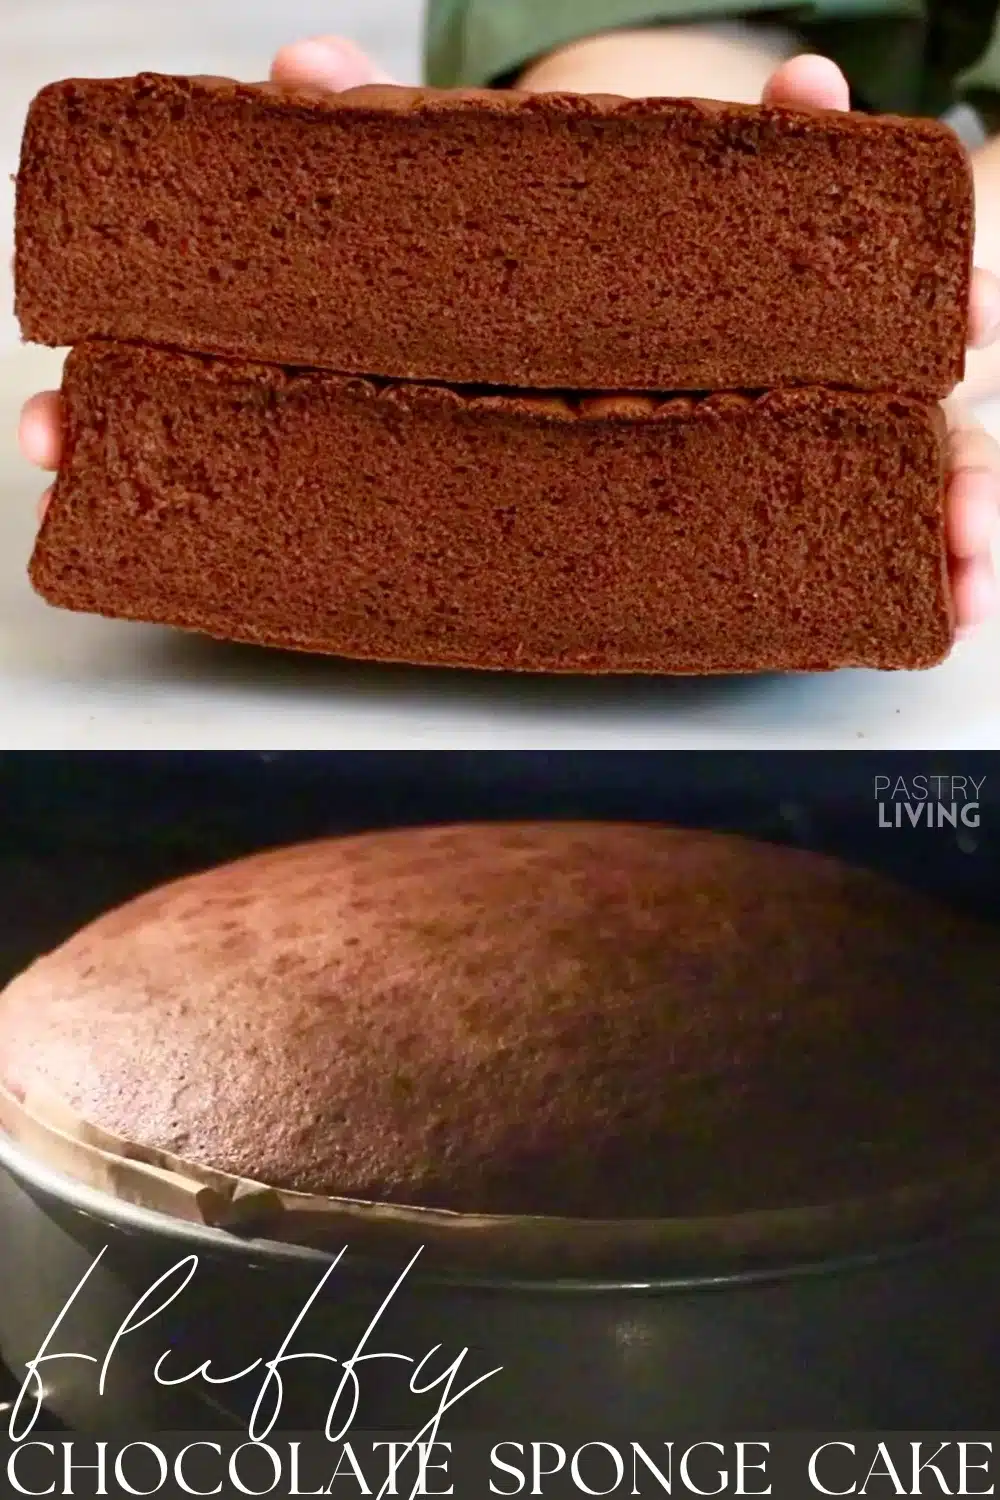
I'm guiding you through the crucial tips to make an incredibly fluffy and moist chocolate sponge cake at home, even if you are a beginner. It's not overly sweet and perfectly chocolatey, and the best part is it is so easy to make! Use this airy sponge cake for any chocolate cake you wish for.
Best Chocolate Sponge Cake
This chocolate sponge cake recipe was developed from my fluffy vanilla sponge cake recipe. If you are looking for a simple vanilla sponge cake, definitely try that one too - It is so light, fluffy, and moist. You'll notice I changed the ratios and amounts of ingredients quite a lot for this chocolate cake recipe - I tested multiple times over the years to finally make this perfect sponge cake.
I first created the chocolate sponge cake recipe by reducing the amount of cake flour and alternating it with cocoa powder. Although it was still delicious, there were some minor issues - The whipped eggs deflated quickly after adding cocoa powder due to the oil inside, which required you to move very fast to prevent the air bubbles from getting eliminated too much. Also, the cake was not as moist as my vanilla sponge cake due to the cocoa powder.
After many trials & errors, I solved the 2 issues by increasing the amount of milk and oil quite a lot, adding baking powder, and mixing cocoa powder with milk and oil ahead before adding it to the whipped eggs. A game changer. they made a drastic difference! The cake is now as fluffy and moist as my vanilla sponge cake, perfectly chocolatey, and more beginner-friendly. I had so many chocolate sponge cakes, but this is absolutely my favorite recipe that I use most often for a variety of chocolate cakes.
Sponge cake is very simple to make, but you definitely need to have the right knowledge to perfect it - Flat, dense, or dried sponge cake... have you had the issues before? Well, say goodbye to them today! In this post, I am sharing all the troubleshooting tips and detailed instructions to really master the cake.
Let's get started. 💪🏻

📌 What Is Chocolate Sponge Cake?
Chocolate sponge cake is a chocolate version of plain sponge cake - It's made by adding either cocoa powder or melted chocolate to it. Melted chocolate tends to make the sponge cake heavier due to more content of cacao butter. For this recipe, I used cocoa powder to keep it lighter.
What type of sponge cake is this?
This chocolate sponge cake is a genoise sponge cake. It is made by whipping whole eggs and sugar together before adding flour. On the contrary, biscuit sponge cake is made by whipping up egg whites and egg yolks separately before adding flour, which is called the Biscuit method.

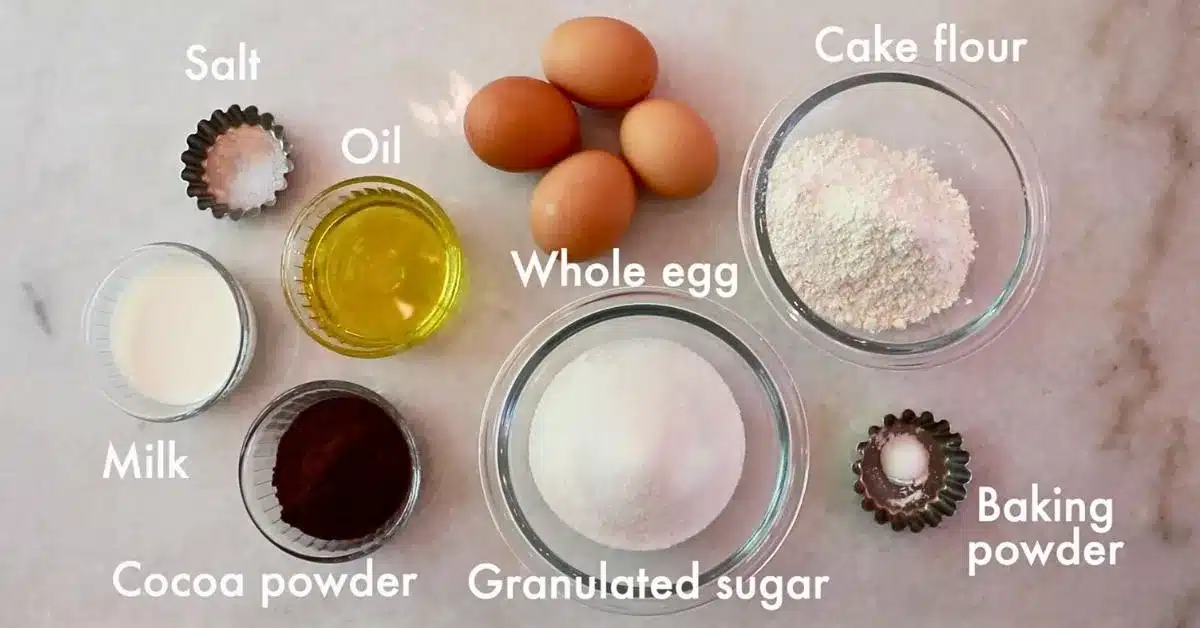
📌 Ingredients To Make Chocolate Sponge Cake
- Egg: The whipped egg rises in the oven and creates a light & airy texture. Whipping them enough is one of the most important things to create a fluffy sponge cake.
- Granulated sugar: Sugar helps to create a more fine and moist texture. It also works as a preservative.
- Milk: It makes the sponge moister. Use whole milk for a richer flavor.
- Oil: Any regular oils work, such as canola oil and vegetable oil. I use olive oil as a healthier option. Compared to melted butter, the sponge cake rises more with oil and stays lighter after it's cooled since butter is heavier and gets solid at room temperature. Use melted butter when you want to prioritize a richer flavor over density.
- Salt: A hint of salt is added to enhance the chocolate flavor.
- Cocoa powder: Use any of your favorite unsweetened cocoa powder. Higher-quality cocoa powder tends to look darker and has a richer flavor.
- Cake flour: Use cake flour instead of all-purpose flour to make a fluffier texture with more volume.
- Baking powder: Baking powder is one of the leavening agents, helping to push the cake up in the oven to create a fluffy texture. The oil in cocoa powder pops air bubbles in the whipped egg a lot more than regular flour, but baking powder prevents the cake from getting denser.
Can I use all-purpose flour instead of cake flour to make genoise sponge cake?
Unfortunately, the answer is no. I do not recommend it. The sponge texture gets a lot denser with all-purpose flour which contains more proteins that create more glutens. I also tried the recipe by reducing all-purpose flour and alternating it with cornstarch - The cake rises a lot with them but the texture gets drier, powdery, and loses some moistness. Nothing was as good as cake flour so far and I will be very honest with this one since I do not want you to ruin your effort. Try searching it online if you can not get it at local stores. I get it on Amazon almost every time!
📌 Tools To Make Chocolate Sponge Cake
- Baking pan: I used 6-inch and 8-inch round cake pans in the post. You can also bake it in a variety of pans, such as a sheet pan, cupcake pan, square pan, etc.
- Parchment paper: (Optional) Use it as a cake liner so that the cakes come out from the pan easily.
- Stand mixer with a whisk attachment or hand mixer: When using a hand mixer, ensure it can whip fast at high speed. The speed is essential to create a fluffy sponge cake.
📌 Step-By-Step Instructions To Make Chocolate Sponge Cake
Preparation
- Preheat the oven: to 355ºF (180ºC)
- Prepare hot, gently simmering water to warm eggs in a medium saucepan.
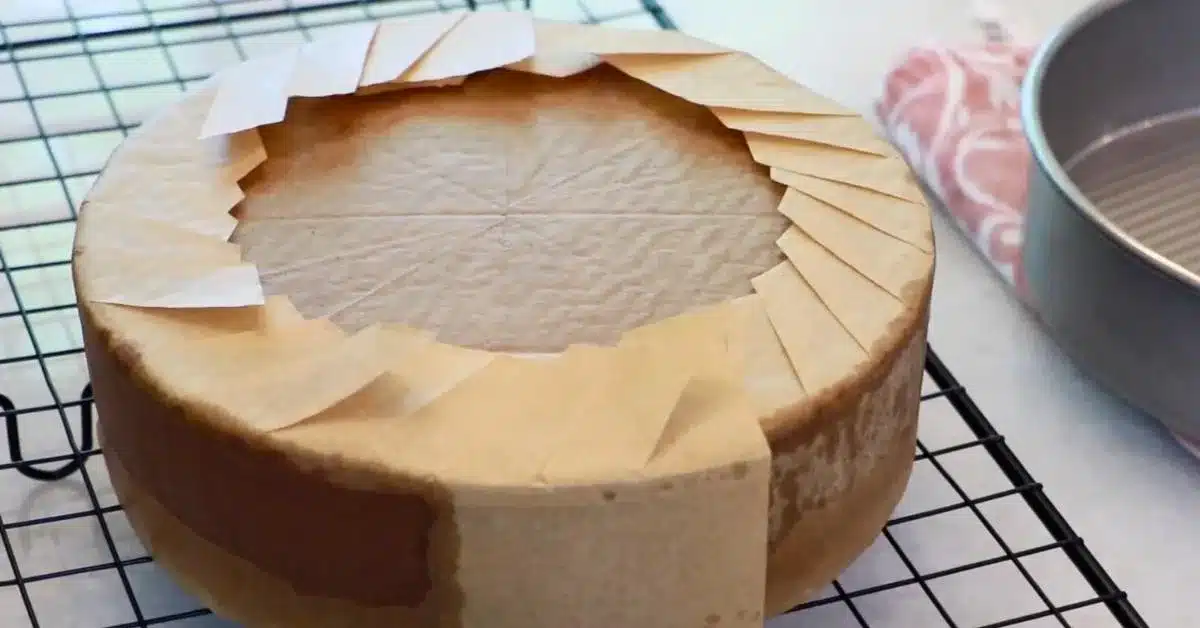
- Set up cake liners inside a pan using parchment paper. (Or coat a thin layer of butter, dust flour, and toss the excess flour.)
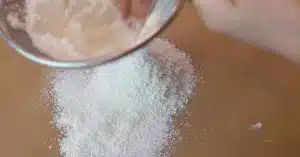
- Sift cake flour and baking powder together using a fine mesh sieve.

Tip💡
Before you start, ensure that your tools and ingredients (and even your hands!) are clean with no liquids, oil, or any dirt because they prevent eggs from whipping well to make a fluffy sponge cake.
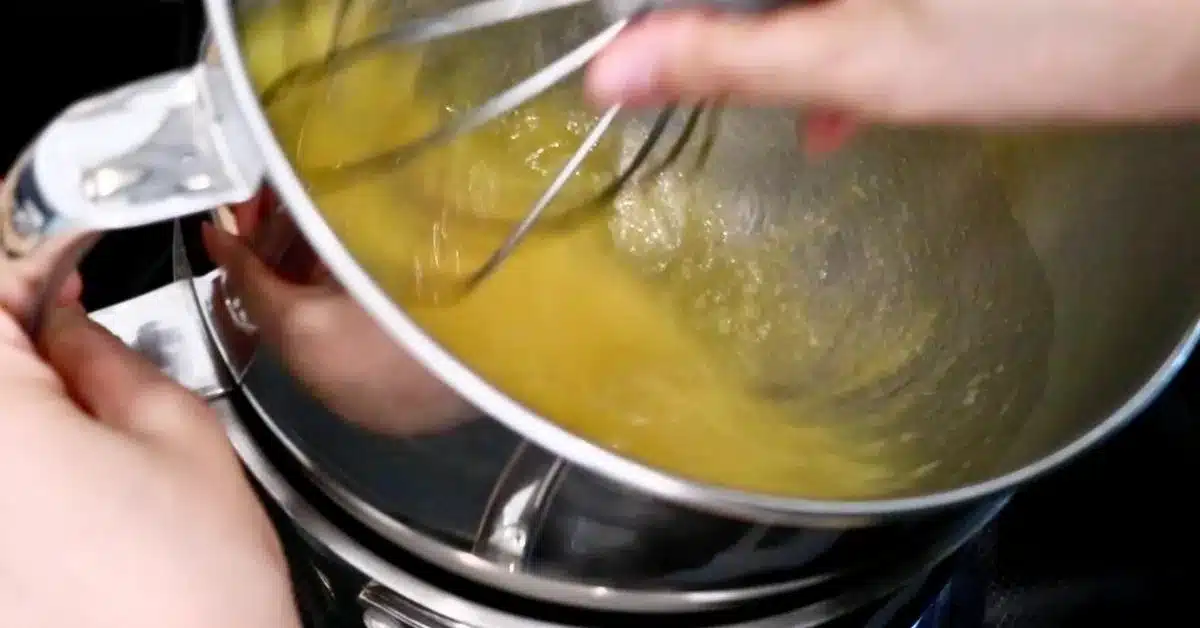
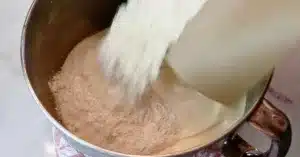
Warm whole eggs and sugar with hot water.
- Mix eggs and sugar in a mixing bowl until combined.
- Heat the bowl with a water bath while mixing it constantly to prevent the eggs from getting cooked partially.
- Continue heating it until it feels warm like a bath when touching it with a finger (100 - 113ºF | 37.5 - 45ºC. It was 107ºF | 42ºC this time!)
Tips💡
- Avoid using boiling water since there is a chance that eggs get cooked partially.
- Warm eggs get whipped much more than cold eggs. It takes a lot longer time to whip them enough when they are cold or the eggs do not get whipped enough when the mixer is not powerful enough.
Whip the eggs and sugar.
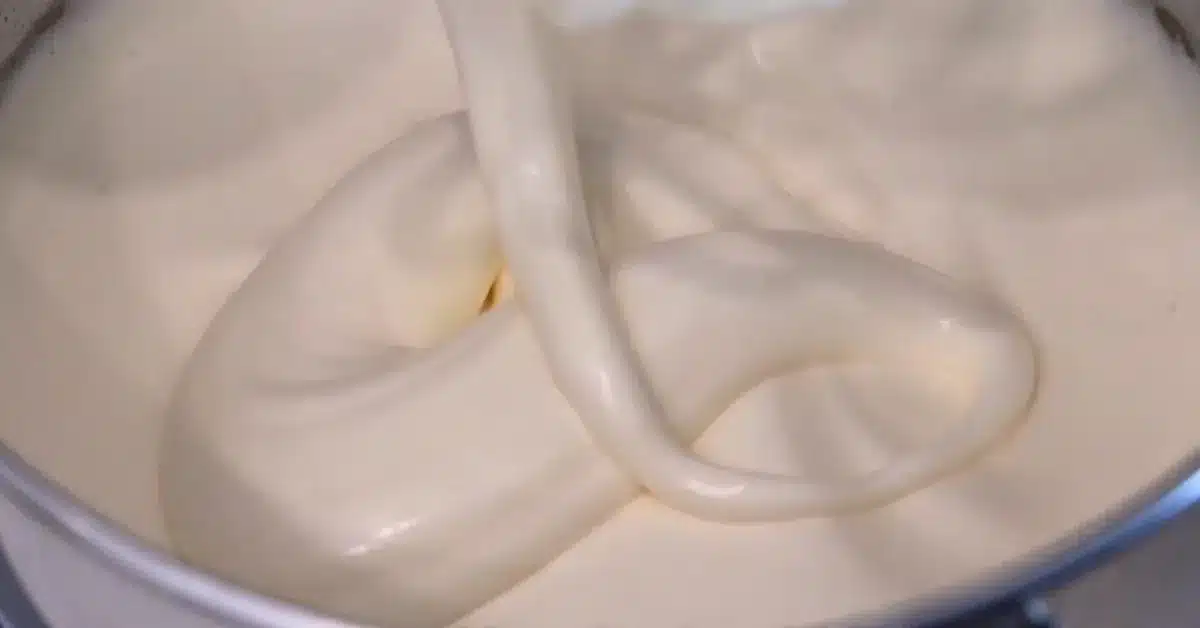
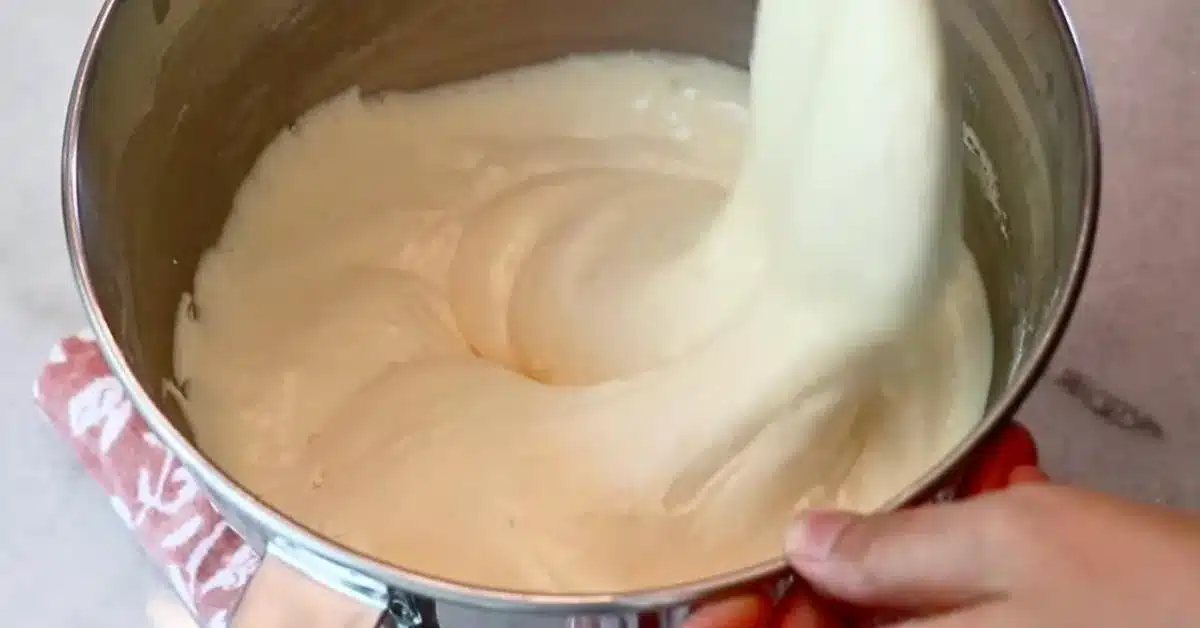
- Start whipping the mixture at high speed immediately before it cools down. Continue whipping it until it gets very fluffy. To check if it's whipped enough, scoop it with a whisk and drop - It should flow slowly, and the lines should stay on the surface. Whipping eggs enough is the most important part of this sponge cake!
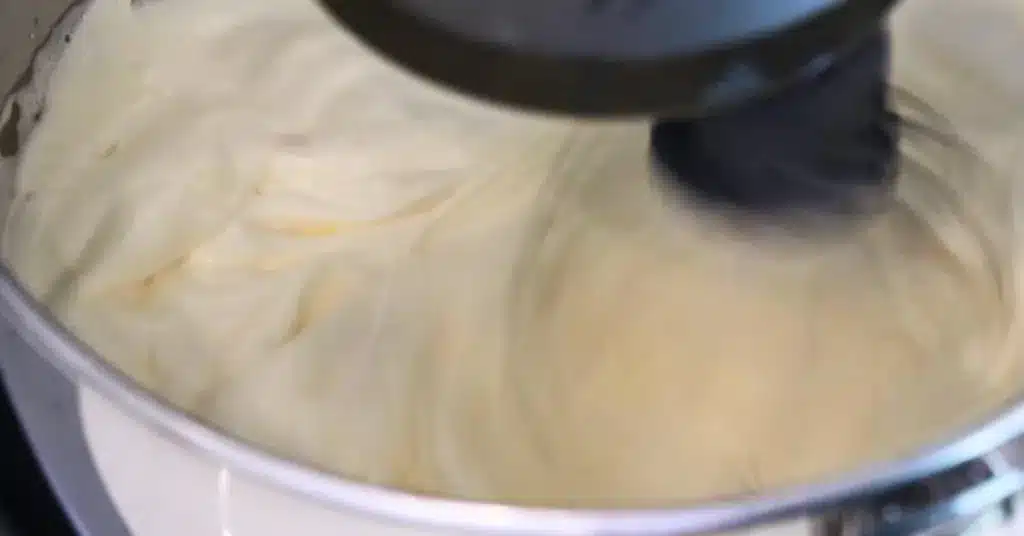
- Finish it at low speed to make air bubbles smaller until it looks silky and glossy. To check if it's done, scoop the batter with a whisk and draw a line. It should flow slowly, and the line should stay on the surface.
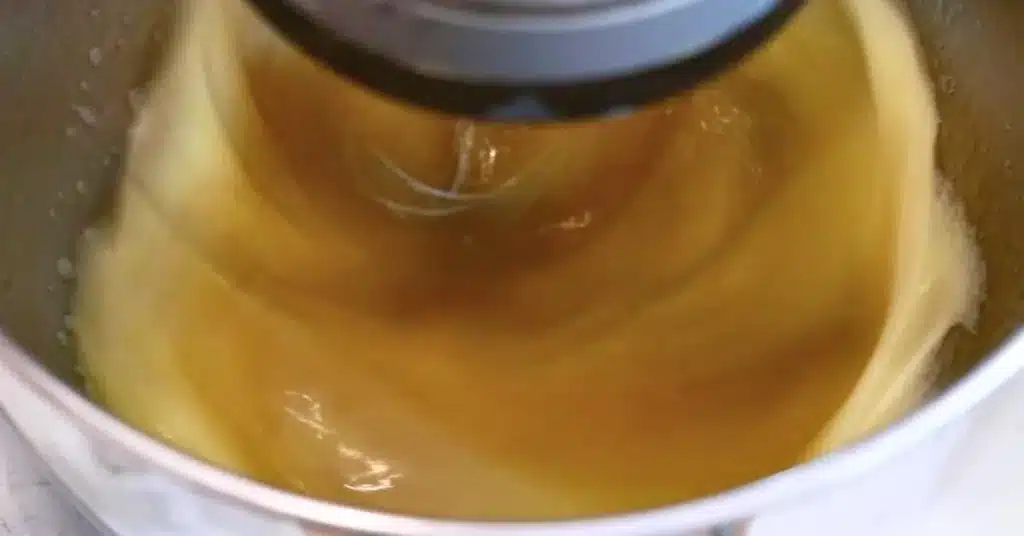
After whipping it at high speed:
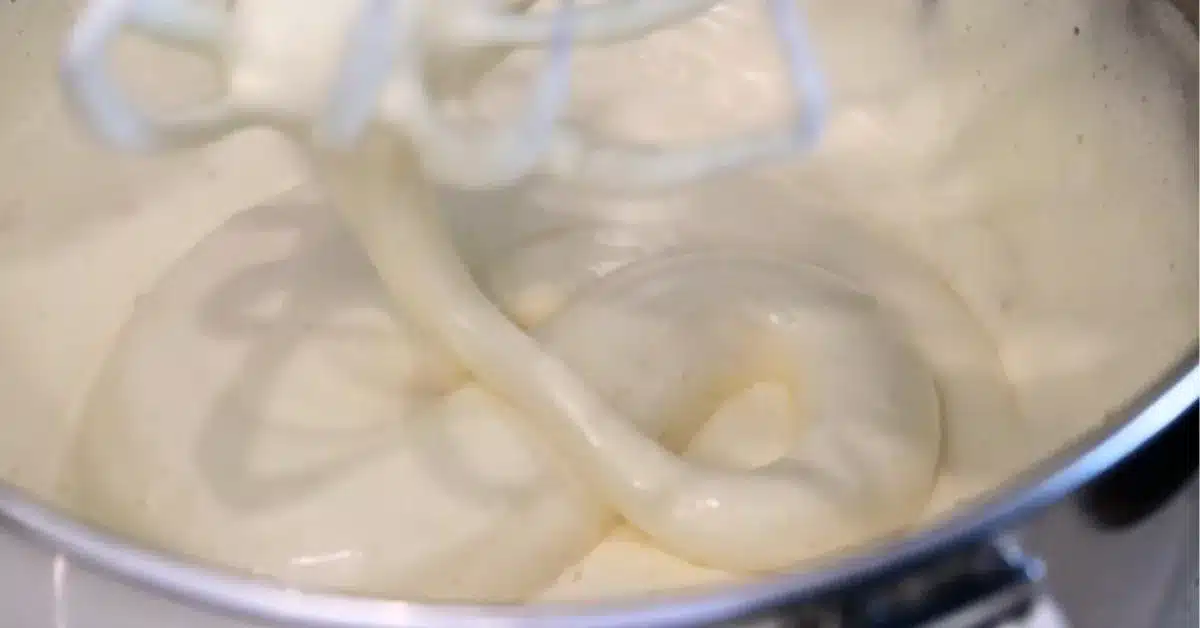
After whipping it at low speed:
Tips💡
- The biggest key to this fluffy sponge cake is to whip eggs A LOT and let them contain lots of air. Many people fail here by not whipping them enough.
- Finishing the mixture at low speed is very important to make all the air bubbles a lot smaller to create a silkier, fluffier sponge. The texture of the sponge gets rougher when you skip the process. Also, bigger air bubbles are more fragile than smaller ones and get eliminated more as you mix, which leads to a little bit shorter sponge cake. I whip at low speed for at least 5 - 10 minutes, but judge with your eyes to be most accurate!
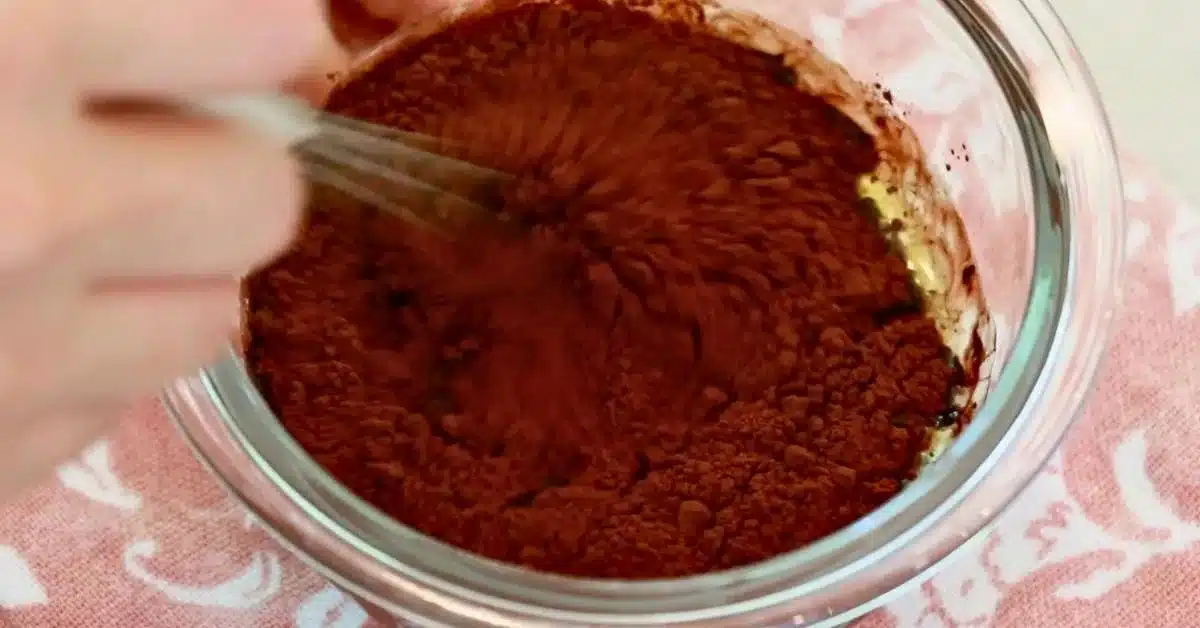
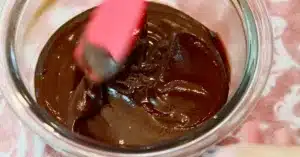
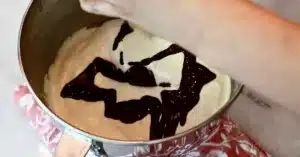
Mix milk, oil, salt, and cocoa powder together.
While whipping eggs at low speed, mix milk, oil, salt, and cocoa powder together. (You can also finish it in advance as preparation.)
In the beginning, it'll look separated and lumpy. Continue mixing fast until smooth. Clean the bowl on the way and check if there are any lumps of cocoa powder left. We don't want them in the finished sponge cake!

Add sifted cake flour and baking powder and fold.
Add the sifted flour to the whipped eggs and fold it with a spatula until you don't see any flour. Flip the bottom of a bowl and scrape off the sides of the bowl on the way to pick up any flour left.

Tips💡
- Finish folding the batter as fast as possible, pour it into a pan, and bake it immediately before the whipped eggs get popped too much.
- You can see the whole footage of how I fold it in the video tutorial (It's listed toward the end of the post). I recommend watching it to check the movement and speed.
- Flour is almost always hiding in the bottom of the bowl. Flip well to make an even batter!
4 tips for folding cake batter
If you are not confident of folding it, try the 4 tips:
- Move your spatula like you draw a "J."
- Turn your bowl as you move a spatula to mix the batter evenly.
- Fold it with speed: It helps to break down chunks of flour. More air bubbles remain in the eggs by finishing up faster, resulting in a taller, fluffier sponge.
- Clean your spatula and bowl on the way to ensure you do not miss any uneven parts.
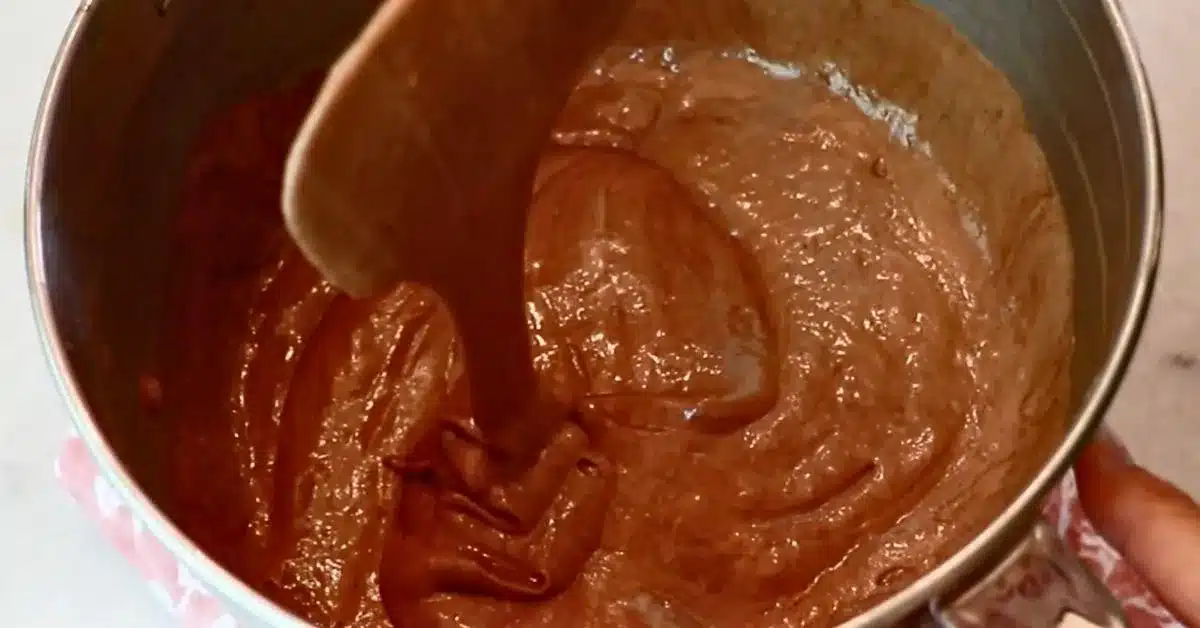
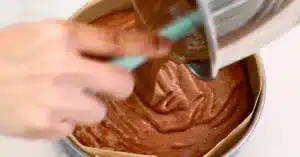
Add the cocoa powder liquids and fold.
Once you don't see any flour, add the cocoa powder liquids and continue folding until it looks evenly mixed. Drop it all over the surface instead of at one spot so it doesn't sink in. Clean a spatula and bowl on the way to ensure everything is incorporated evenly.

Tips💡
- The air bubbles disappear quicker, especially after cocoa powder is added. Keep in mind to fold fast.
- Be careful not to over-mix the batter; The over-mixed cake batter will not rise as much in the oven even if you whip eggs well. Stop folding as soon as everything is evenly blended.
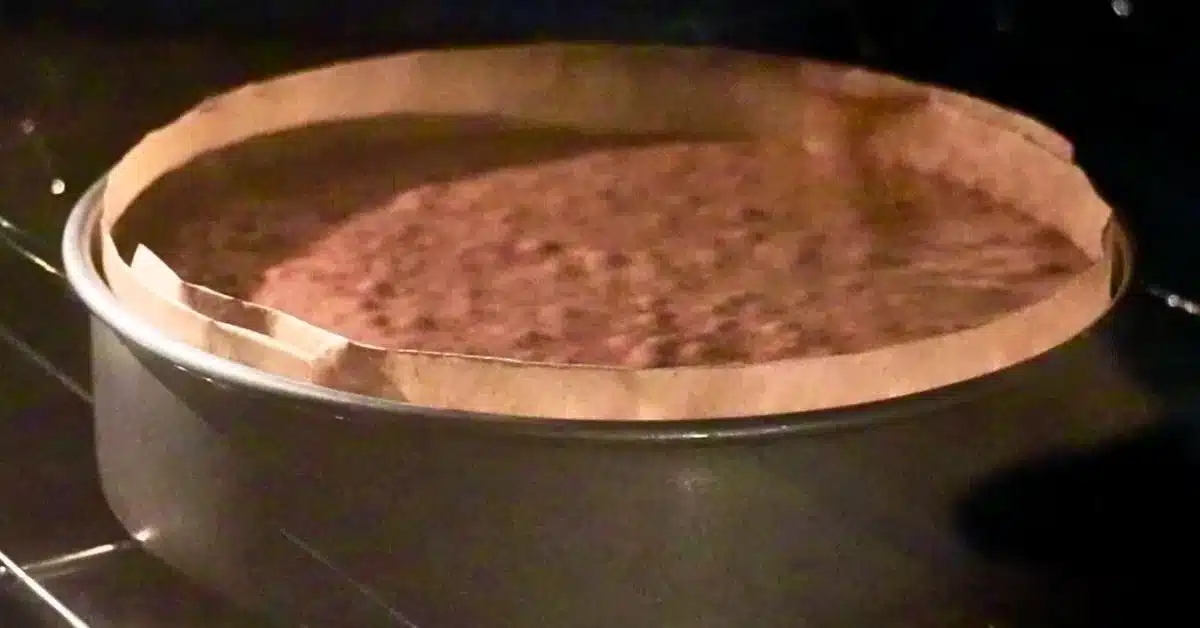
Pour it into the pan and bake!
- Pour the cake batter into the prepared pan immediately. Avoid touching it too much and pour it all at once.
- Remove some big air bubbles by swirling them with a toothpick and tossing the pan on a counter gently for some time. (I usually do 3 - 5 times)
- Bake it at 355ºF (180ºC) for about:
- 36 - 38 minutes for 1 8-inch pan
- 27 - 32 minutes for 2 6-inch pans (from one batch)
- 25 - 27 minutes for 1 6-inch pan (from half batch)
- 35 minutes for 1 6-inch pan (from 0.75 batch) for a tall cake
Adjust the oven temperature and time accordingly.


How to check if the sponge cake is baked enough
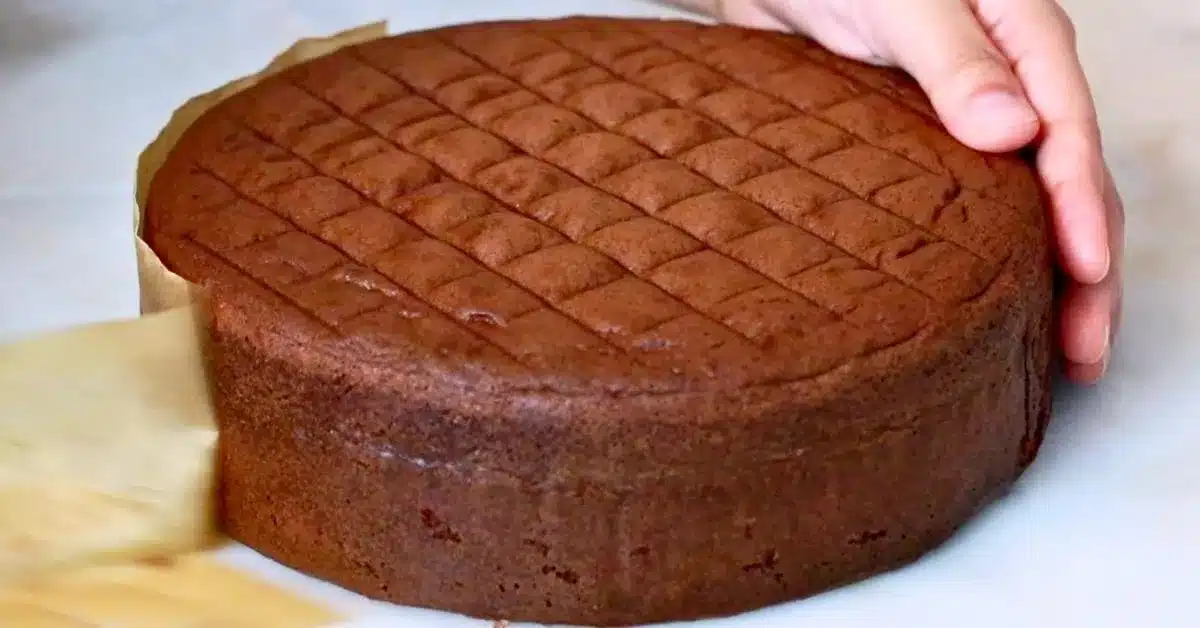
- The sponge shrinks a tiny bit when the center is cooked through. Pay closer attention toward the end to see the slight change.
- Carefully touch it with your fingers and see if it bounces back gently.
- You'll hear very slight bubble sounds, but they should bounce back gently.
- Wear a glove or something to protect your skin if necessary.
- Insert a toothpick in the center and see if it comes off clean.
- Some cake crumbs are fine as long as it is not wet.
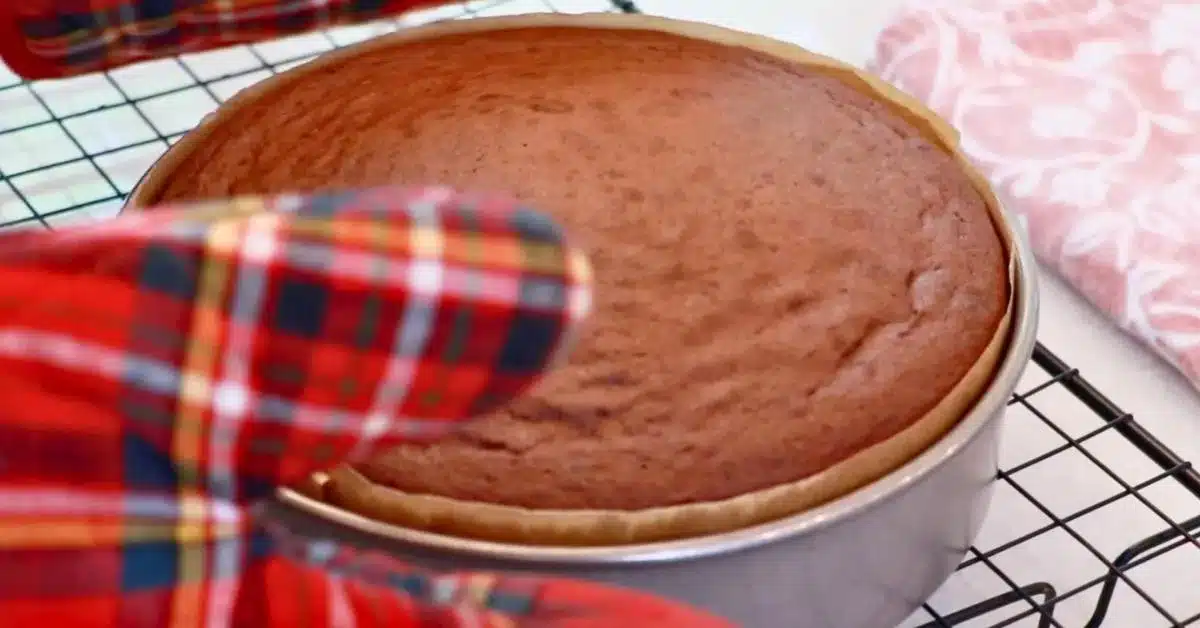
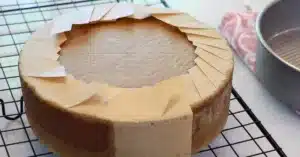
After it's out of the oven
- Toss the pan some time on a counter to release some steam.
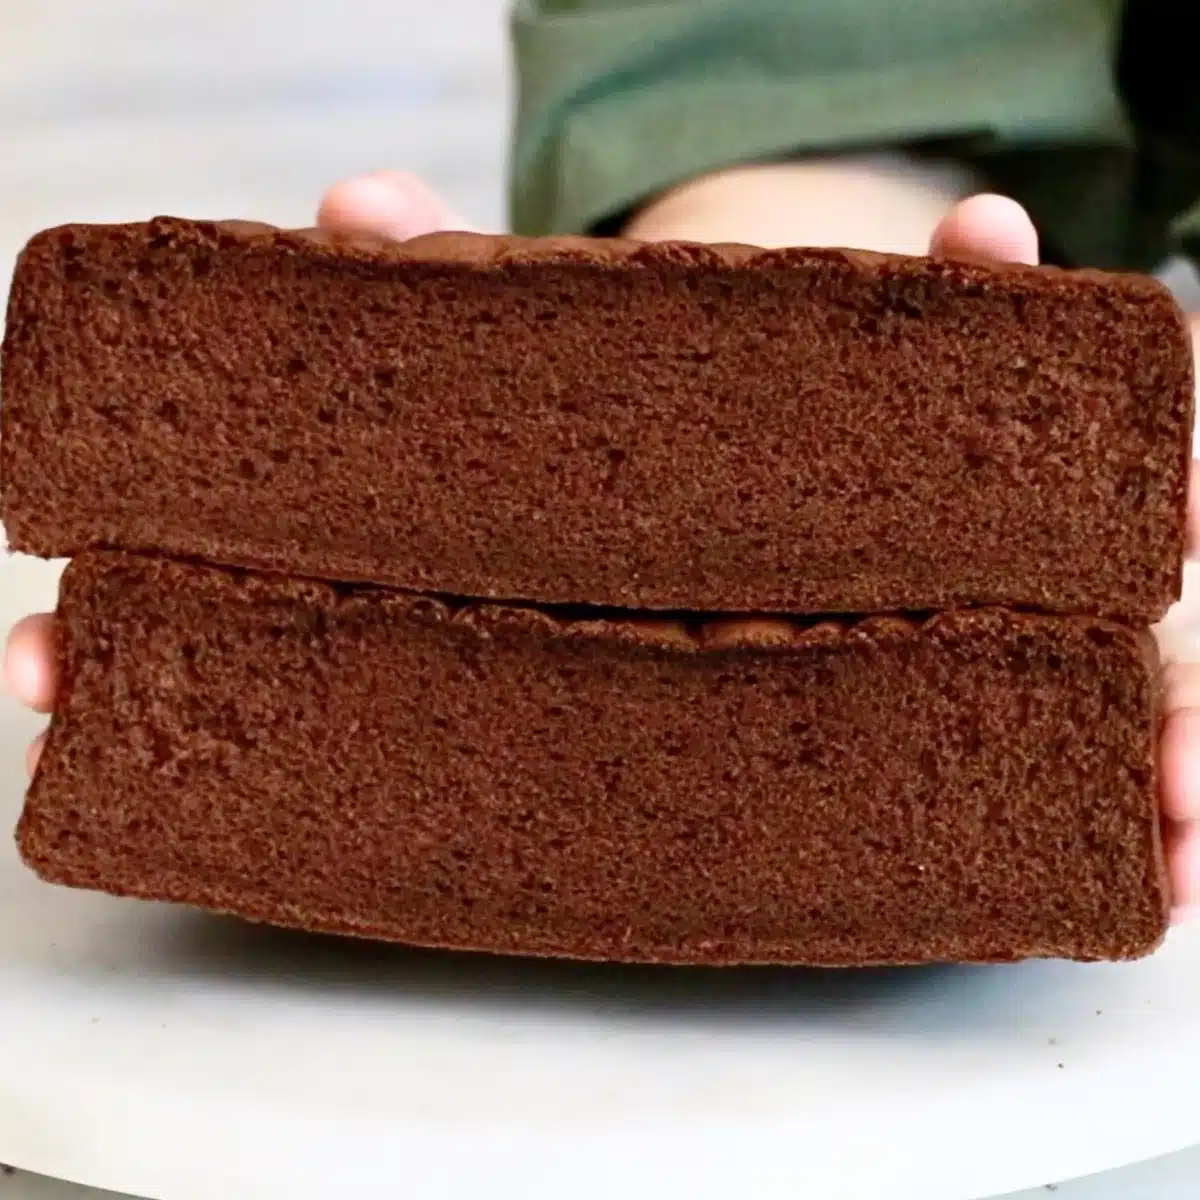
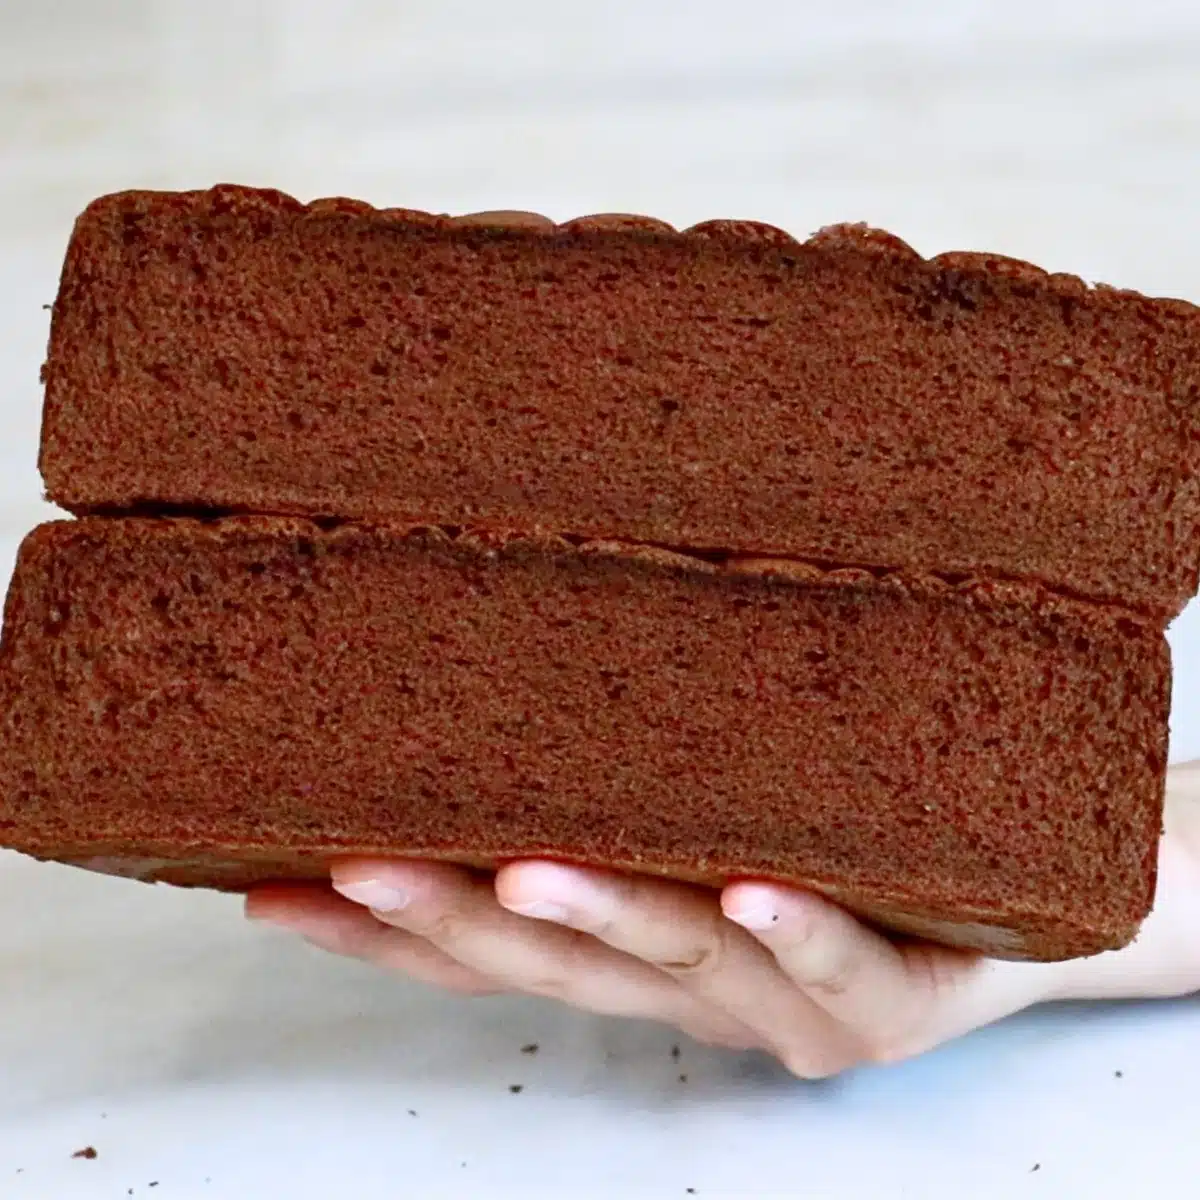
- Flip it on a cooling rack so the top surface gets flat after it cools down. Remove the pan and let the cake cool completely. It's difficult to slice the cake clean when it's still warm.
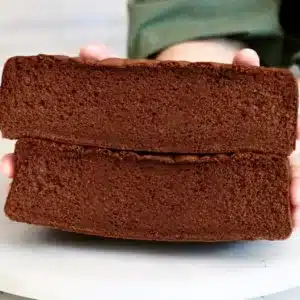
- Once cooled, split the cake into layers with a serrated knife to create a layered cake.
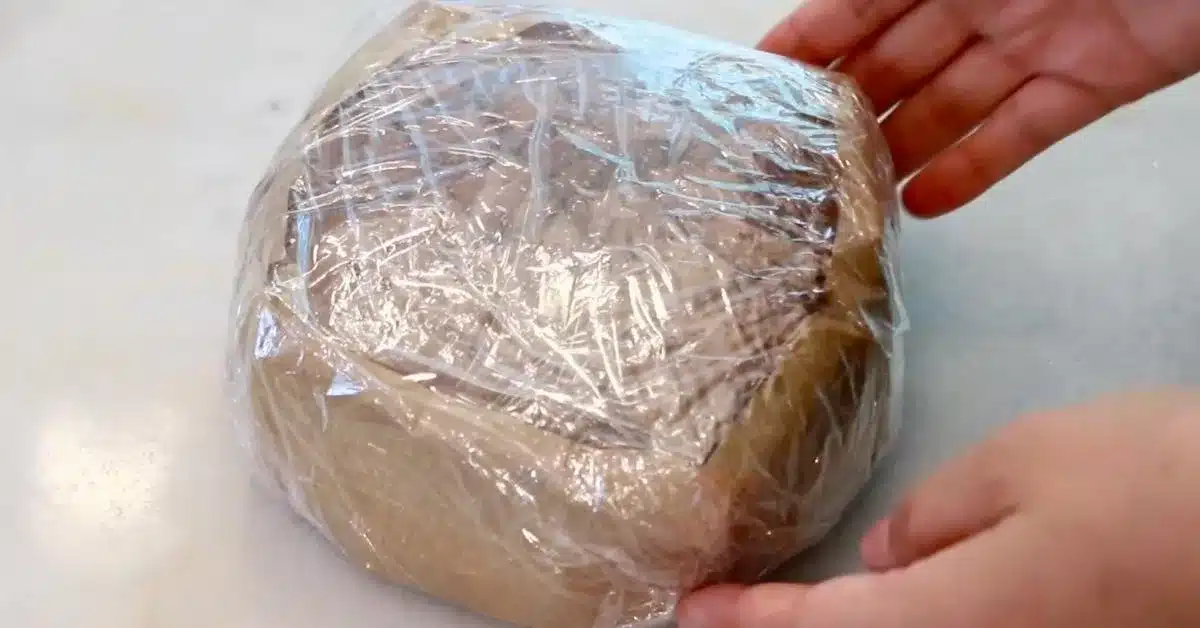
📌 How To Store Chocolate Sponge Cake
Wrap it tightly (twice, ideally) with plastic wrap so it's not getting dried. Store it in the fridge for a few days or about two months in the freezer. I recommend consuming it within the day for the best taste!
📌 Simple Syrup
The airy sponge cake dries quicker than richer cakes with more fat and liquid contents, such as butter cakes. I recommend applying some cake syrup, especially when not serving the cake within the day.
How to make simple cake syrup:
Melt the sugar with hot water. (or heat them in the microwave or a saucepan.)
The most commonly used ratio is 1:1. Adjust the ratio as you like!
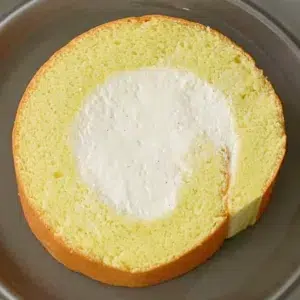
📌 Uses For Chocolate Sponge Cake
My favorite thing about this recipe is that it is incredibly versatile. Enjoy it in many ways to complete your special cake!
- Whole cakes: From classic to custom cakes, use it for any whole cake, such as black forest cake, chocolate mousse cake, chocolate ganache cake, etc.
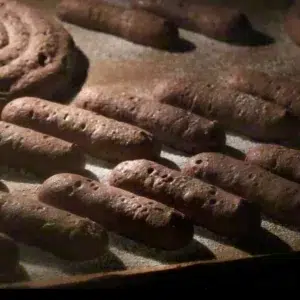
- Cupcakes: This makes amazing cupcakes as well. Just bake for a shorter time! (9 - 15 mins)
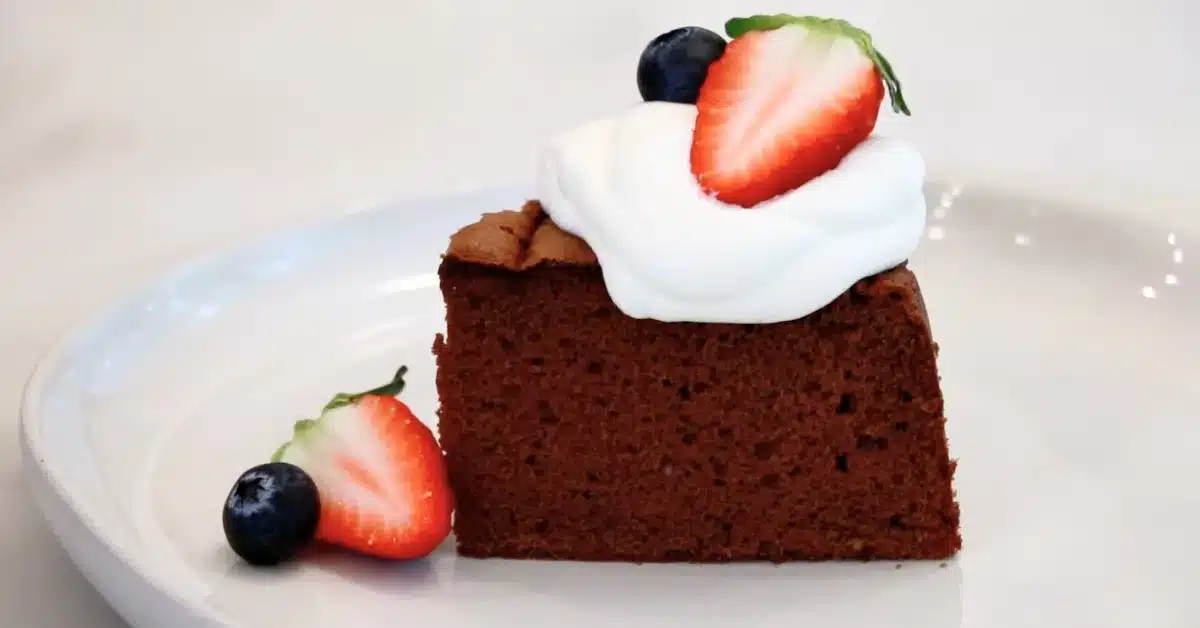
- Plated desserts: Use it for petit gateau or as decoration on the plates as the finishing touch!
Chocolate frosting to pair with chocolate sponge cake
- Chocolate whipped cream
- Chocolate mousse
- Chocolate buttercream
- Chocolate ganache
Finish the cake with any topping, such as fresh fruits or herbs!
📌 Troubleshooting Tips
The sponge cake is dense.
The possible causes & solutions
- The eggs were not whipped enough - Whip more so that the cake batter can contain enough air bubbles to rise in the oven.
- The batter was over-mixed - Fold until the batter flows smoothly like a ribbon when scooping and dropping it with a spatula.
- It took too long to fold the cake batter and put it in the oven - Try folding it as fast as you can and bake it right away while the condition is the best.
The sponge cake texture is rough.
The possible causes & solutions
- The cake batter was not whipped enough at a low speed at the end of the whipping process - Continue whipping until it looks silky and glossy.
- The batter was not folded enough at the end. The under-mixed batter gives the sponge cake a rougher texture. (This one happens more for vanilla sponge cake. Over-mixing is more common for chocolate sponge cake due to cocoa powder.) - Fold until the batter is evenly mixed.
The sponge cake deflated a lot.
The possible causes & solutions
- The sponge cake was not baked enough - Bake until the center bounces back very gently.
- The recipe was measured with a cup - Weigh all the ingredients with a scale to be precise and get the best result.
📌 VIDEO: Watch How To Make It!
To learn how to make chocolate sponge cake visually and have a deeper understanding of all, watch the video tutorial!
Don't forget to subscribe if you liked it 😉
📌 More Fluffy Sponge Cake Recipe
If you liked this fluffy cake, also try other delicious sponge cake recipes!
- Strawberry Cream Cake
- Vanilla Roll Cake
- Buche De Noel
- Pumpkin Chiffon Cake
- Vanilla Sponge Cake
- Matcha Sponge Cake
📌 Printable Recipe
💬 Please share your feedback on this post! I always love hearing how you enjoyed it with your friends and family.
Fluffy Chocolate Sponge Cake
Equipment
- Stand mixer with a whisk attachment Or a bowl with a hand blender
- Medium saucepan
- Cake pan 1 8-inch pan or 2 6-inch pans for one batch of the recipe
- Parchment paper
- Fine mesh sieve
- Whisk
- Spatula
- Toothpick
Ingredients
- 4 large eggs Egg
- 4.9 oz Granulated sugar
- 2 oz Milk
- 2 oz Oil
- 2 Pinches Salt
- 1 oz Cocoa powder
- 2.8 oz Cake flour
- ½ teaspoon Baking powder
Instructions
Preparation
- * Preheat the oven: to 355ºF (180ºC)* Prepare hot, gently simmering water to warm eggs in a medium saucepan.* Set up cake liners inside a pan using parchment paper. (Or coat a thin layer of butter, dust flour, and toss the excess flour.)* Sift cake flour and baking powder together using a fine mesh sieve.Tip💡Before you start, ensure that your tools and ingredients (and even your hands!) are clean with no liquids, oil, or any dirt because they prevent eggs from whipping well to make a fluffy sponge cake.

Step 1 - 7
- Warm whole eggs and sugar with hot water.1. Mix eggs and sugar in a mixing bowl until combined.2. Heat the bowl with a water bath while mixing it constantly to prevent the eggs from getting cooked partially.3. Continue heating it until it feels warm like a bath when touching it with a finger (100 - 113ºF | 37.5 - 45ºC. It was 107ºF | 42ºC this time!)Tips💡1. Avoid using boiling water since there is a chance that eggs get cooked partially.2. Warm eggs get whipped much more than cold eggs. It takes a lot longer time to whip them enough when they are cold or the eggs do not get whipped enough when the mixer is not powerful enough.4 large eggs Egg, 4.9 oz Granulated sugar
- Whip the eggs and sugar.1. Start whipping the mixture at high speed immediately before it cools down. Continue whipping it until it gets very fluffy. To check if it's whipped enough, scoop it with a whisk and drop - It should flow slowly, and the lines should stay on the surface. Whipping eggs enough is the most important part of this sponge cake!2. Finish it at low speed to make air bubbles smaller until it looks silky and glossy. To check if it's done, scoop the batter with a whisk and draw a line. It should flow slowly, and the line should stay on the surface.Tips💡1. The biggest key to this fluffy sponge cake is to whip eggs A LOT and let them contain lots of air. Many people fail here by not whipping them enough.2. Finishing the mixture at low speed is very important to make all the air bubbles a lot smaller to create a silkier, fluffier sponge. The texture of the sponge gets rougher when you skip the process. Also, bigger air bubbles are more fragile than smaller ones and get eliminated more as you mix, which leads to a little bit shorter sponge cake. I whip at low speed for at least 5 - 10 minutes, but judge with your eyes to be most accurate!
- Mix milk, oil, salt, and cocoa powder together.While whipping eggs at low speed, mix milk, oil, salt, and cocoa powder together. (You can also finish it in advance as preparation.)In the beginning, it'll look separated and lumpy. Continue mixing fast until smooth. Clean the bowl on the way and check if there are any lumps of cocoa powder left. We don't want them in the finished sponge cake!2 oz Milk, 2 oz Oil, 2 Pinches Salt, 1 oz Cocoa powder
- Add sifted cake flour and baking powder and fold.Add the sifted flour to the whipped eggs and fold it with a spatula until you don't see any flour. Flip the bottom of a bowl and scrape off the sides of the bowl on the way to pick up any flour left.Tips💡1. Finish folding the batter as fast as possible, pour it into a pan, and bake it immediately before the whipped eggs get popped too much.2. You can see the whole footage of how I fold it in the video tutorial (It's listed toward the end of the post). I recommend watching it to check the movement and speed.3. Flour is almost always hiding in the bottom of the bowl. Flip well to make an even batter!4 tips for folding cake batterIf you are not confident of folding it, try the 4 tips:1. Move your spatula like you draw a "J."2. Turn your bowl as you move a spatula to mix the batter evenly.3. Fold it with speed: It helps to break down chunks of flour. More air bubbles remain in the eggs by finishing up faster, resulting in a taller, fluffier sponge.4. Clean your spatula and bowl on the way to ensure you do not miss any uneven parts.2.8 oz Cake flour, ½ teaspoon Baking powder
- Add the cocoa powder liquids and fold.Once you don't see any flour, add the cocoa powder liquids and continue folding until it looks evenly mixed. Drop it all over the surface instead of at one spot so it doesn't sink in. Clean a spatula and bowl on the way to ensure everything is incorporated evenly.Tips💡1. The air bubbles disappear quicker, especially after cocoa powder is added. Keep in mind to fold fast.2. Be careful not to over-mix the batter; The over-mixed cake batter will not rise as much in the oven even if you whip eggs well. Stop folding as soon as everything is evenly blended.
- Pour it into the pan and bake!1. Pour the cake batter into the prepared pan immediately. Avoid touching it too much and pour it all at once.2. Remove some big air bubbles by swirling them with a toothpick and tossing the pan on a counter gently for some time. (I usually do 3 - 5 times) 3. Bake it at 355ºF (180ºC) for about: * 36 - 38 minutes for 1 8-inch pan* 27 - 32 minutes for 2 6-inch pans (from one batch)* 25 - 27 minutes for 1 6-inch pan (from half batch)* 35 minutes for 1 6-inch pan (from 0.75 batch) for a tall cakeAdjust the oven temperature and time accordingly.How to check if the sponge cake is baked enough1. The sponge shrinks a tiny bit when the center is cooked through. Pay closer attention toward the end to see the slight change.2. Carefully touch it with your fingers and see if it bounces back gently. You'll hear very slight bubble sounds, but they should bounce back gently. Wear a glove or something to protect your skin if necessary.3. Insert a toothpick in the center and see if it comes off clean. Some cake crumbs are fine as long as it is not wet.
- After it's out of the oven1. Toss the pan some time on a counter to release some steam.2. Flip it on a cooling rack so the top surface gets flat after it cools down. Remove the pan and let the cake cool completely. It's difficult to slice the cake clean when it's still warm. 3. Once cooled, split the cake into layers with a serrated knife to create a layered cake.


Video
Notes
How to store it:
Wrap it tightly (twice, ideally) with plastic wrap so it's not getting dried. Store it in the fridge for a few days or about two months in the freezer. I recommend consuming it within the day for the best taste! [½ Batch] for 1 6” cake- Egg 2 large eggs
- Granulated sugar 2.45 oz | 70 g
- Milk 1 oz | 28 g
- Oil 1 oz | 28 g
- Salt 1 pinches
- Cocoa powder 0.5 oz | 14 g
- Cake flour 1.4 oz | 40 g
- Baking powder ¼ tsp
Nutrition
📌 Pin It!
Pin it if you love this chocolate sponge cake recipe, and find so many other recipes on my Pinterest page!


MEL says
Can I bake this in a hot water bath like done with your Fluffy Strawberry Cream Cake | Chiffon Cake ? Thank you Aya.
ayacaliva says
It is possible but not necessary since this is not chiffon cake (You normally don't need to when you use a chiffon cake pan but I found out it works better when you bake with round pans). This chocolate cake comes out moist and relatively flat without a water bath!
Brenda says
Could you tell me recipe for a gluten free version of genoise cake please.
ayacaliva says
Hi, I haven't successfully made one yet but hopefully I can sometime! Thank you for the request.
Kim says
If I want to use the 1.5x ingredients to make a taller cake, should I use 2 - 8inch pans? Or use 1 8x3inch pan? How long should I bake them for?
Thank you!
ayacaliva says
Hello! It works either way but if the height of the pan is not so tall, I recommend using 2 8" pans. The height of the 8" pan I used this time was 2" | 5 cm. The cake batter rises pretty well in the oven as you can see in the images. Also, the baking time gets shorter with 2 8" pan and longer with a 1 8" pan; Check if it's baked enough once the top of the cake shrinks slightly like in the image in the post.
Hope that help!!
Kate says
It turned out so light & fluffy. I had to repeat the cocoa/oil/milk etc combo because I think I over-whisked it & it looked like the milk separated. Did it a second time & I was cautious not to over-do it so the mixture looked silky but lumpy (not cocoa lumpy but not smooth). I whisked it carefully until it was just combined and added to the mixture and it turned out beautifully. I cut the finished cake in half, filled the middle with freshly whipped cream, marbled with mixed berry jam; topped with strawberry cream cheese frosting using freeze-dried strawberries; decorated with dark chocolate dipped fresh strawberries. Wish I could post a pic!
ayacaliva says
I'm so glad it turned out great! Thank you for sharing your feedback. I can imagine the cake looking so gorgeous😊
About the cocoa liquids mixture, they look a bit separate after the lumpy stage. It'll eventually get smooth by mixing more. You can use the smooth one, or separated one, they both work fine as long as the cocoa powder doesn't look lumpy!