
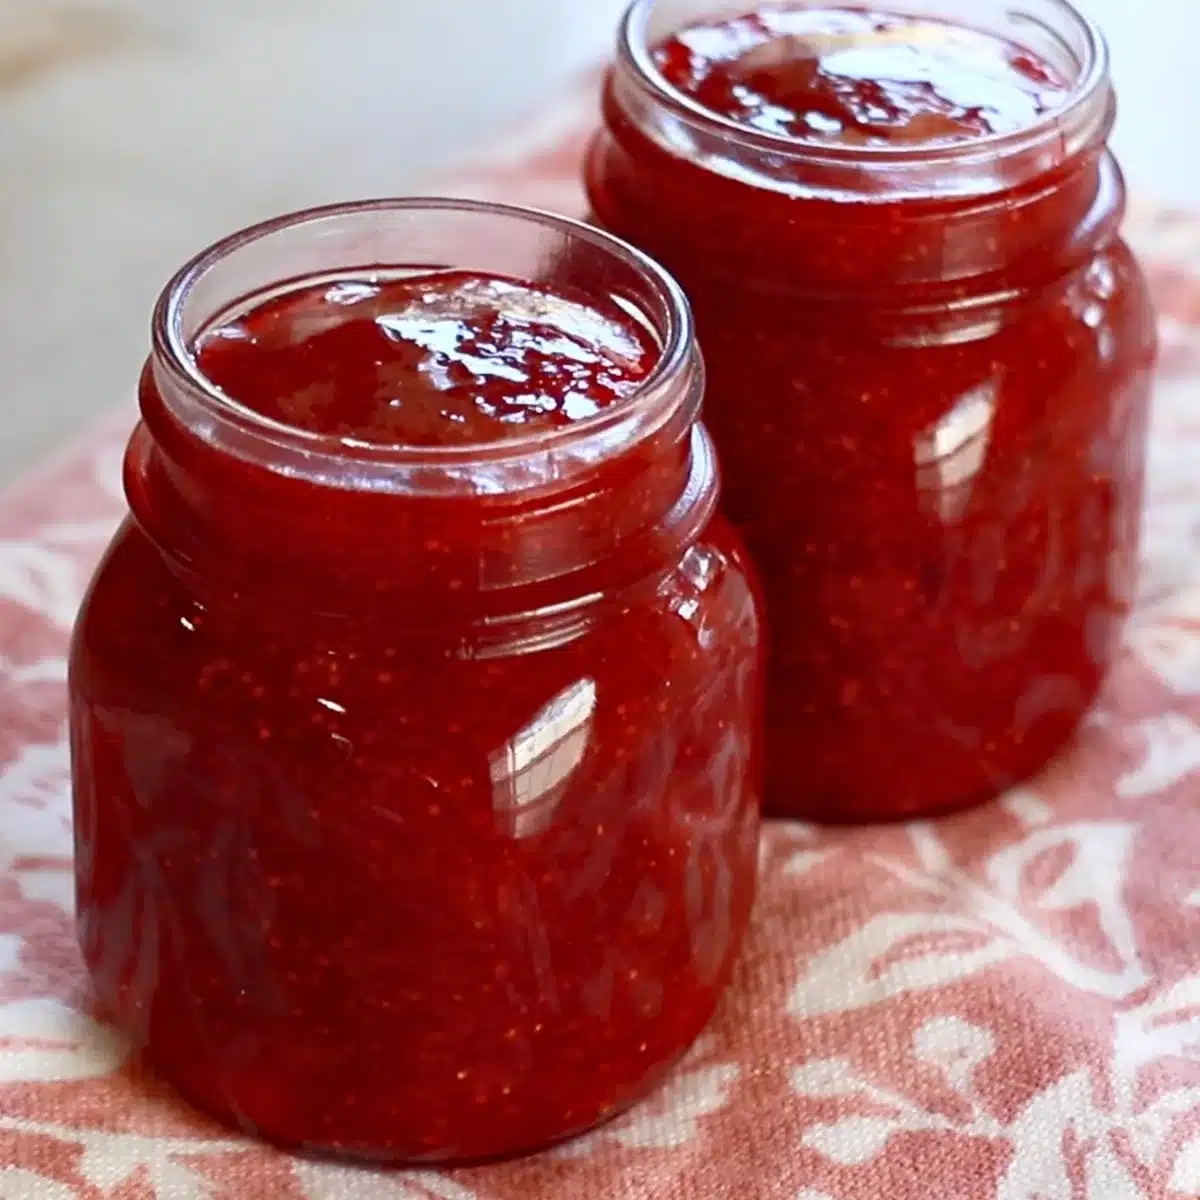
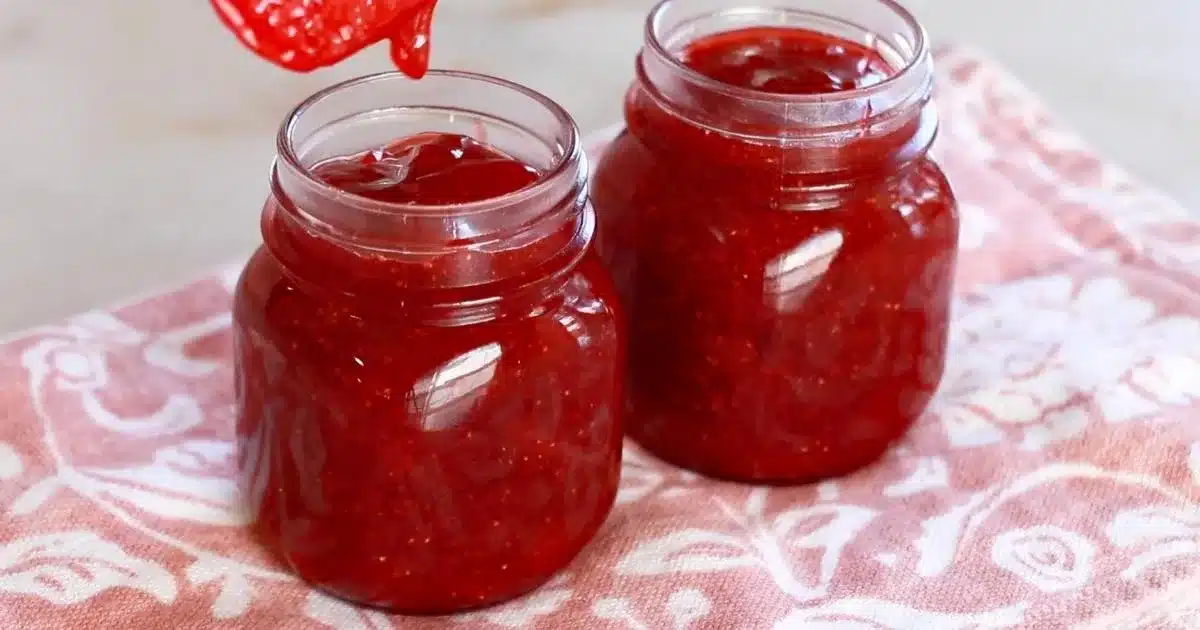
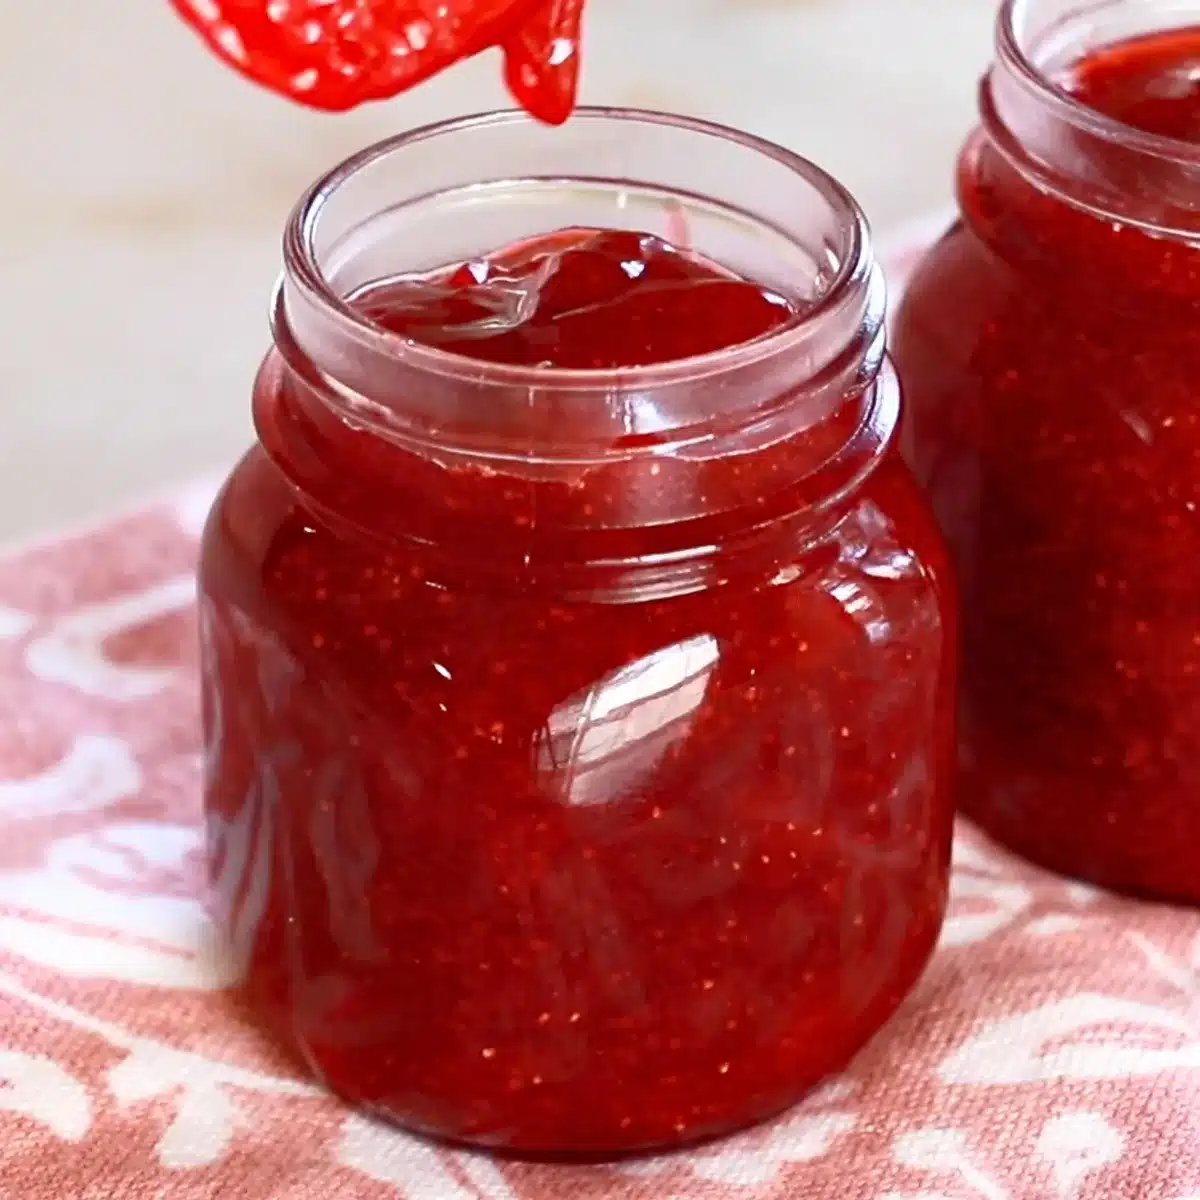
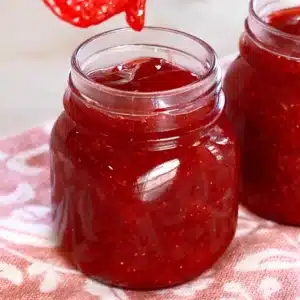
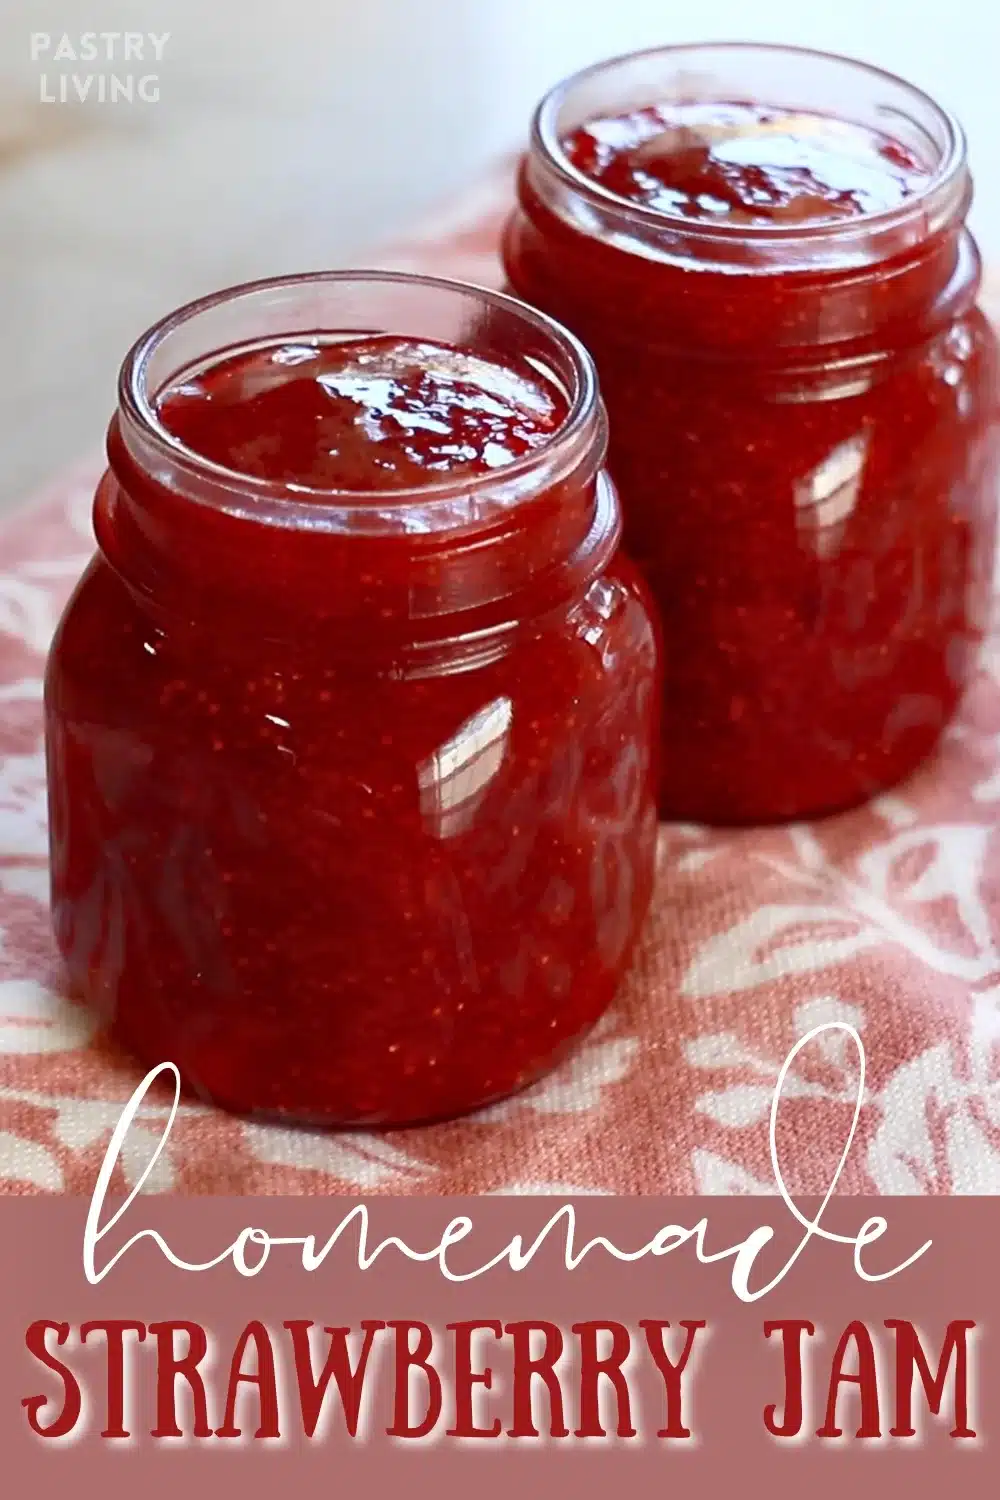
Make delicious homemade strawberry jam quickly with 3 simple ingredients! No pectin is required. This perfectly tangy & sweet jam goes well with almost any dessert - Enjoy it with bread, yogurt, scones, ice cream, cakes, tarts... and much more!

📌 What I love about this strawberry jam
- Simple ingredients: Make amazing fresh strawberry jam with just 3 ingredients.
- No pectin: You do not need pectins to make this strawberry jam.
- Easy steps: Homemade jam is incredibly easy to make, and the result is amazing. Follow the simple 5 steps!
- A great use for B+ Strawberries: It is a great way to consume not-the-best strawberries (such as hard ones, not-so-sweet ones, or a little bit mushy strawberries!) I like to store them in the freezer and make homemade jam when I get enough of them!
There are certain things I would take time to make at home even when they are available at stores, and strawberry jam is one of them. The prepacked strawberry jam with artificial additives tastes nothing like the homemade one - The bright fresh strawberry flavor spreads in a mouth with a perfect amount of tanginess and sweetness.
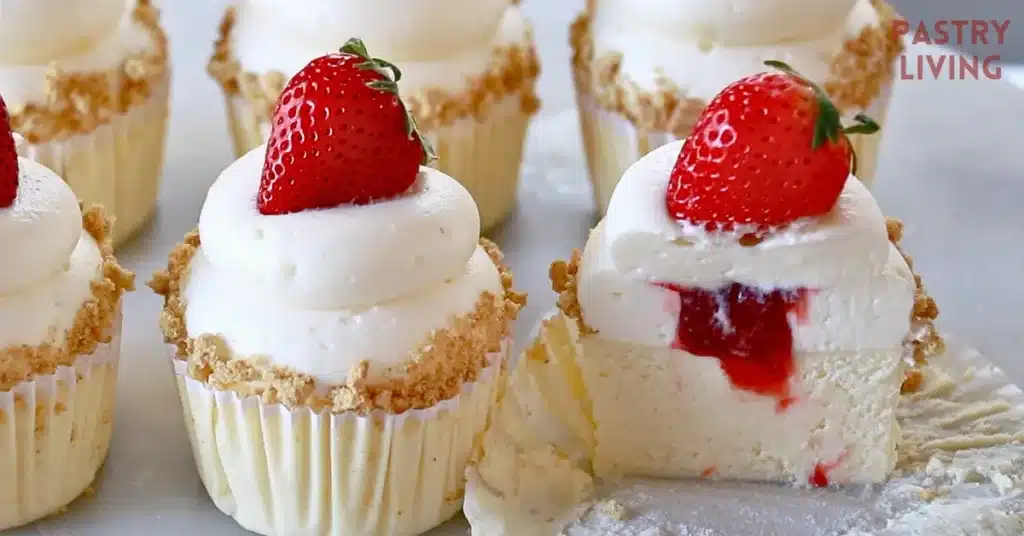
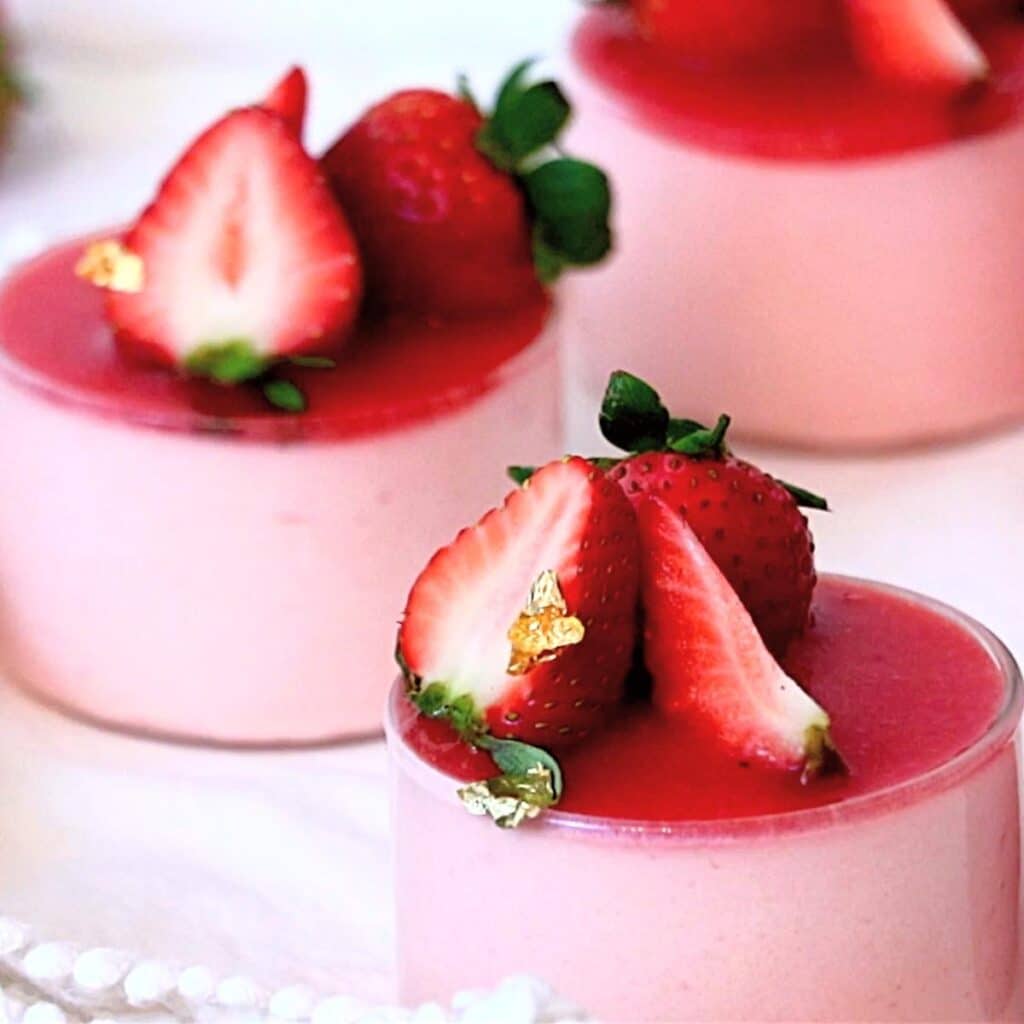
I make it every time I get a bunch of strawberries from strawberry picking. As a strawberry lover, I also make it throughout the year for strawberry cream cake, strawberry mini cheesecakes, fresh fruit tart, or toppings for souffle pancakes and toast.🍓 It makes your dessert taste exceptional!
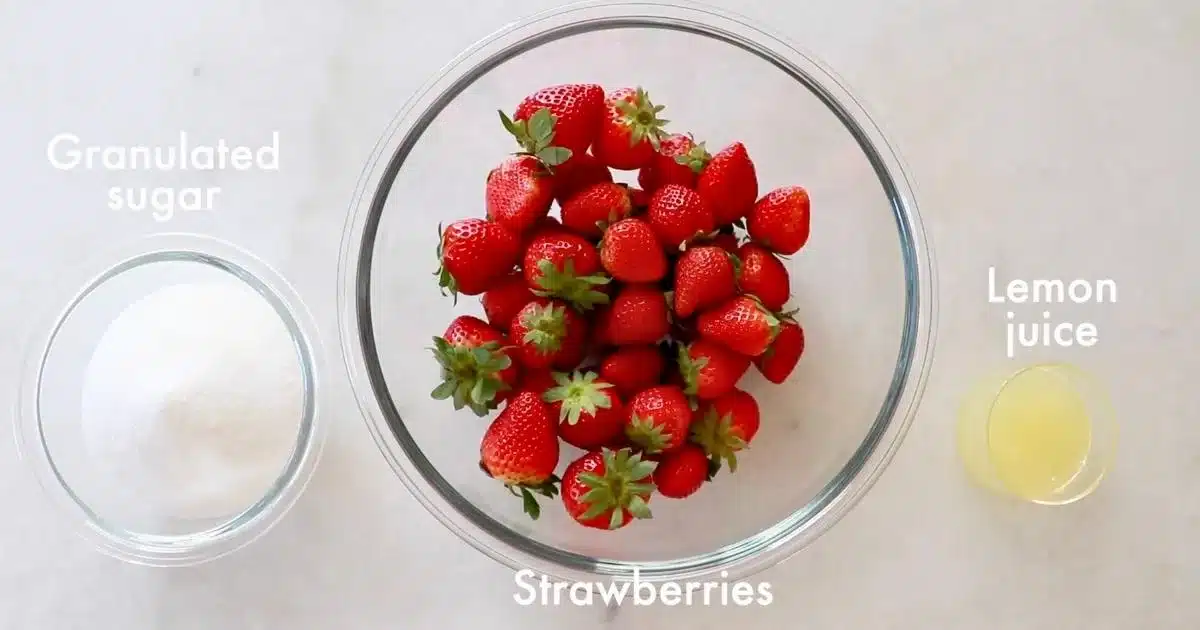
📌 3 Ingredients To Make Strawberry Jam
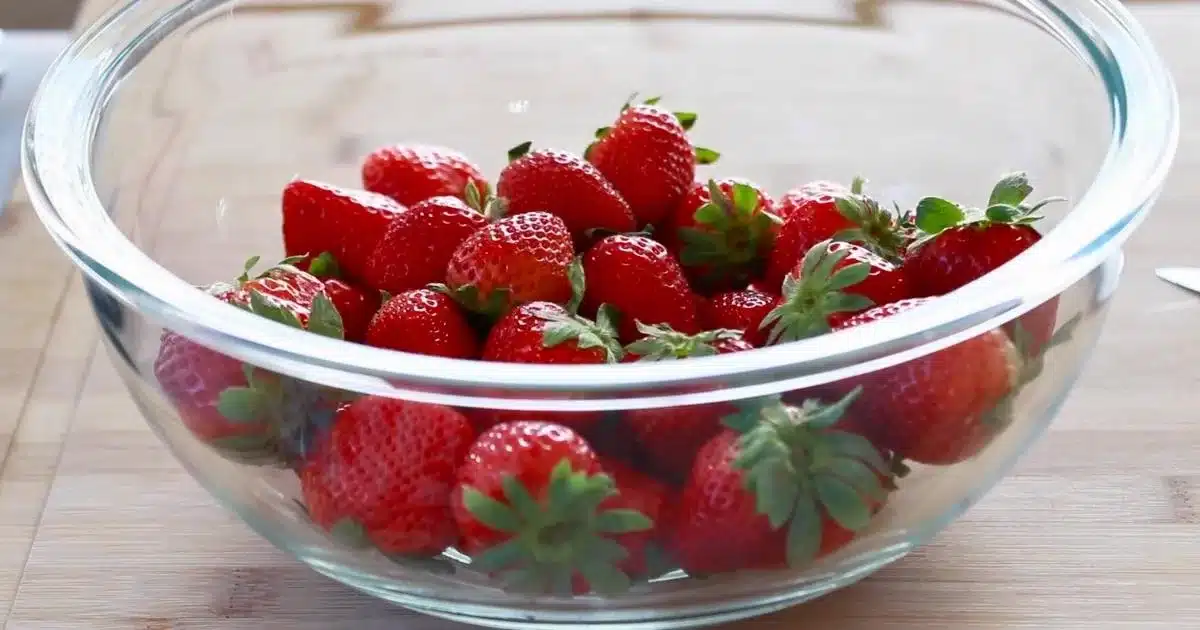
- Strawberries: Wash strawberries and dry them completely beforehand.
- Granulated sugar: Sugar helps to thicken the jam. It also works as a preservative.
- Lemon juice: Pectins in lemon juice help to thicken the jam a little bit more. It also helps to brighten the color of the jam. Use fresh lemon juice for the best taste, but the bottled lemon juice also does the job!
📌 Step-By-Step Instructions To Make Strawberry Jam
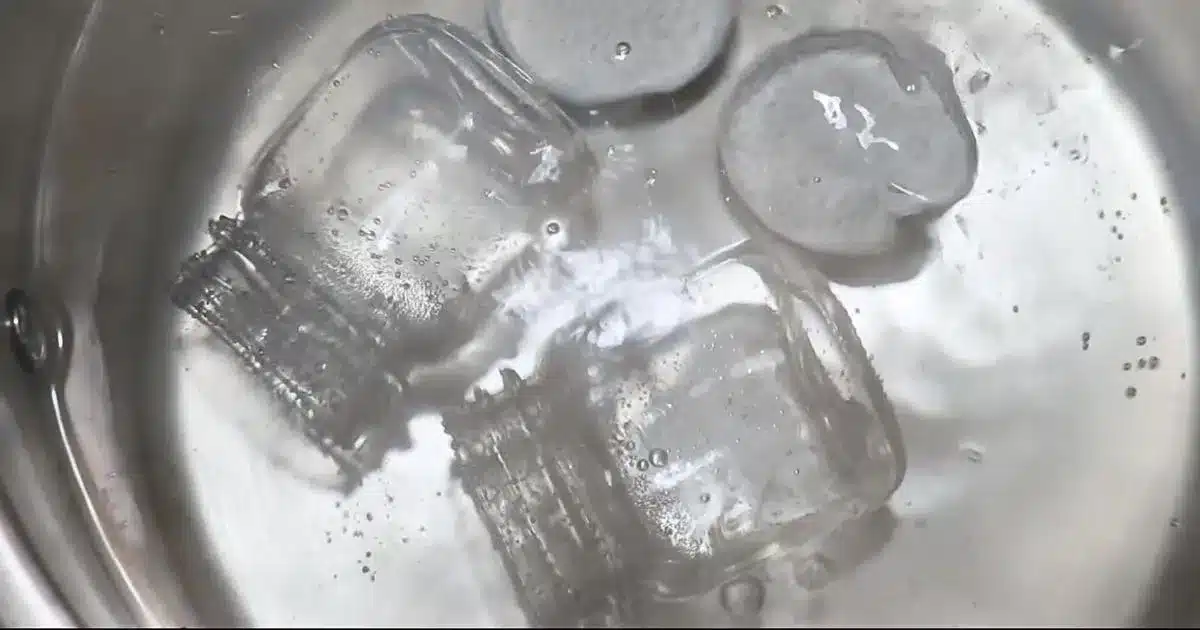
Preparation
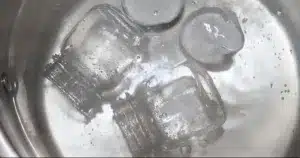
- Sterilize glass jars by sanitizing them in boiling water for more than 5 minutes. Dry them in the air on a wire rack.
- Wash strawberries and let them dry completely.
5 Steps To Make Strawberry Jam
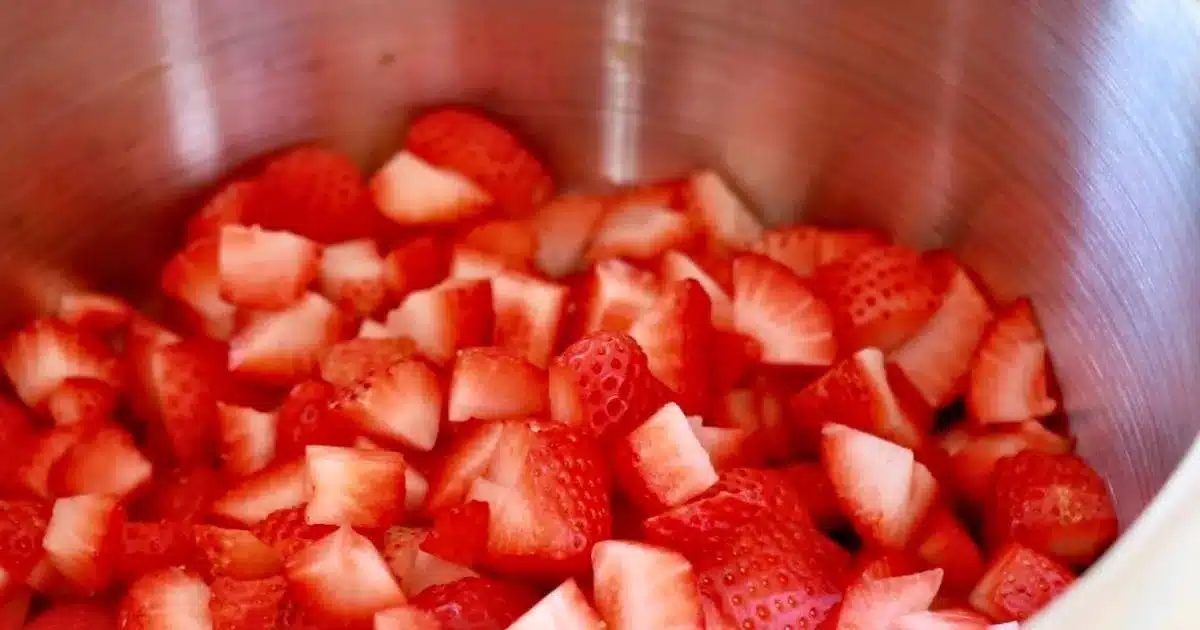
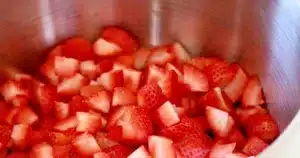
- Cut strawberries into small cubes.
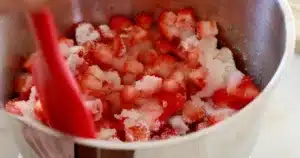
- Mix strawberries, sugar, and lemon juice in a heavy-bottomed saucepan and heat them at medium heat. Constantly mix while heating.

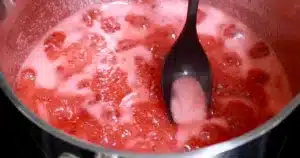
- Lots of foams start coming out once it starts boiling. Remove them with a spoon. The foams keep coming out, so you do not need to remove all of them completely. It'll eventually calm down as the jam starts getting thicker.
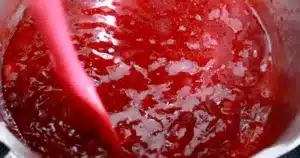
- Remove it from the heat when it reaches the desired consistency. As an option, mash them with a potato masher to make the texture more melty. Check the next section to read about how to judge when the jam is thickened enough.


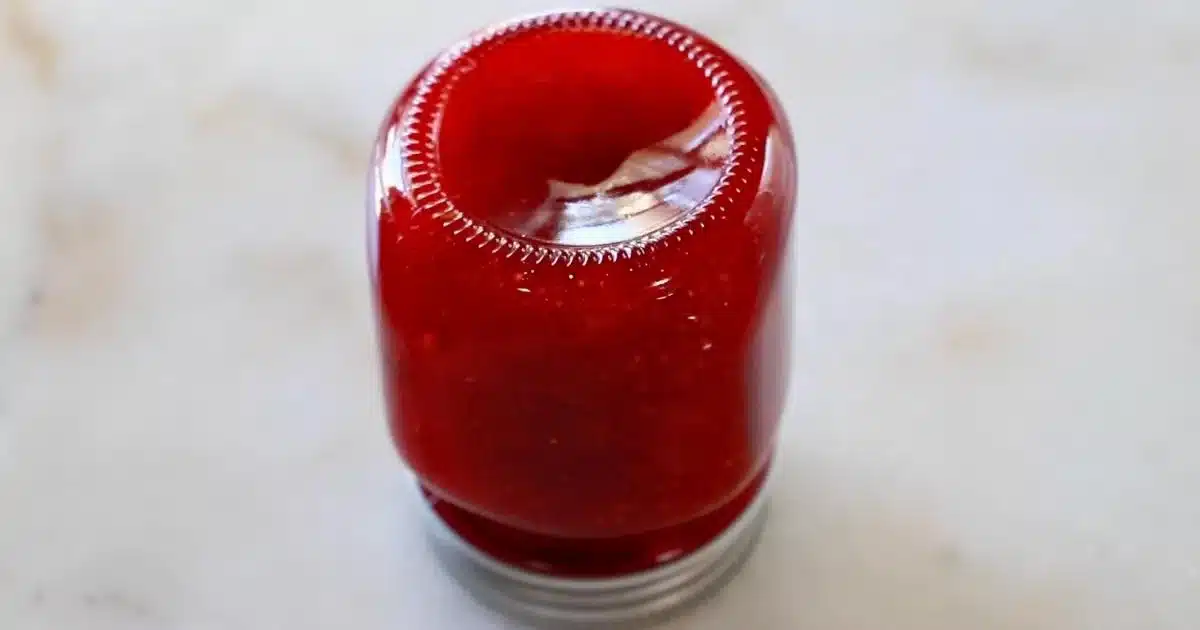
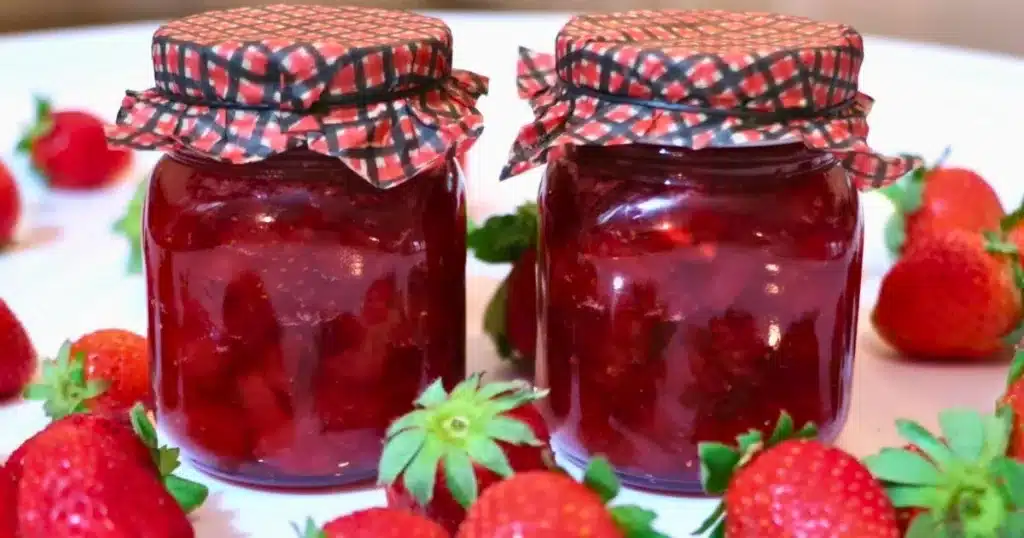
- Pour the hot jam into the sterilized jars. Close the lid tightly and flip it for a minute to sterilize any possible bacteria entering the air. Chill it in the fridge before use.
📌 How To Judge If The Strawberry Jam Is Cooked Enough
Here are some ways to judge if the jam is thickened enough:
- The color: It turns into dark red.
- The foams: The foams slowly disappear on the surface as the jam thickens. As a result, it looks more clear and shiny.
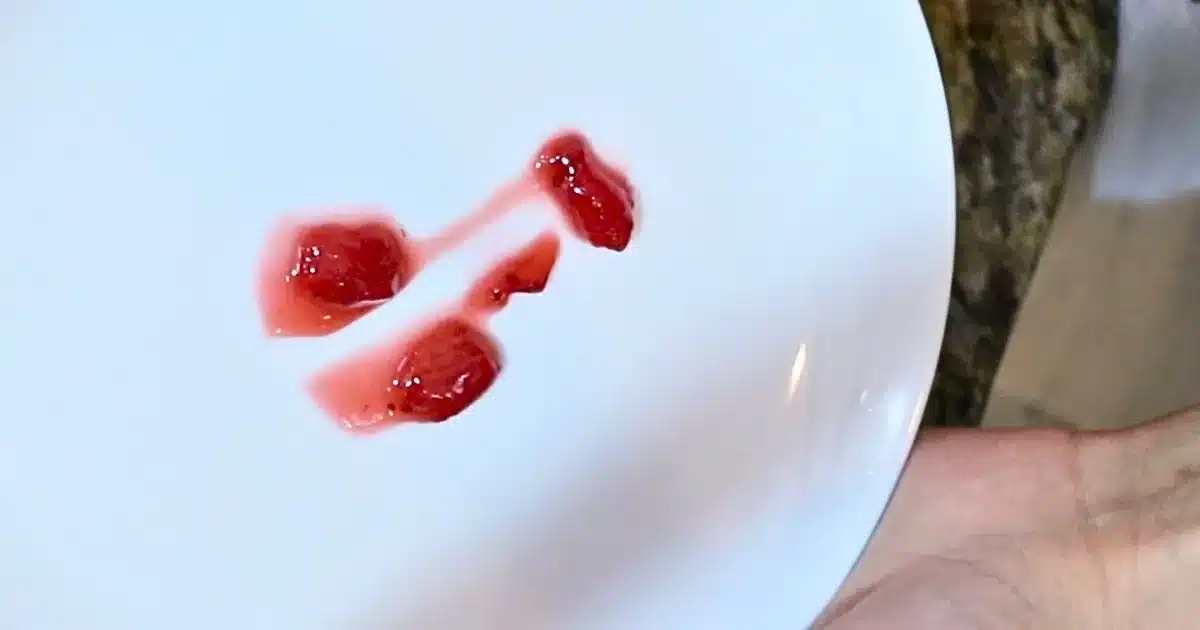
- Plate test: Drop a hot jam on a cold plate or tray and wait for a second. Draw a line to see if it's thick enough.
- Candy thermometer: The temperature should be around 220ºF (104ºC).
- The cooking time: It normally takes 10 - 20 minutes with one batch. I do not recommend solely judging with the time to be most accurate.
📌 How To Store Strawberry Jam
What's the shelf life of homemade strawberry jam?
Sealed jams could last for 3 - 4 weeks in the fridge. Consume it within 2 weeks once it is opened. Or store it in the freezer for up to 6 months.
Tips for making homemade strawberry jam with longer shelf life
You can store the jam for a longer time by increasing the amount of sugar. I added 50% of the strawberry amount this time.
The cleanliness of our tools or environment can also affect shelf life. Keep them clean to prolong shelf life.
📌 Uses For Strawberry Jam
Enjoy the delicious homemade strawberry jam with various desserts and occasions! Here are some of my favorite ways:
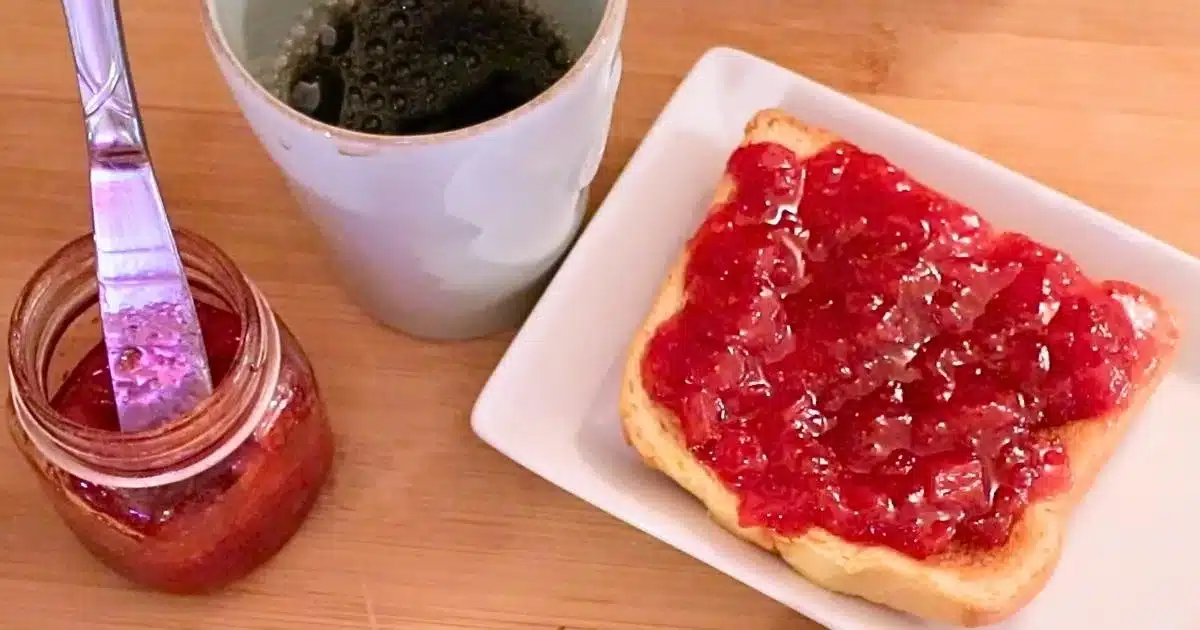
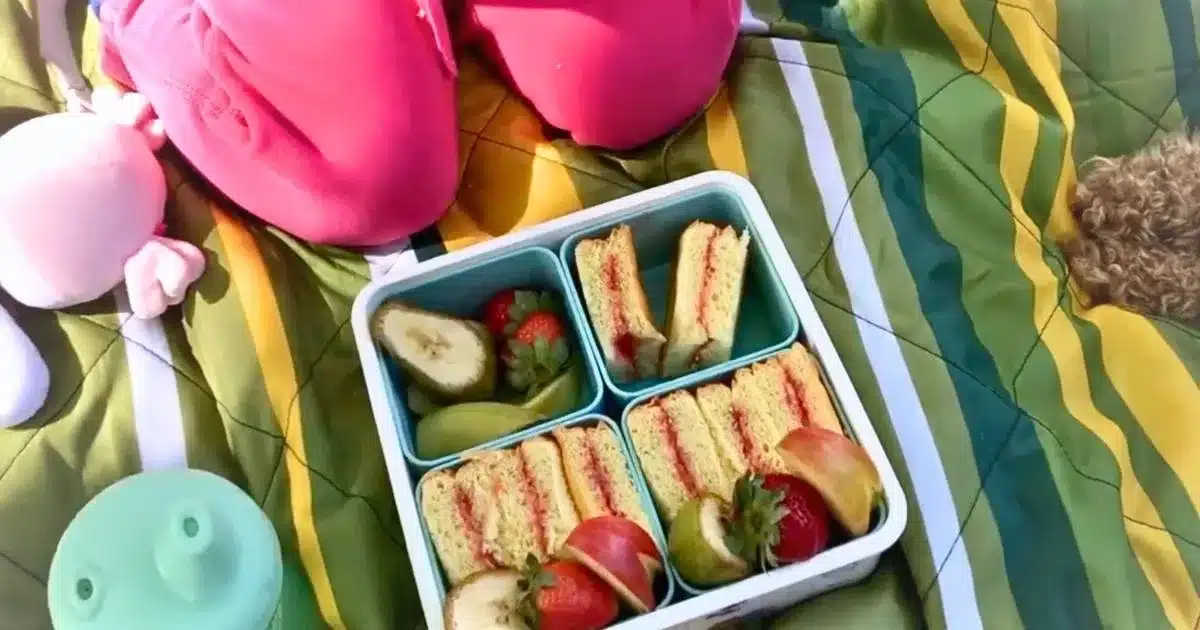
- Jam sandwich
- Toppings For yogurt
- Ice cream
- Fillings of cakes or cupcakes
- Scones or biscuits
- Pancakes
- Fresh fruit tart filling with pastry cream
- Cheesecake filling
- Seasonal gift
Let me know how you enjoyed it at home! 🍓😊

📌 Frequently Asked Questions
Can I reduce the amount of lemon juice?
Yes, you can! I recommend not omitting it completely unless the strawberries are very tart since lemon juice helps to thicken the jam a little bit more.
Can I reduce the amount of sugar?
It is possible, but I recommend not reducing it too much since it helps thicken the jam and extends the shelf life. You can reduce it, especially if you don't mind looser jam!
Can I freeze strawberry preserves?
Yes! Thaw it in the fridge overnight.
Can I make the double batch or more amount?
Yes, you can! Just cook longer with more batches. Use a bigger pan to finish the cooking process faster.
Can I use frozen strawberries to make the jam?
Yes. You may need to cook for a little bit longer time due to more moisture attached.
📌 VIDEO: Strawberry Jam
Watch the video to learn how to make an easy homemade strawberry jam recipe visually to better understand the steps I shared in this post!
The tutorial also shows how to make delicious strawberry mini cheesecakes!
Don't forget to subscribe if you liked it 😉
📌 More Strawberry Recipes

📌 Printable Recipe
💬 If you loved this recipe, please share your feedback on this post! I always love hearing how you enjoyed it with your friends and family at home.
Homemade Strawberry Jam
Equipment
- Knife
- Pot
- Spatula
- Jar or any container you want to store the jam in One batch of the recipe fills 2 5-6 oz mason jars.
Ingredients
- 15.9 oz Strawberries (Cut into cubes) 2.5 US cups
- 7.9 oz Granulated sugar 1 ⅛ US cup
- 3 Tbsp Lemon juice Add more or less as you like.
Instructions
Preparation
- Sterilize glass jars by sanitizing them in boiling water for more than 5 minutes. Dry them in the air on a wire rack.

- Wash strawberries and let them dry completely.

Strawberry Jam
- Cut strawberries into small cubes.15.9 oz Strawberries (Cut into cubes)
- Mix strawberries, sugar, and lemon juice in a heavy-bottomed saucepan and heat them at medium heat. Constantly mix while heating.7.9 oz Granulated sugar, 3 tablespoon Lemon juice
- Lots of foams start coming out once it starts boiling. Remove them with a spoon. The foams keep coming out, so you do not need to remove all of them completely. It'll eventually calm down as the jam starts getting thicker.
- Remove it from the heat when it reaches the desired consistency. As an option, mash them with a potato masher to make the texture more melty. How To Judge If The Strawberry Jam Is Cooked Enough* The color: It turns into dark red.* The foams: The foams slowly disappear on the surface as the jam thickens. As a result, it looks more clear and shiny. * Plate test: Drop a hot jam on a cold plate or tray and wait for a second. Draw a line to see if it's thick enough.* Candy thermometer: The temperature should be around 220ºF(104ºC).* The cooking time: It normally takes 10 - 20 minutes with one batch. I do not recommend solely judging with the time to be most accurate.
- Pour the hot jam into the sterilized jars. Close the lid tightly and flip it for a minute to sterilize any possible bacteria entering the air. Chill it in the fridge before use.
Notes
How to store it:
Sealed jams could last for 3 - 4 weeks in the fridge. Consume it within 2 weeks once it is opened. Or store it in the freezer for up to 6 months. ** For best results, measure ingredients with a scale. All recipes are designed with weighed ingredients using grams/ounces. Cup measurements are provided for your convenience. **Nutrition
📌 Pin It!
Pin this easy strawberry jam recipe, and find so many other delicious recipes on my Pinterest page!


Leave a Reply