
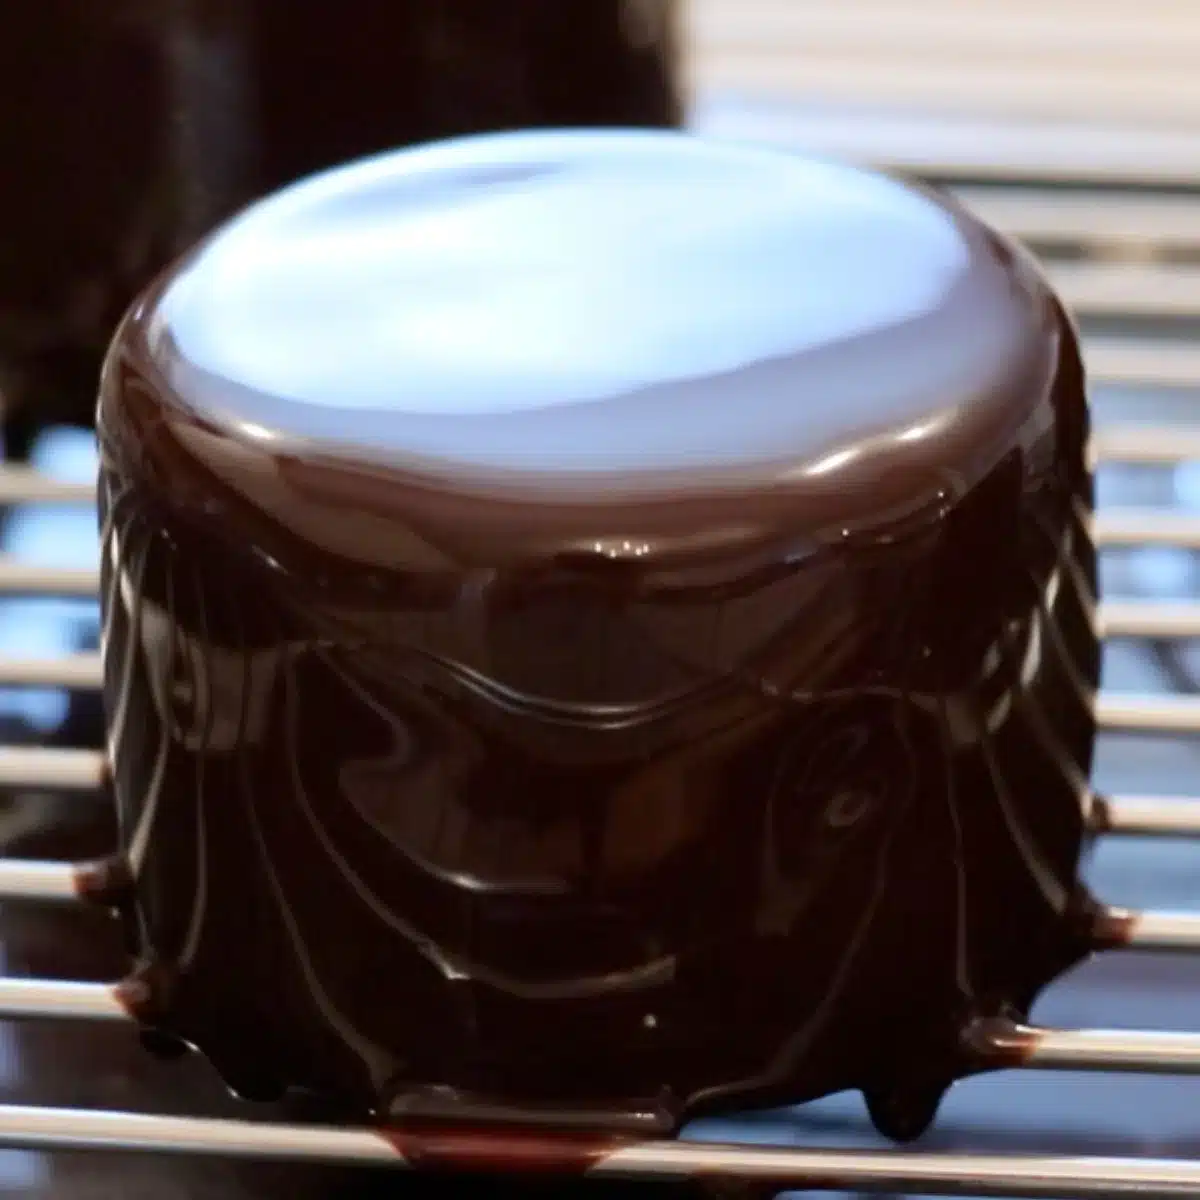
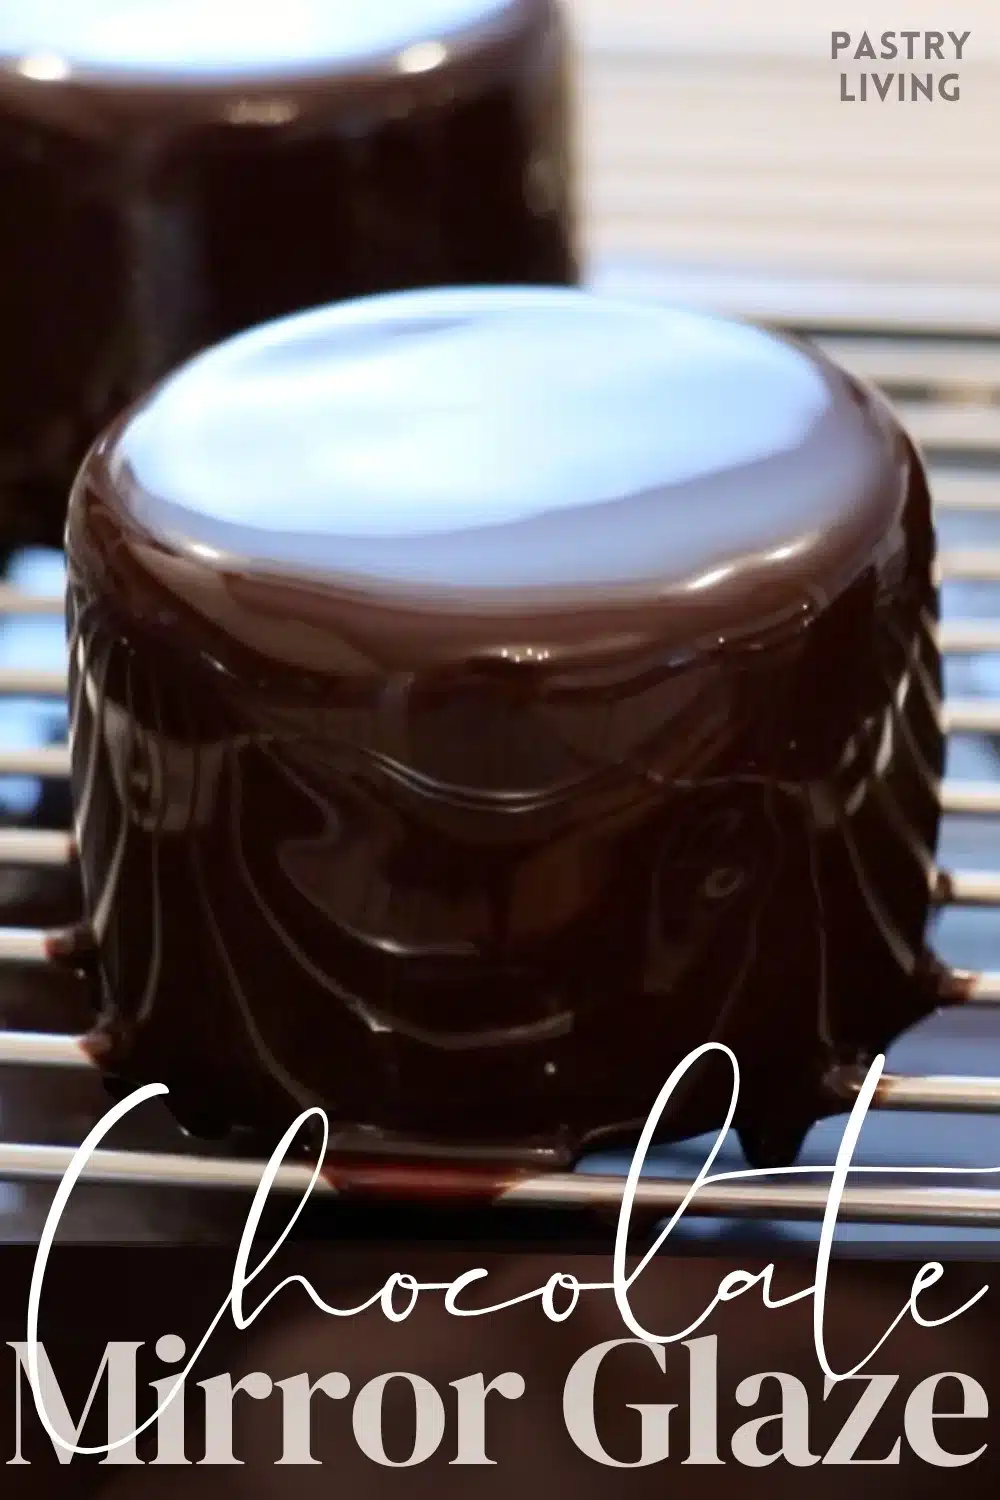
Pour this glossy chocolate mirror glaze over any cake and turn it into a gorgeous chocolate cake! Today, I'm sharing how to make it with simple tools and ingredients with just 5 easy steps! And the result is amazing - The consistency is just right - not too firm or soft, and the chocolate flavor is well-balanced. It is the only dark chocolate mirror glaze recipe I use for any chocolate cake.
Mirror glaze is often used to finish off fancy French pastries and entremets. You may have seen them at pastry shops before. The fancy looks may give you the impression that it is difficult to make, but a lot of people are surprised to know how easy it is! No special tools are needed for this recipe, and you'll only need 5 simple ingredients. (and one of them is just water!) Add this recipe to your chocolate glaze list in addition to chocolate ganache to create a variety of chocolate cakes with different looks. It'll expand your pastry ability.
In this post, I'm guiding you through how to make the perfect mirror glaze step by step with clear instructions and troubleshooting tips so that you can make it successful at home.
Let's get started!

📌 Ingredients For Chocolate Mirror Glaze
- Gelatin: Use gelatin powder or sheets, whichever you like. Check the instructions in the steps to see how to use them.
- Water: It thins out the glaze to prevent it from getting too thick.
- Heavy cream: Use regular whole-fat heavy cream. regular whipping cream
- Granulated sugar: Sugar helps to make the shiny, softer texture while also working as a preservative.
- Cocoa powder: Use any of your favorite cocoa powders. The glaze gets darker with lighter cocoa powder. High-quality cocoa powder often has a darker color.
"Bloom" in gelatin
"Bloom" refers to the strength of the gelatin. The higher the number is, the thicker the mirror glaze gets. And the lower the number is, the softer the mirror glaze gets. That is why it is so important to know the number before purchasing them.
The gelatin I used this time is PerfectaGel platinum gelatin sheets. And the bloom is 230. It is my all-time favorite gelatin sheets that are high quality.
The gelatin powder I use to alternate with the gelatin sheets is Knox gelatin powder (Bloom: 225) which is most widely sold at most grocery stores in the States.
When you are using gelatin sheets or powder with different blooms, you'll need to adjust the amount to get the same consistency. If this is your first time hearing about bloom, no worry, it is surprisingly not talked about enough although it is a critical part of making any desserts using gelatins successful!
📌 5 Steps To Make Chocolate Mirror Glaze
Step 1. Hydrate gelatin beforehand:
- When using gelatin sheets: Soak the gelatin sheets in icy cold water for about 10 minutes.
- When using gelatin powder: Mix it in 4 - 5 times more amounts of icy cold water and let it sit for about 10 minutes. (or follow the package instructions.)

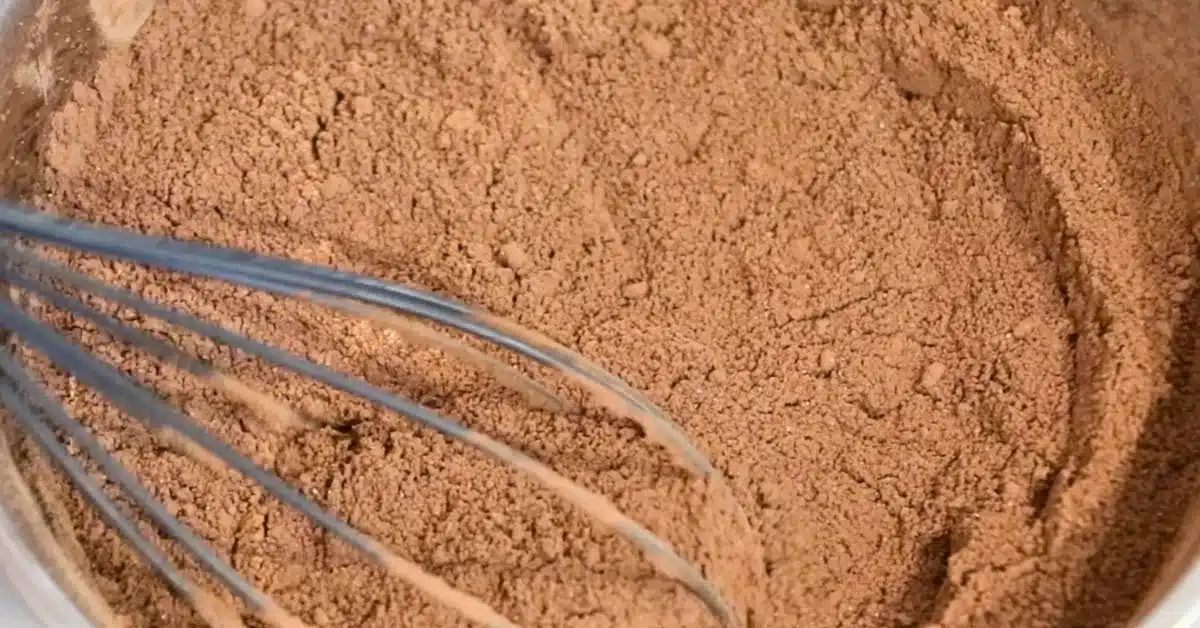
Step 2: Mix water, sugar, and cocoa powder in a pan.
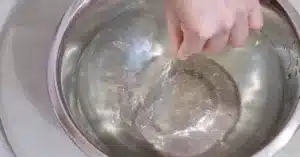
- Pour water into a sauce pan.
- Mix cocoa powder and granulated sugar well with a whisk in a bowl and add them to the pot.
- Mix well until the liquids look very smooth.
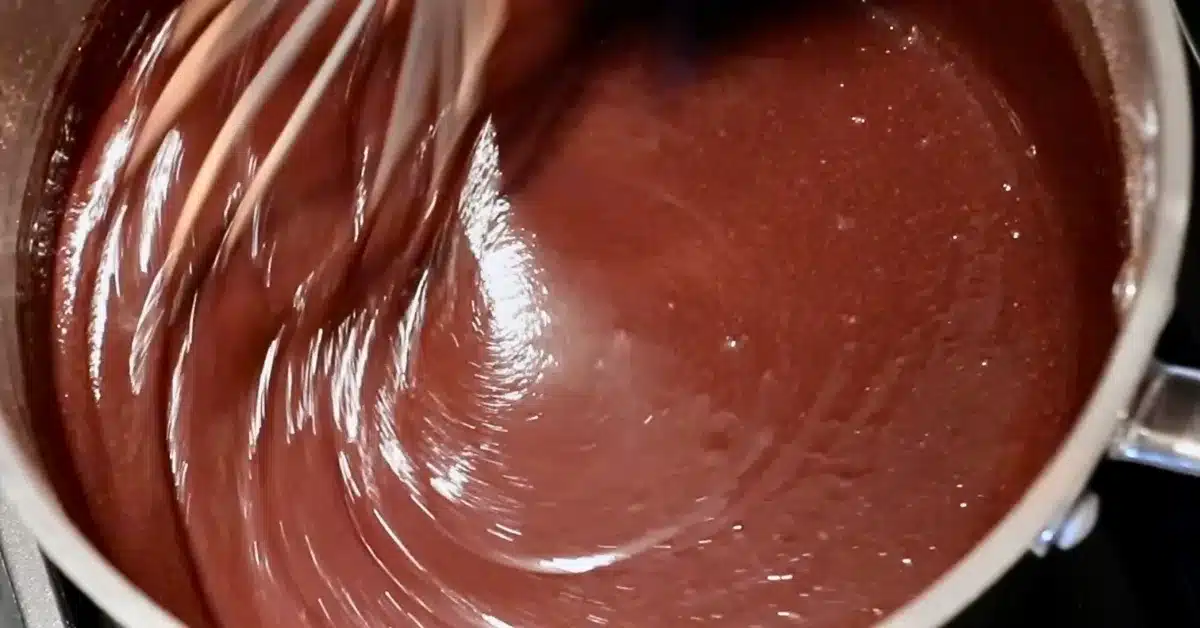
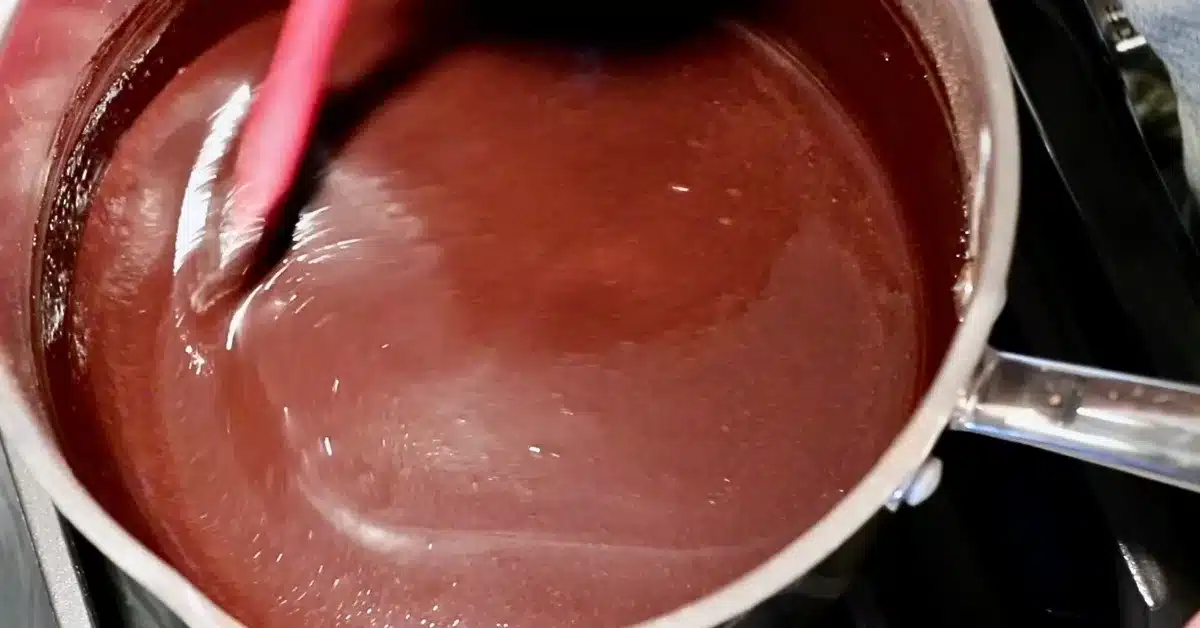
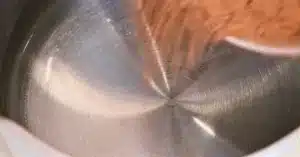
Step 3: Heat the mixture.
Heat the chocolate mixture at medium heat while mixing constantly with a rubber spatula until it starts boiling all over the surface.
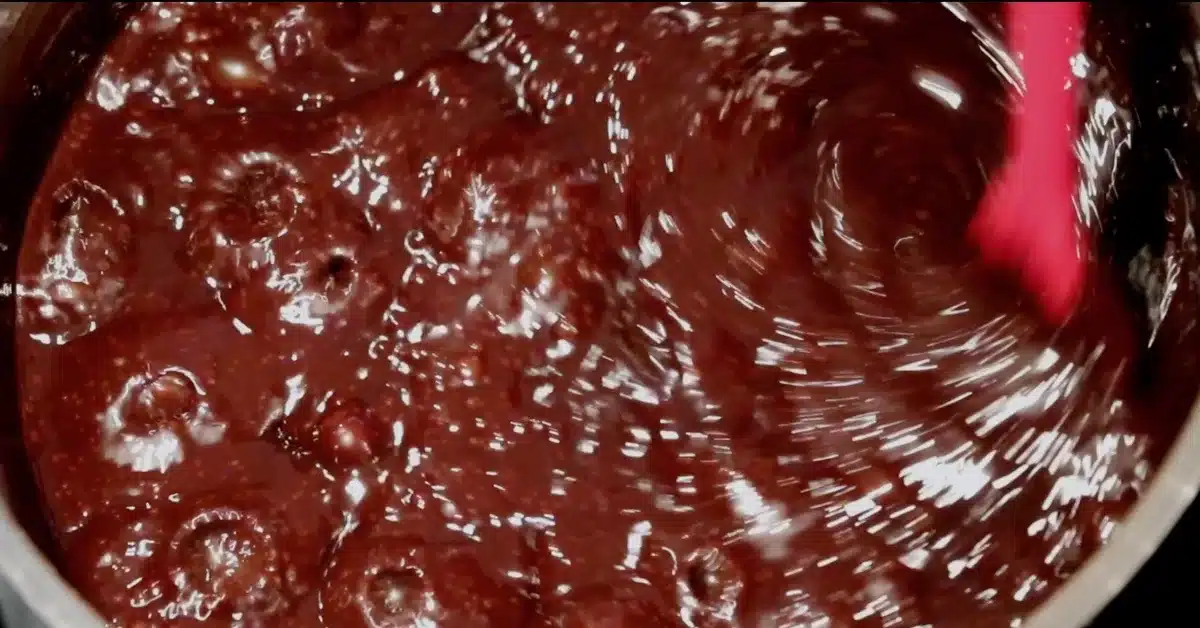
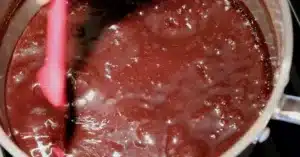
Step 4: Add heavy cream.
Add heavy cream and continue heating until the liquids start boiling again.
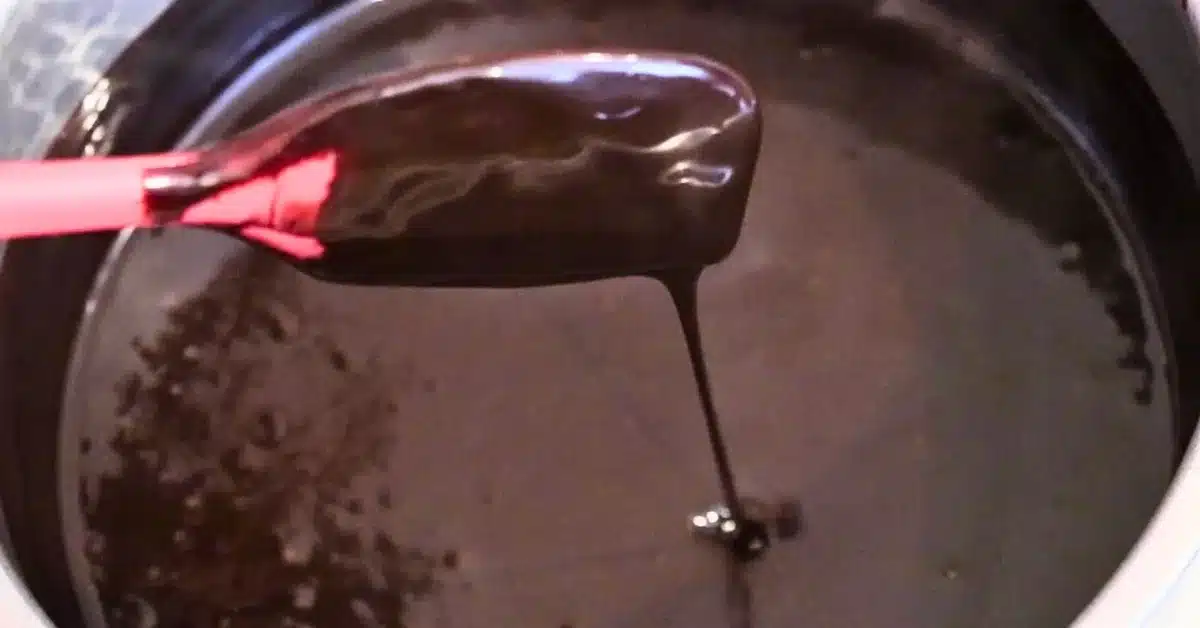
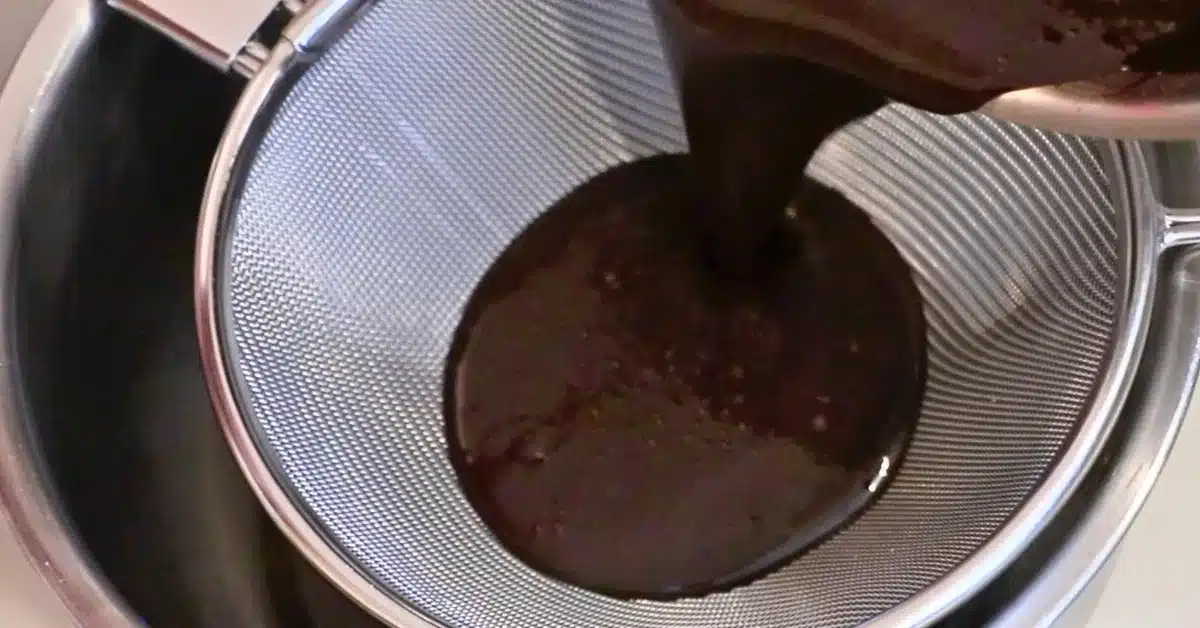
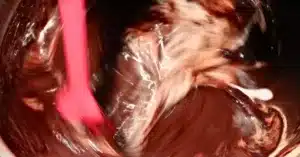
Step 5: Add the hydrated gelatin.
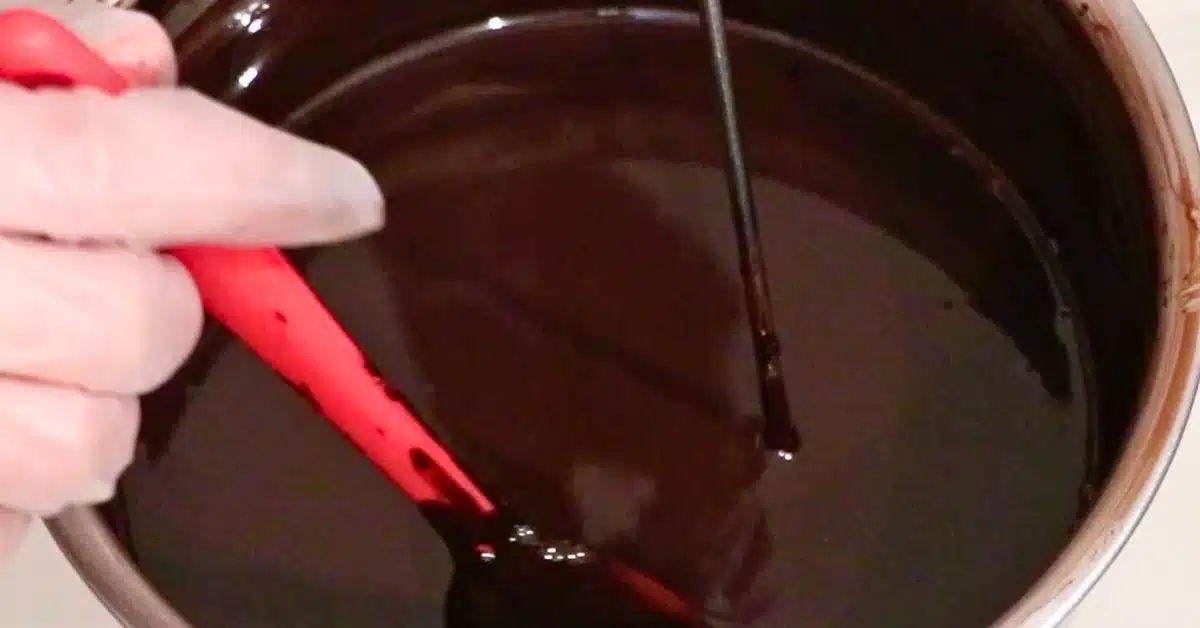
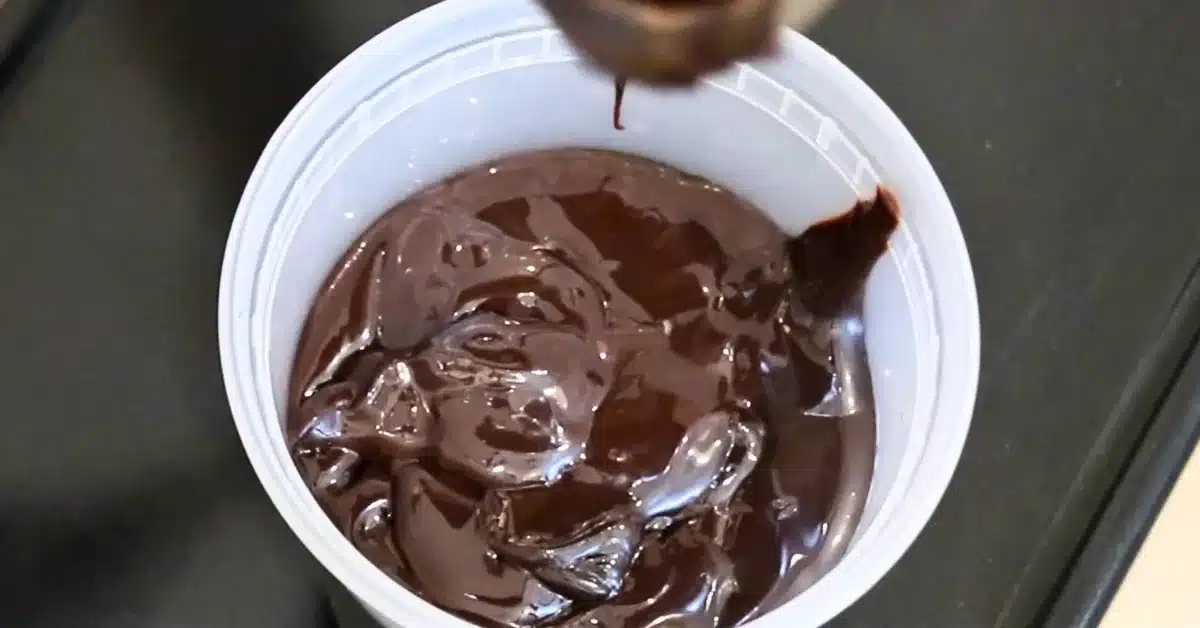
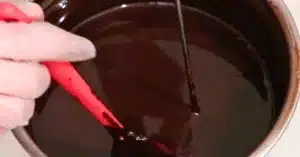
Strain it into a medium to large bowl and add the hydrated gelatin. Mix and ensure that the gelatin is melted completely.

📌 Expert Tips
Here are additional tips to make it successful!
- Mixing cocoa powder and sugar beforehand eliminates lots of chunks of cocoa powder.
- Some ingredients, such as heavy cream and cocoa powder, easily get burned. Constantly and evenly mix the hot mixture while heating, scraping off the bottom and the sides with a rubber spatula.
- By straining the mirror glaze with a fine sieve, you can ensure it is very smooth with no lumps of cocoa powder. You can also mix it with an immersion blender instead!
- Before you add gelatin sheets, squeeze out excess water by hand. Or use a sieve to do the same!
- Add the hydrated gelatin while the chocolate mixture is still hot to ensure the gelatin melts completely. The mirror glaze won't set properly when it does not.
📌 How To Glaze A Mirror Cake
Complete an amazing-looking chocolate mirror cake by following the steps:
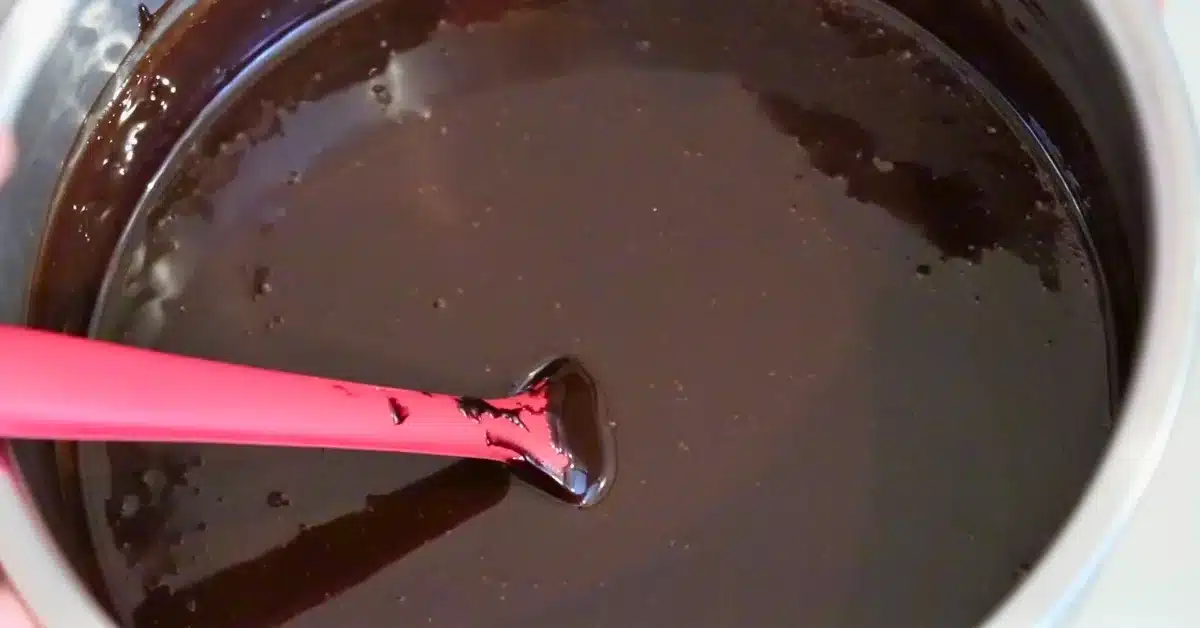
Let the glaze cool.
It is too hot to pour onto cakes right after it's made. Set it aside and let it cool more, mixing sometimes to check the temperature.
Do not mix it too fast so that it does not contain a lot of air bubbles. They do not look appealing on cakes!💦 Mix slowly with a rubber spatula.
The temperature of the mirror glaze
I like to pour the glaze on a frozen cake because it's much easier to spread it beautifully and transfer the glazed cake to a cake board or plate without the risk of messing out the shape. Many pastry shops, including those I worked at in the past, intentionally freeze cakes for this purpose.
- When the cake is frozen: Cool the glaze to 104ºF (40ºC) to pour on a frozen cake. It is slightly warm or doesn't feel anything when you touch it. (depending on how cold your finger is.) You might need to adjust the temperature depending on the temperatures of the freezer, room, etc.
- When the cake is chilled in the fridge: Cool the glaze to 86ºF (30ºC).
4 steps to pour mirror glaze on cakes
- Set up a wire rack on a rimmed baking sheet with plastic wrap. Ensure the cakes are ready in the freezer so you can take them out immediately when the glaze cools down enough.
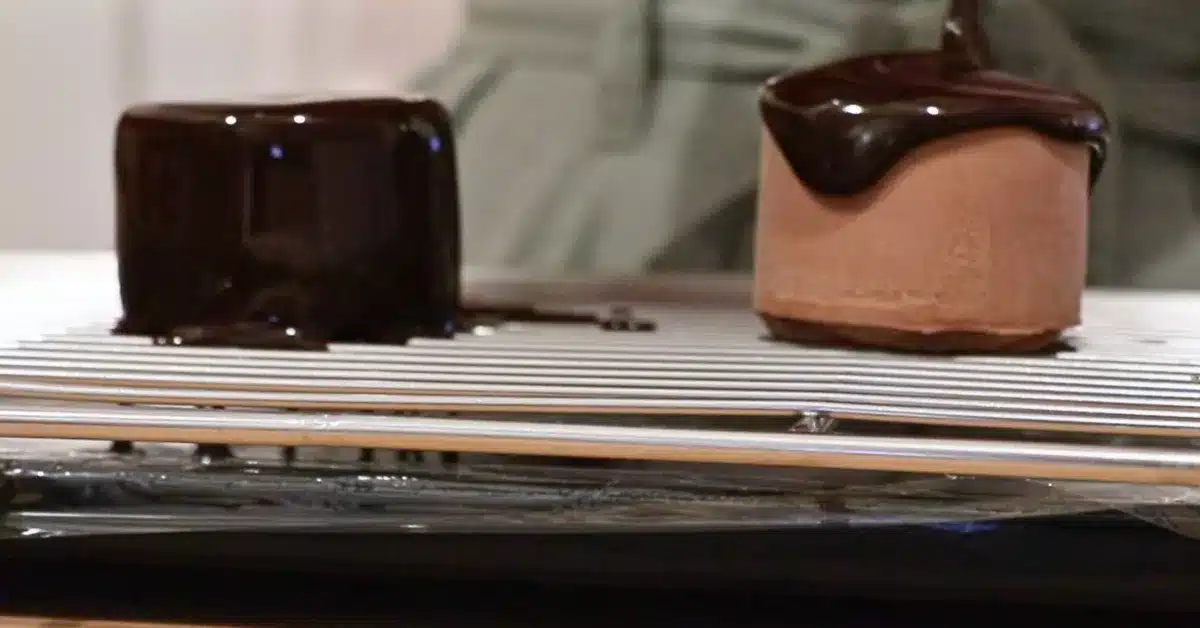
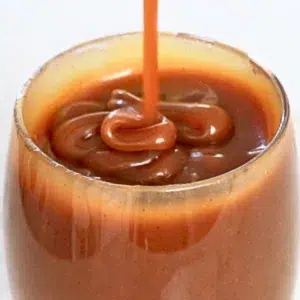
- Once the mirror glaze reaches the temperature, immediately pour a generous amount of the glaze on the center of the cake with swirl motions so you can cover the entire cake. Do not hesitate and pour all at once to prevent it from getting hardened before you are done pouring.
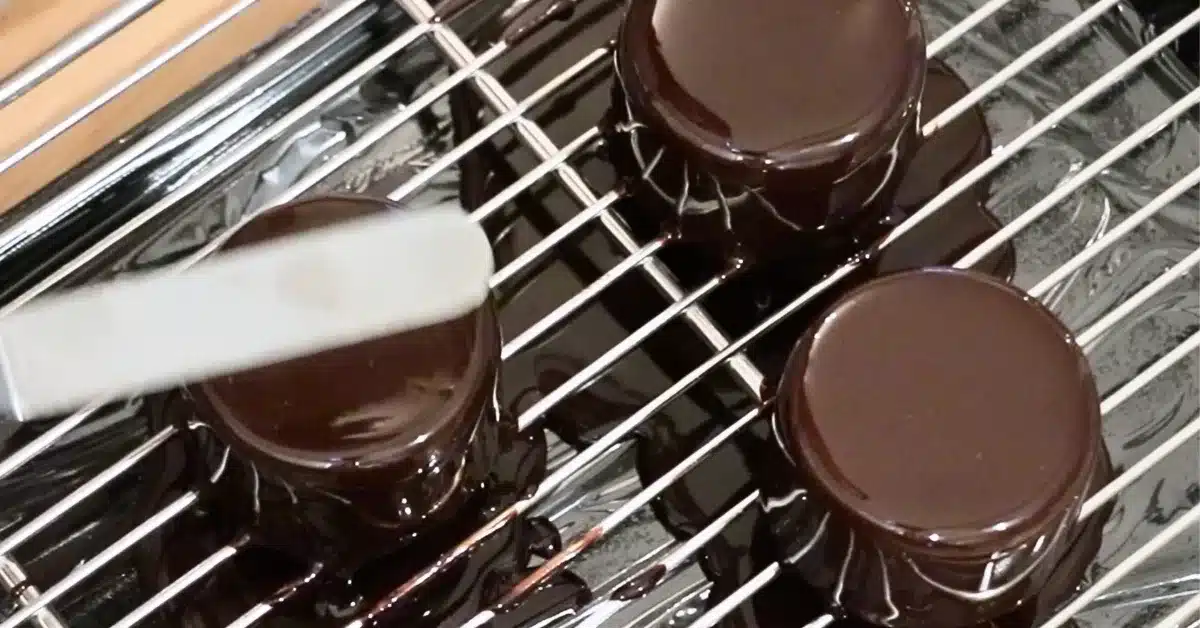
- Immediately swish the top of the cake with an offset spatula to create a thin layer of mirror glaze, making the cake taste more delicate and delicious! Move the spatula parallel to the cake to create an even layer. This process also helps the glaze to drop on the sides of the cake to cover the entire surface in case there is a spot uncovered.
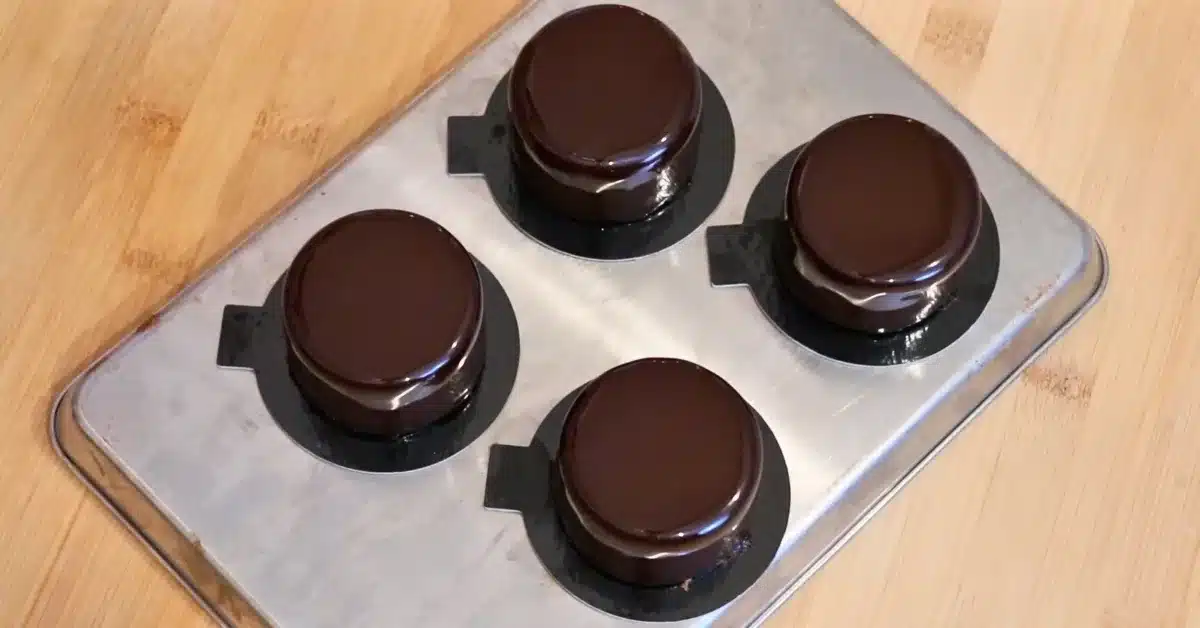
- Clean off the excess glaze on the bottom edge with an offset spatula and transfer them to a cake board or plate. Watch the video tutorial to see it visually! Serve it right away or store it in the fridge.
📌 How To Store Chocolate Mirror Glaze
Pour it into an airtight container. Store it in the fridge for up to a week or a few months in the freezer.
Heat it again in the microwave or water bath before use.
- Stop the microwave every 15 - 30 seconds and mix, especially toward the end to heat it evenly.
- Move it to a heat-resistant container before doing so.
Leftover mirror glaze
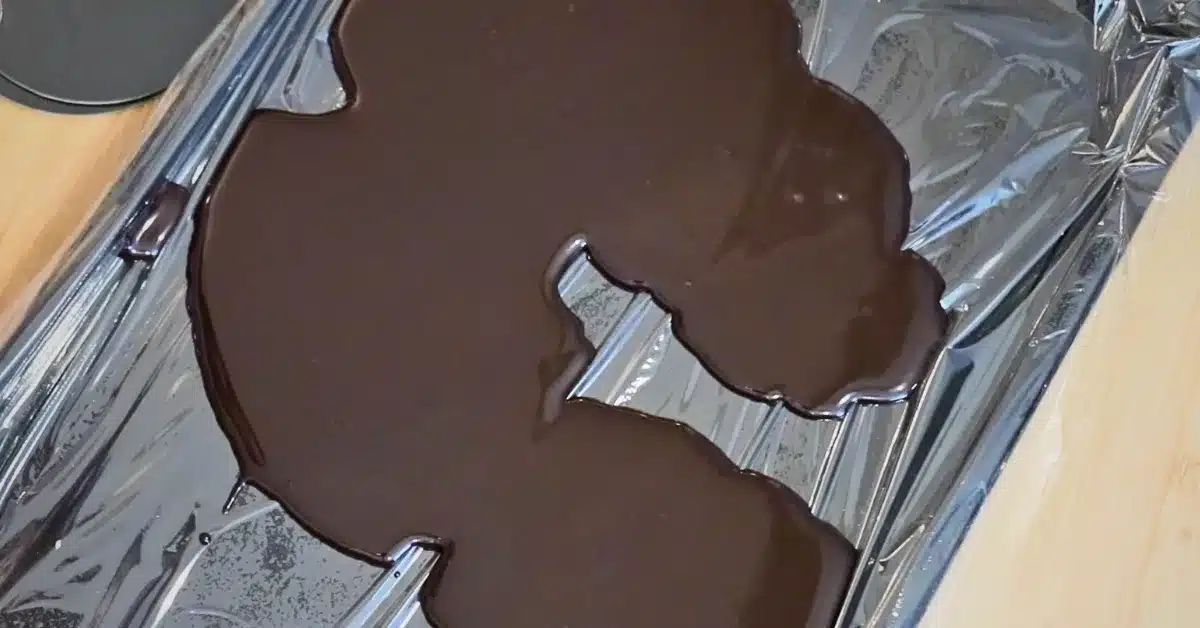
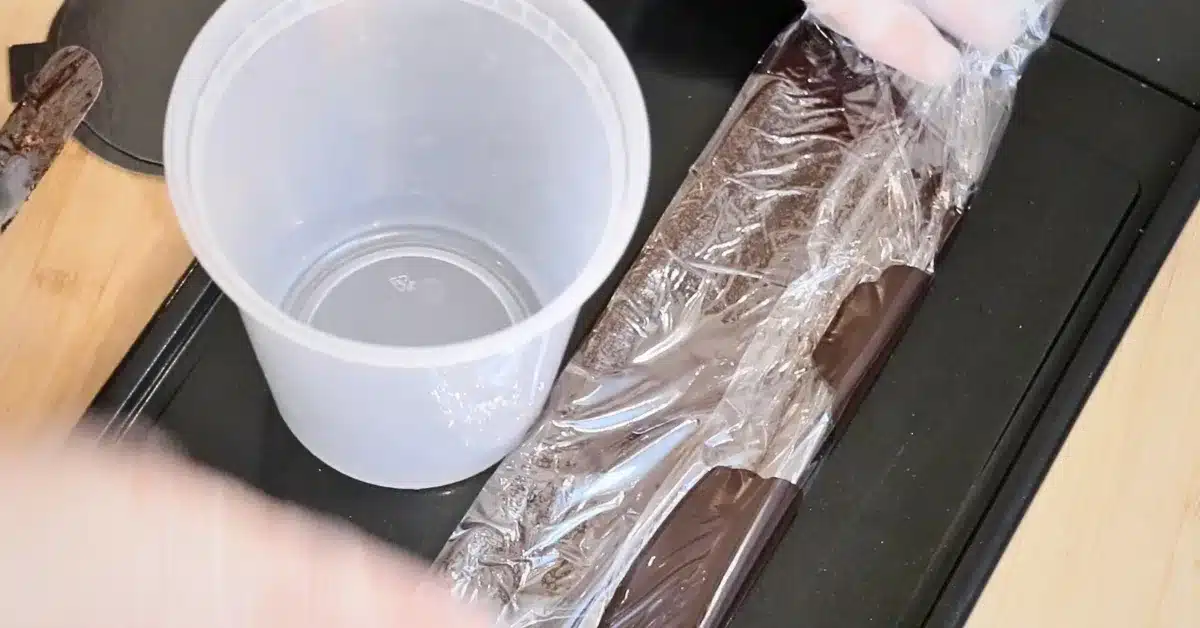
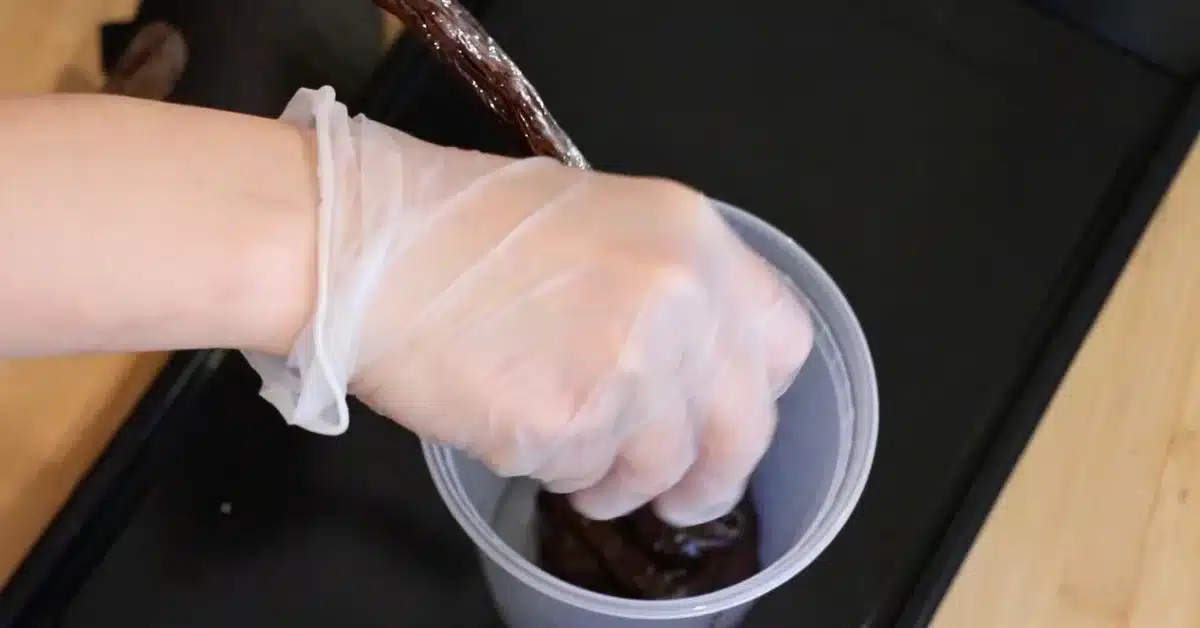
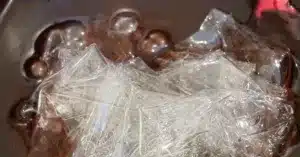
You can reuse the excess glaze if it's still clean and no mousse or sponges are mixed in it. Wrap the glaze with plastic wrap in a large baking tray and squeeze it out in a container.
📌 Uses For Chocolate Mirror Glaze
Enjoy a variety of mirror cakes using this dark chocolate mirror glaze! Here are some ideas:
- Mouse cake: Complete an elegant mousse cake using chocolate mousse, caramel mousse, coffee mousse, etc. They all go amazing with the dark chocolate flavor. Make a chocolate heart mirror glaze cake for Valentine's Day with gold dust or gold leaf to make it look extra gorgeous. Use white chocolate mirror glaze instead when you want to color it or a more neutral flavor for a fruit mousse cake.
- Dripping cakes: Let the glaze drip from the edge of the cake using a piping bag. It creates a beautiful dripping cake! And it's slightly more tolerant of minor mistakes than melted chocolate and chocolate ganache.
- Plated desserts: Glaze your custom dessert with this shiny glaze or brush/drizzle it on plates as decorations!
- Choux pastry: Use it as a glaze for cream puffs, eclairs, etc.
- Opera cake: You can pour this shiny glaze over the classic French cake instead of the traditional melted chocolate to enjoy a different look and taste.
📌 VIDEO: Watch How To Make It!
Watch this video to learn how to make the chocolate mirror glaze visually and have a deeper understanding of all.
Don't forget to subscribe if you liked it 😉
📌 Chocolate Cake Recipes
Make a variety of delicious mirror glaze cakes with these chocolate cakes!
- Chocolate sponge cake (Genoise sponge cake)
- Classic chocolate cake
- Chocolate ladyfingers (Biscuit sponge cake)
📌 Printable Recipe
💬 If you loved this chocolate glaze recipe, please share your feedback on this post! I always love hearing how you enjoyed it with your friends and family.

Simple Chocolate Mirror Glaze
Equipment
- Saucepan
- Rubber spatula
- Whisk
- Bowl
- Fine mesh seive
Ingredients
- 0.67 oz Gelatin
- 7 oz Water
- 10.6 oz Granulated sugar
- 4.6 oz Cocoa powder
- 7 oz Heavy cream
Instructions
Mirror Glaze
- Hydrate gelatin beforehand:When using gelatin sheets: Soak the gelatin sheets in icy cold water for about 10 minutes. When using gelatin powder: Mix it in 4 - 5 times more amounts of icy cold water and let it sit for about 10 minutes. (or follow the package instructions.)0.67 oz Gelatin

- Mix water, sugar, and cocoa powder in a pan:1. Pour water into a sauce pan.2. Mix cocoa powder and granulated sugar well with a whisk in a bowl and add them to the pot. 3. Mix well until the liquids look very smooth.7 oz Water, 10.6 oz Granulated sugar, 4.6 oz Cocoa powder
- Heat the mixture:Heat the chocolate mixture at medium heat while mixing constantly with a rubber spatula until it starts boiling all over the surface.
- Add heavy cream:Add all the heavy cream and continue heating until the liquids start boiling again.7 oz Heavy cream
- Add the hydrated gelatin:Strain it into a medium to large bowl and add the hydrated gelatin. Mix and ensure that the gelatin is melted completely.
How To Glaze A Mirror Cake
- Let the glaze cool:It is too hot to pour onto cakes right after it's made. Set it aside and let it cool more, mixing sometimes to check the temperature.Do not mix it too fast so that it does not contain a lot of air bubbles. They do not look appealing on cakes! Mix slowly with a rubber spatula.When the cake is frozen: Cool the glaze to 104ºF (40ºC) to pour on a frozen cake. It is slightly warm or doesn't feel anything when you touch it. (depending on how cold your finger is.) You might need to adjust the temperature depending on the temperatures of the freezer, room, etc.When the cake is chilled in the fridge: Cool the glaze to 86ºF (30ºC). I like to pour the glaze on a frozen cake because it's much easier to spread it beautifully and transfer the glazed cake to a cake board or plate without the risk of messing out the shape. Many pastry shops, including those I worked at in the past, intentionally freeze cakes for this purpose.
- 4 steps to glaze a mirror cake:1. Set up a wire rack on a rimmed baking sheet with plastic wrap. Ensure the cakes are ready in the freezer so you can take them out immediately when the glaze cools down enough.2. Once the mirror glaze reaches the temperature, immediately pour a generous amount of the glaze on the center of the cake with swirl motions so you can cover the entire cake. Do not hesitate and pour all at once to prevent it from getting hardened before you are done pouring.3. Immediately swish the top of the cake with an offset spatula to create a thin layer of mirror glaze, making the cake taste more delicate and delicious! Move the spatula parallel to the cake to create an even layer. This process also helps the glaze to drop on the sides of the cake to cover the entire surface in case there is a spot uncovered.4. Clean off the excess glaze on the bottom edge with an offset spatula and transfer them to a cake board or plate. Watch the video tutorial to see it visually! Serve it right away or store it in the fridge.

Video
Notes
Expert Tips
-
- Mixing cocoa powder and sugar beforehand eliminates lots of chunks of cocoa powder.
- Some ingredients, such as heavy cream and cocoa powder, easily get burned. Constantly and evenly mix the hot mixture while heating, scraping off the bottom and the sides with a rubber spatula.
- By straining the mirror glaze with a fine sieve, you can ensure it is very smooth with no lumps of cocoa powder. You can also mix it with an immersion blender instead!
- Before you add gelatin sheets, squeeze out excess water by hand. Or use a sieve to do the same!
- Add the hydrated gelatin while the chocolate mixture is still hot to ensure the gelatin melts completely. The mirror glaze won't set properly when it does not.
How to store it:
Pour it into an airtight container. Store it in the fridge for up to a week or a few months in the freezer.Nutrition
📌 Pin It!
Pin it if you love this dark chocolate mirror glaze recipe, and find so many other recipes on my Pinterest page!
Klare Ehrenberg says
Is it possible to use this glaze directly on a sponge cake with no frosting?
ayacaliva says
Hi! It won't look smooth when it is directly poured over a sponge cake. And some of them should get absorbed in it. I recommend applying a thin layer of cream such as buttercream, mousse, etc. And wait for the cream to get set in the fridge before pouring it on top. Adjust the temperature depending on how cold the cream is!
Noora says
Hi, is it the same amount of gelatine powder as it is gelatine sheets (19g)?
ayacaliva says
It should work just fine if the bloom (the strength of gelatin) is the same. I tested it with knox gelatin before and worked fine. Make sure to hydrate the gelatin powder with 4 - 5 times of very cold water, mix, and wait for about 10 minutes beforehand.
Judi says
Looks BEAUTIFUL. Will this recipe cover an 8" [3-layer] cake?
ayacaliva says
Yes! It's enough amount for a 8-inch cake.