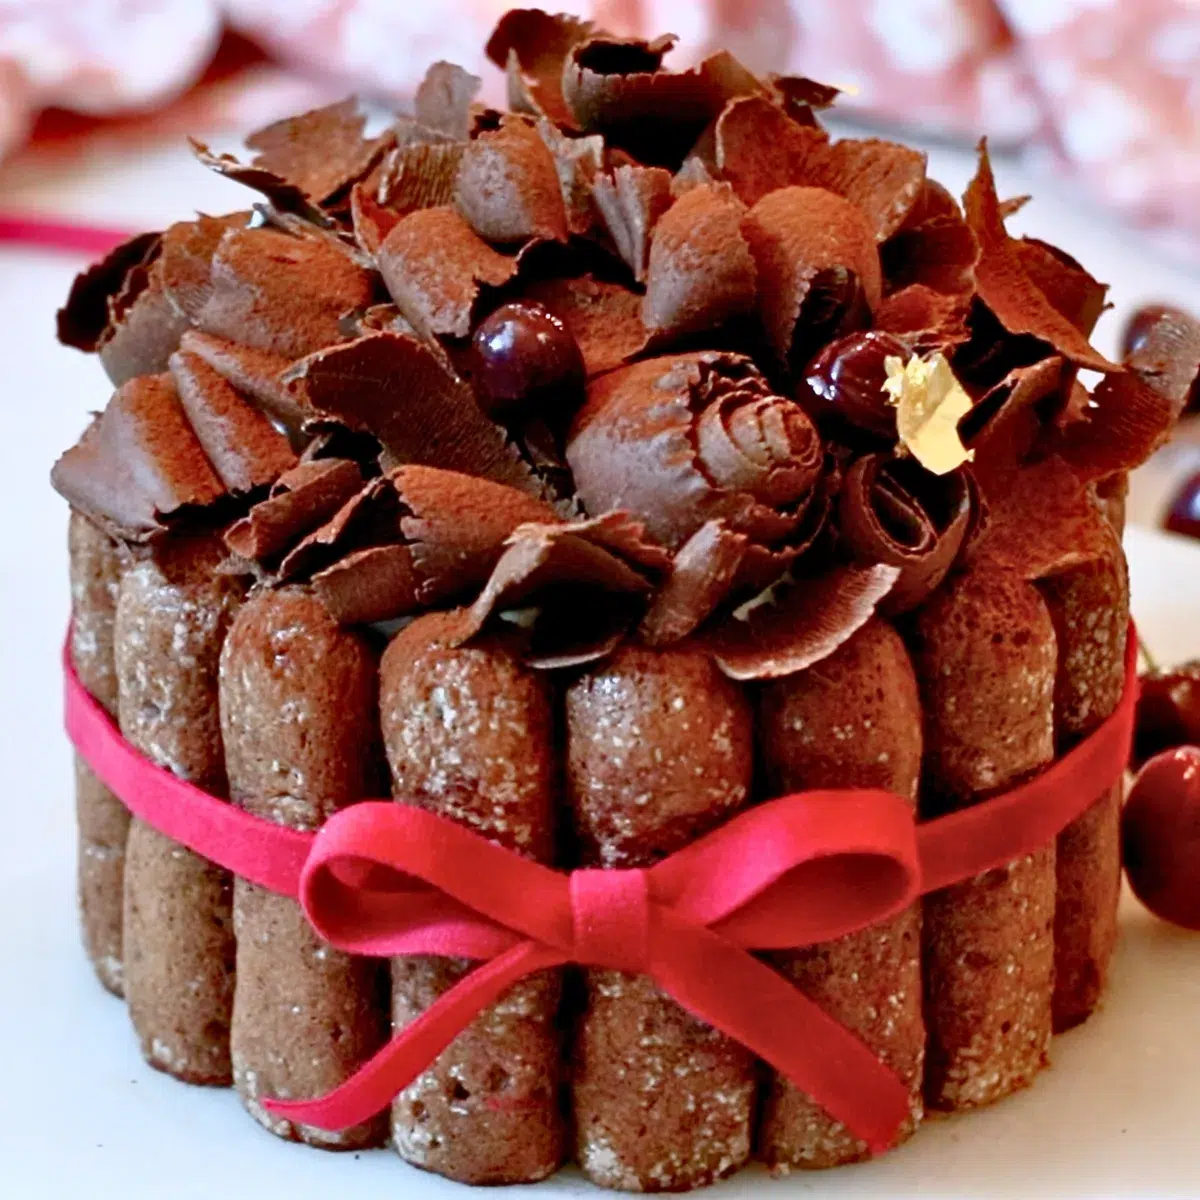
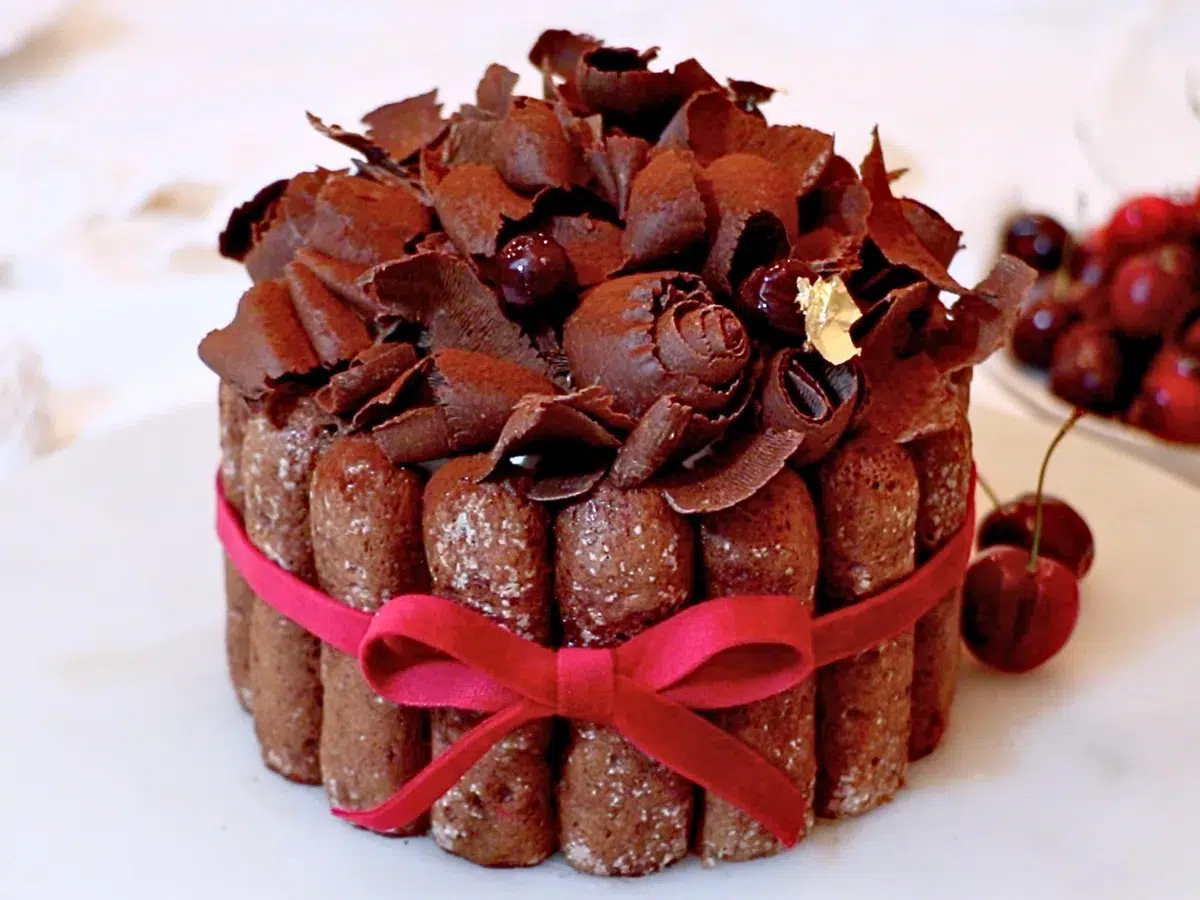
Black Forest Cake Meets Charlotte Cake! - I’m sharing how to make the simple and delicious Black Forest Charlotte cake at home.

Jump to:
What I love about this Black Forest Charlotte cake:
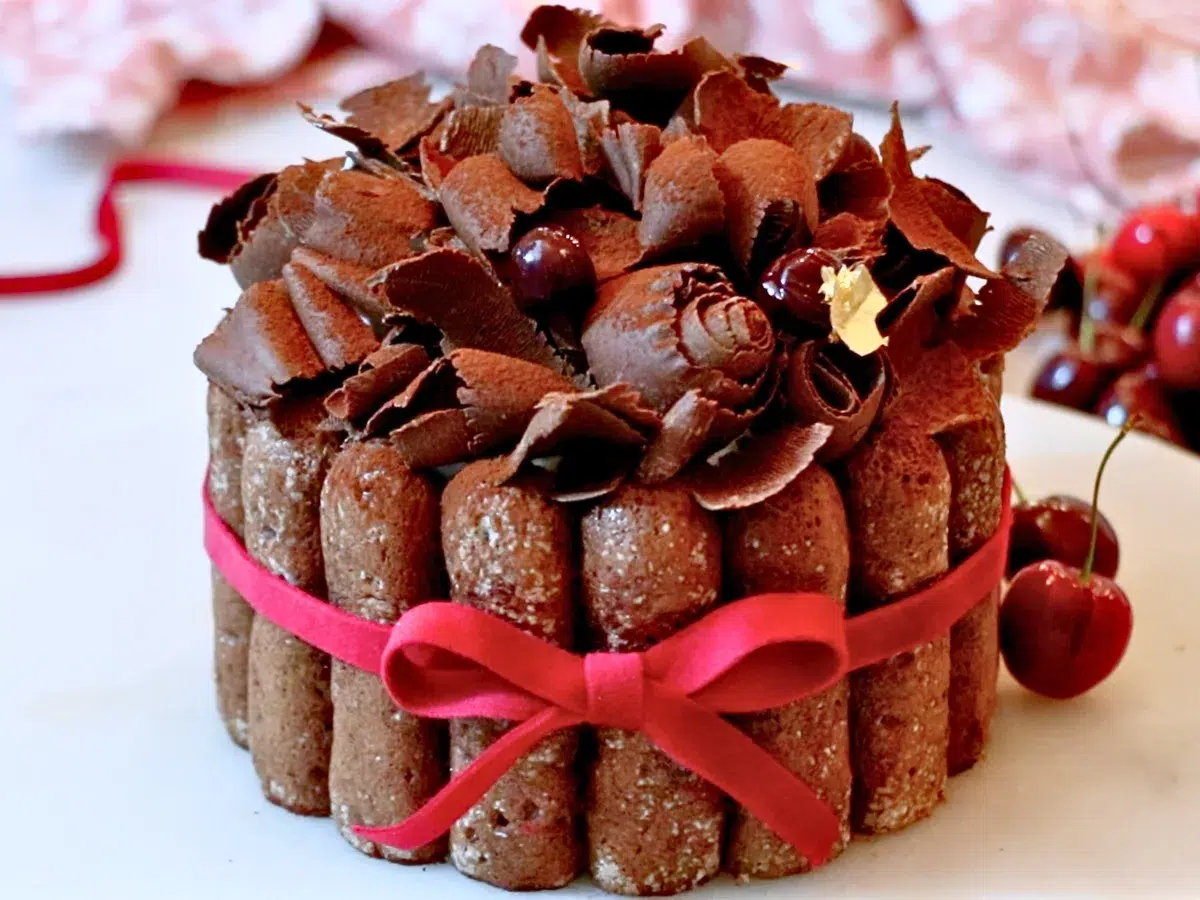
- It looks gorgeous: It's perfect as a gift or any special event.
- It's simple: Sponge, chocolate mousse, whipped cream... every component is simple to make with minimum ingredients.
- Piping the sponge batter is quite fun! You can change the thickness/shape and enjoy a different version.
💬 In the past, I shared how to make a classic black forest cake in a video tutorial on my YouTube channel.


What's In Black Forest Charlotte Cake
Chocolate Biscuit Sponge
- Check the tip for each ingredient in the chocolate ladyfingers recipe.
Cherries & Cherry Cake Syrup
- Sour cherries in syrup - I recommend sour cherries, especially morello cherries, for the best result. I used this one this time.
- Cherry syrup from the jar/can - Set aside the syrup from the cherries to use it as cake syrup.
- Water - Add a little water to thin out the cherry syrup.
- Granulated sugar
- Kirschwasser - Kirschwasser is a brandy made with morello cherries. It's often used for desserts such as fraisier, black forest cake, etc. The flavor matches so well with some fruits, such as berries.
Chocolate Mousse
- Dark chocolate - I used this chocolate with 64% cacao content. Use any of your favorite dark chocolate.
- Granulated sugar - A bit of sugar is added to balance the sweetness.
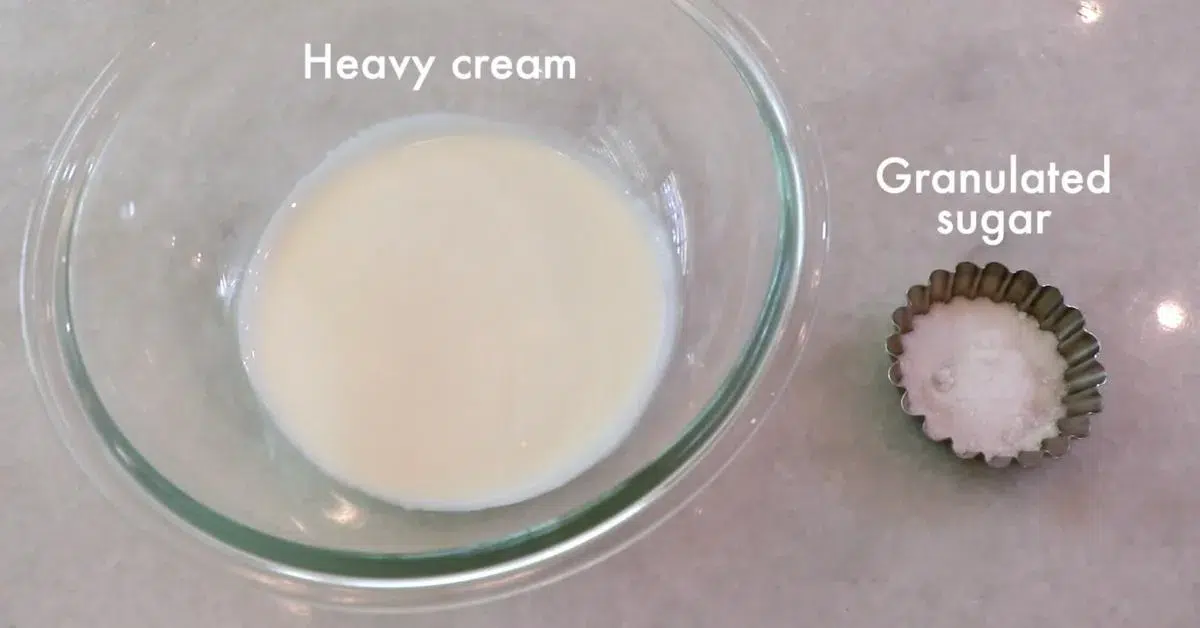
- Heavy cream - Use regular whole-fat heavy cream.

Whipped Cream
- Heavy cream - Use regular whole-fat heavy cream.
- Granulated sugar - A bit of sugar is added to balance the sweetness.
Decoration
- Dark chocolate for chocolate curls - I used this chocolate with 64% cacao content. Use any of your favorite dark chocolate.
- Cocoa powder
- Sour cherries in syrup or fresh cherries (Optional)
- Gold leaf (Optional)
12 Steps To Make Black Forest Charlotte Cake
Step 1: Make one batch of my chocolate ladyfingers recipe.
Make one batch of the chocolate ladyfingers batter. Follow the steps in the tutorial.
Today, I used a 6-inch (15 cm) cake ring. Attach some all-purpose flour to the cake ring and place it on top of parchment paper (or a mat) on a tray to use the line as a guide to pipe within!

I used 17 ladyfingers for the six-inch cake. I recommend piping at least a few extra in case something happens!

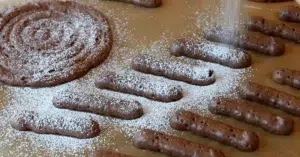
Also, pipe 2 circles that are a bit smaller than 6 inches, like in the image below. (They'll get slightly bigger in the oven).

Dust some powdered sugar on top. And Bake it right away!


Bake at 395F (200C) for 6 - 7 mins. Touch the surface and check: It should bounce back very gently.
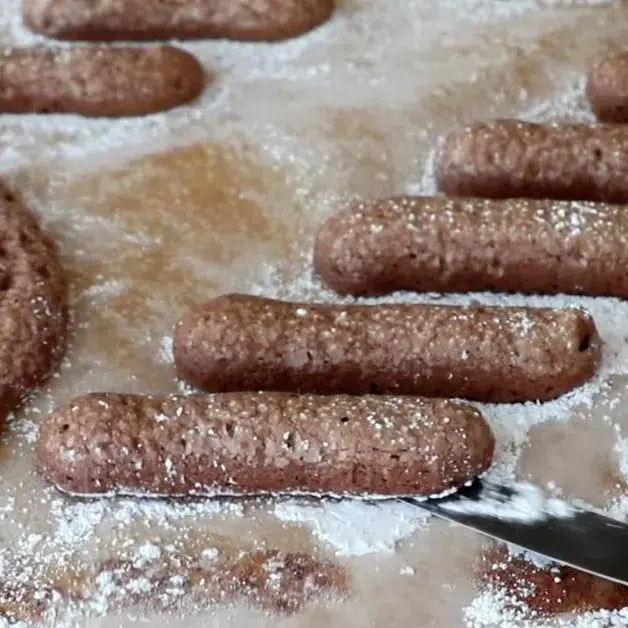
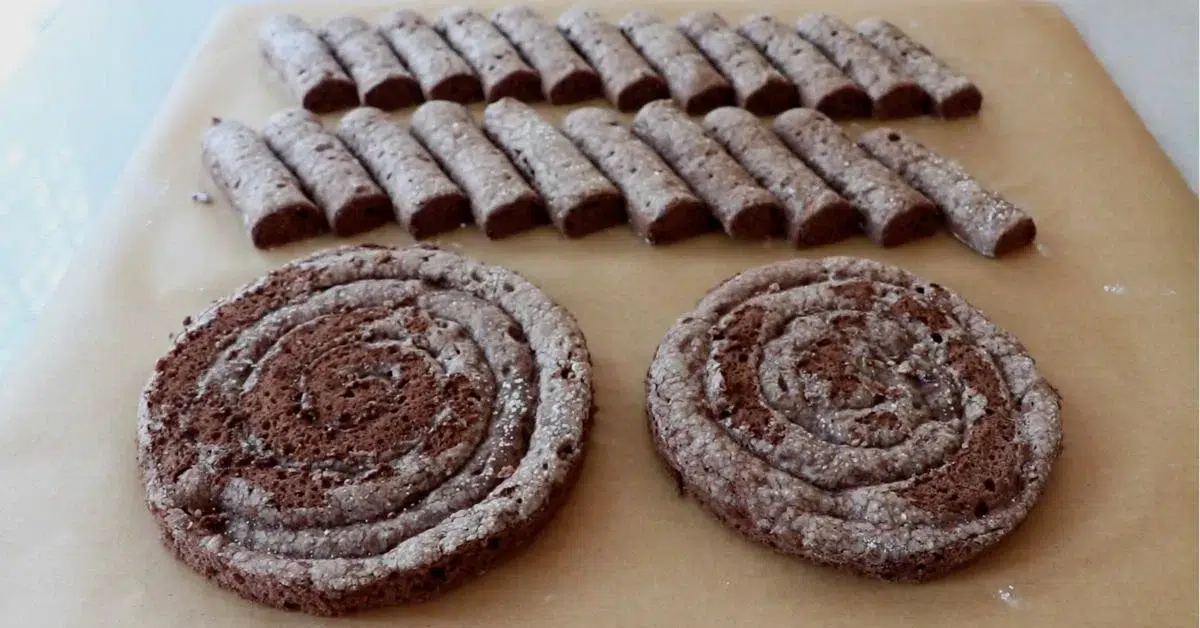
Step 2: Cut the sponge.
Cut the ladyfinger in 3-inch (8-cm) long:

Cut the edges of the 2 circles using the cake ring so that the ladyfingers and circles fit nicely within:


Cut and level the surface if you see that the surface is not completely flat. Cut the 2nd layer of the sponge slightly smaller.
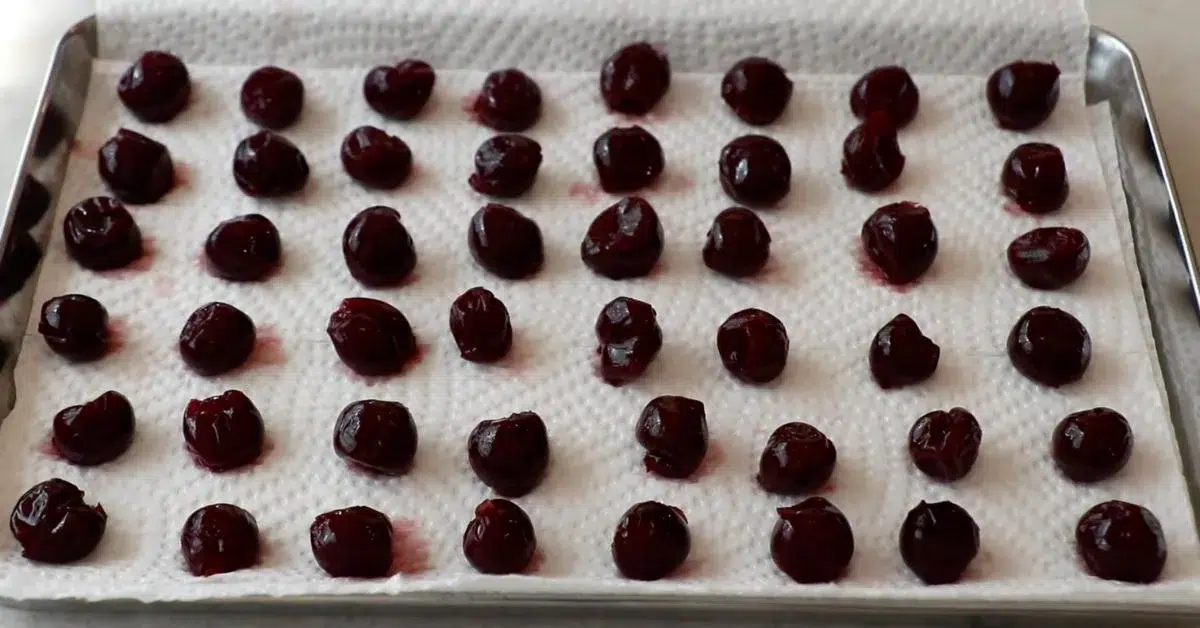
Step 3: Strain cherries in syrup and remove excess liquids.
Do not discard the cherry syrup; set it aside to use it as the cherry cake syrup later.


Remove the excess moisture from the cherries on a paper towel.
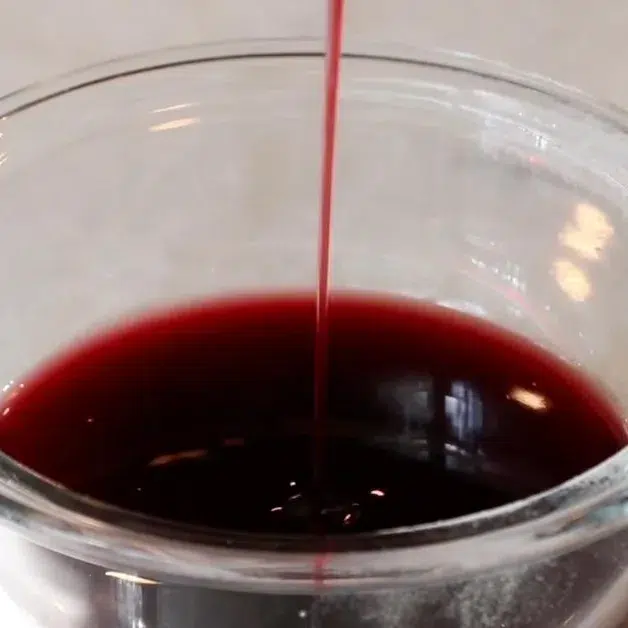
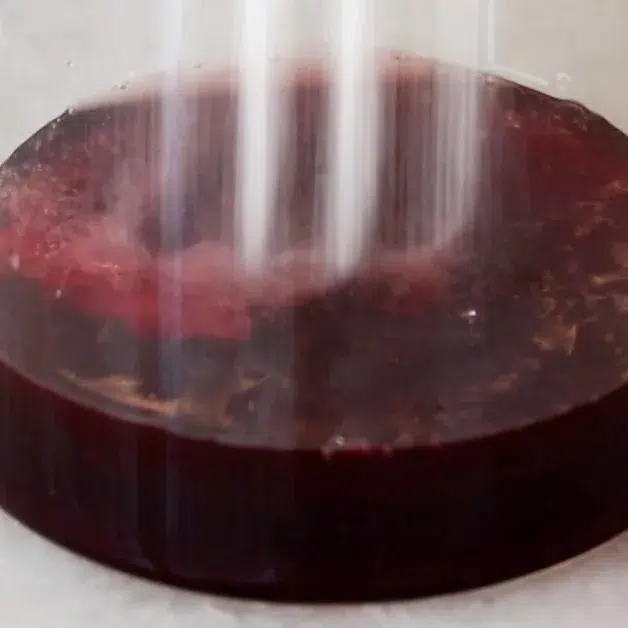
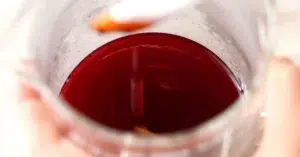
Step 4: Make cherry cake syrup.
- Heat the cherry syrup, water, and sugar in a cup. Mix until the sugar melts.
- Add kirschwasser and mix.

Step 5: Apply the cake syrup all over the sponge. And set up the sponge in the cake ring.

Because we are not adding oil or butter to the sponge, applying a good amount of the syrup is very important to make it moist.
Line them on the side. At the very end, check if there are no gaps between them and squeeze in one more if there is enough space.


Place the bottom layer. Push the edge to ensure that it's fit nicely.

Apply syrup.


Make small cuts on the surface if the syrup is not soaked in the sponge.

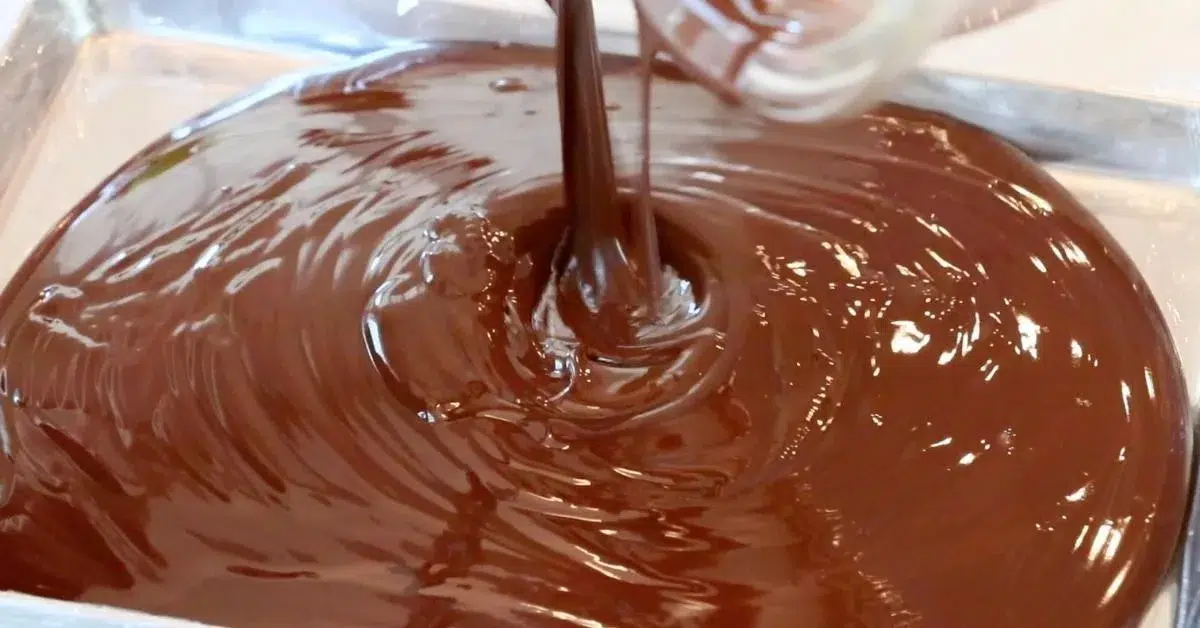
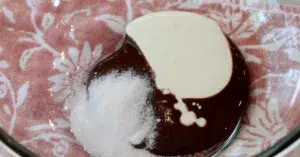
Step 6: Mix dark chocolate, sugar, and heavy cream.
Next, let's make the chocolate mousse. First, melt dark chocolate with a water bath.


Add sugar and a little bit of cold heavy cream. And mix right away.

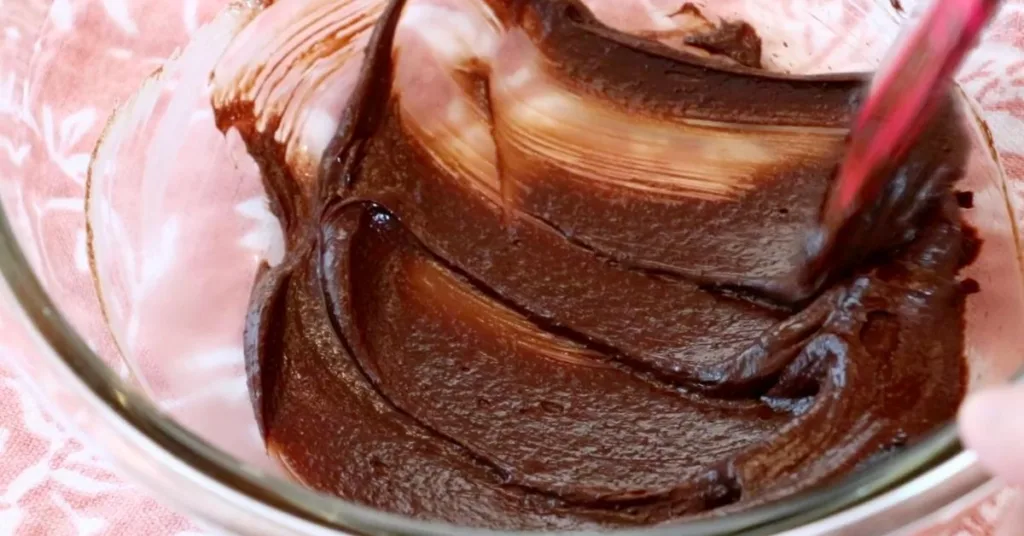
Melted chocolate can harden and leave the pieces in the finished cream when you add the cold heavy cream all at the same time. That is why we want to add it gradually to avoid that!
And again, add some heavy cream and repeat this until you add all the heavy cream.

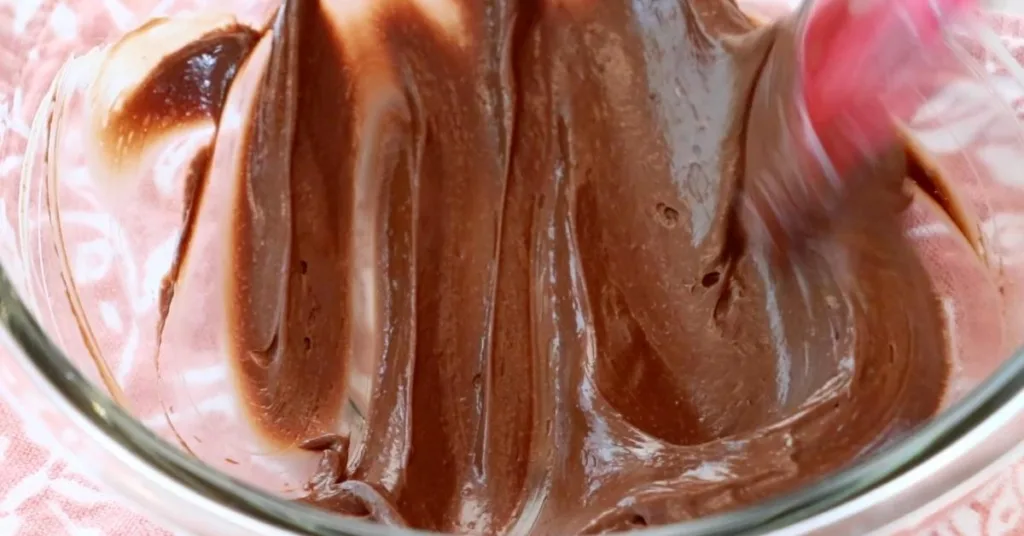
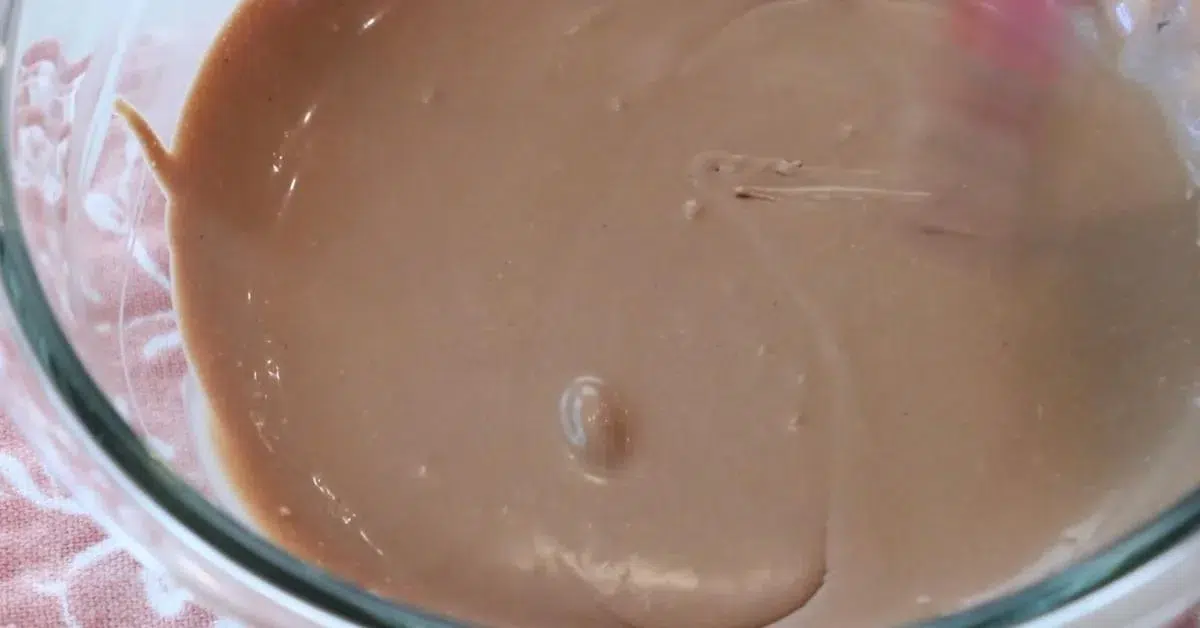
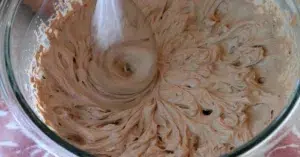
Step 7: Whip it until it looks fluffy and stiff.
Now, it's time to whip it! I recommend whipping on the ice water. Or whip it after chilling in the fridge until it cools completely.


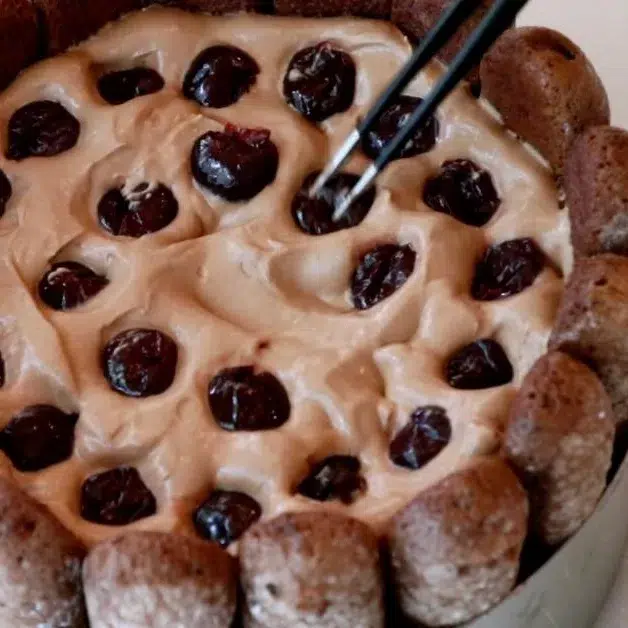
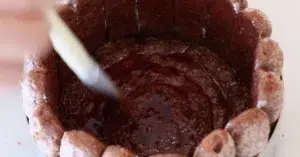
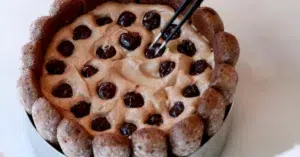
Step 8: Finish assembling the mousse, cherries, and sponge cake.
Add about one-quarter of the chocolate mousse and spread it evenly. And push in half of the cherries. Add another quarter of chocolate mousse and spread it.

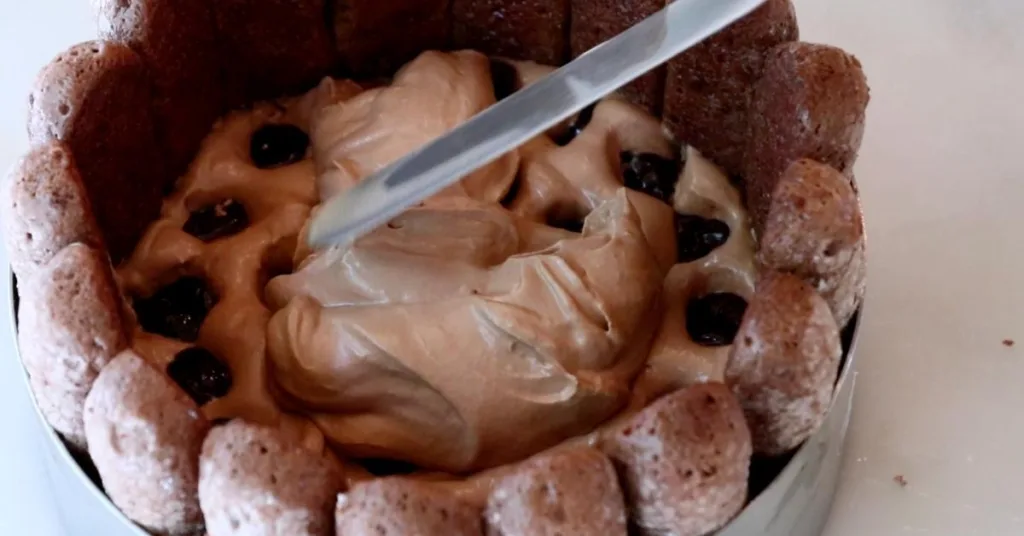
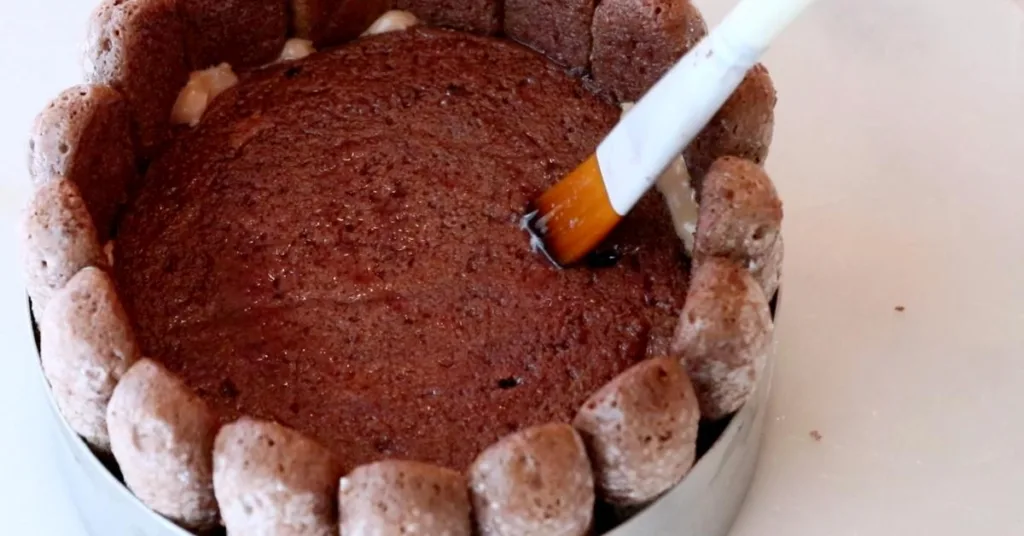
Place the second layer of the sponge. And push to make sure there's no gap between them. Apply the rest of the syrup. Apply all the syrup because it will make the sponge feel more moist!
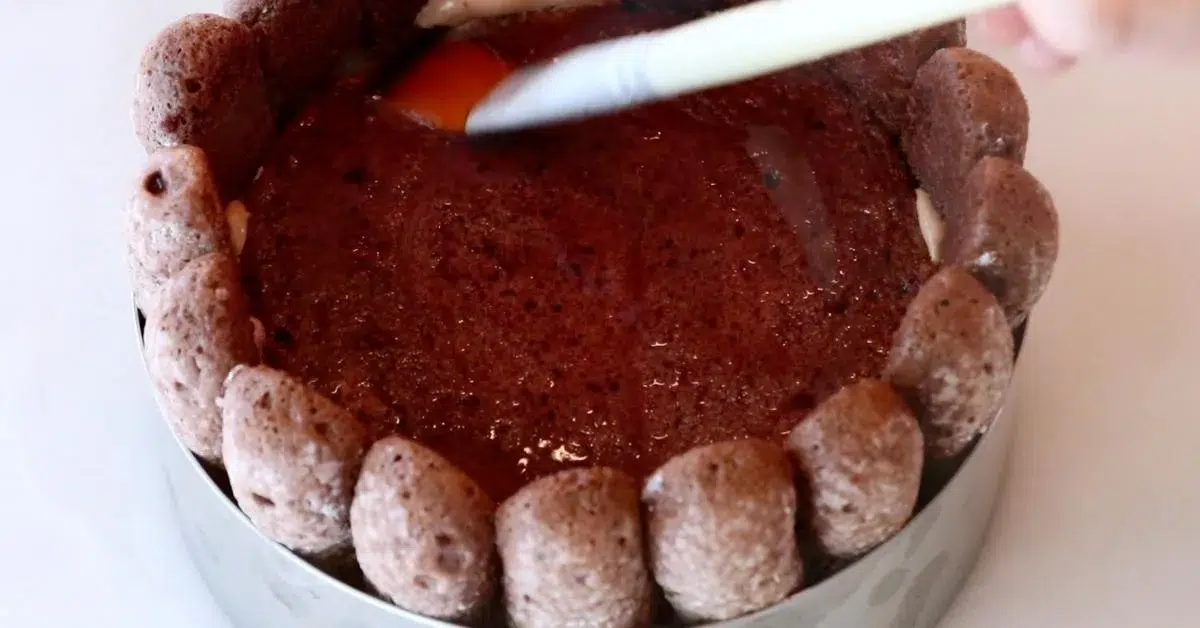
Cut the surface with a knife to let the syrup soak in faster.

And repeat the same process with the rest of the chocolate mousse and cherries.

Now, wrap and chill it in the fridge while we work on the whipped cream and chocolate curls.

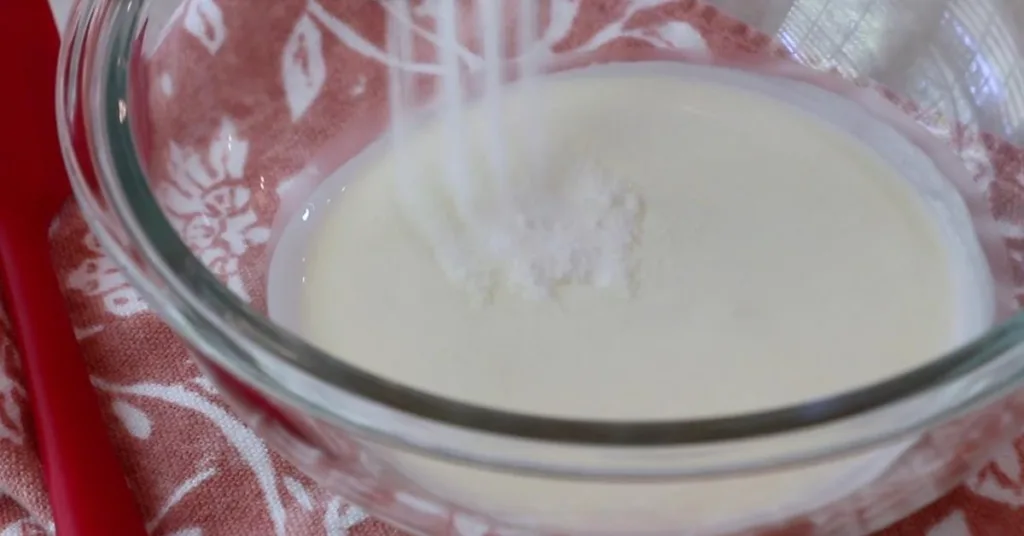
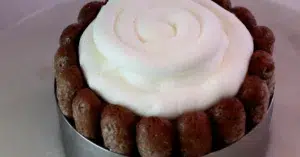
Step 9: Whip heavy cream and sugar until it looks fluffy.
Add sugar to heavy cream and whip until it gets very fluffy.

Step 10: Pipe it on top of the cake.
Remove excess liquids on the surface before piping the cream on top.


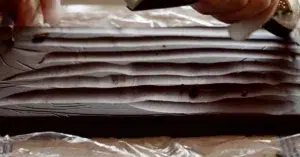
Step 11: Make chocolate curls.
First, melt dark chocolate. If you have a block of chocolate, there is no need to melt chocolate.
Should we temper the chocolate?
I recommend tempering chocolate for the best result, especially when you're using couverture chocolate.
But making chocolate curls with regular compound chocolate without tempering it is possible.
Either way, I recommend using very good-quality dark chocolate.
How to temper dark chocolate
To learn how to temper chocolate, check out this post about how to make chocolate truffles. I shared one of the easiest ways to temper white and dark chocolate.
Or check out the video tutorial of this recipe.

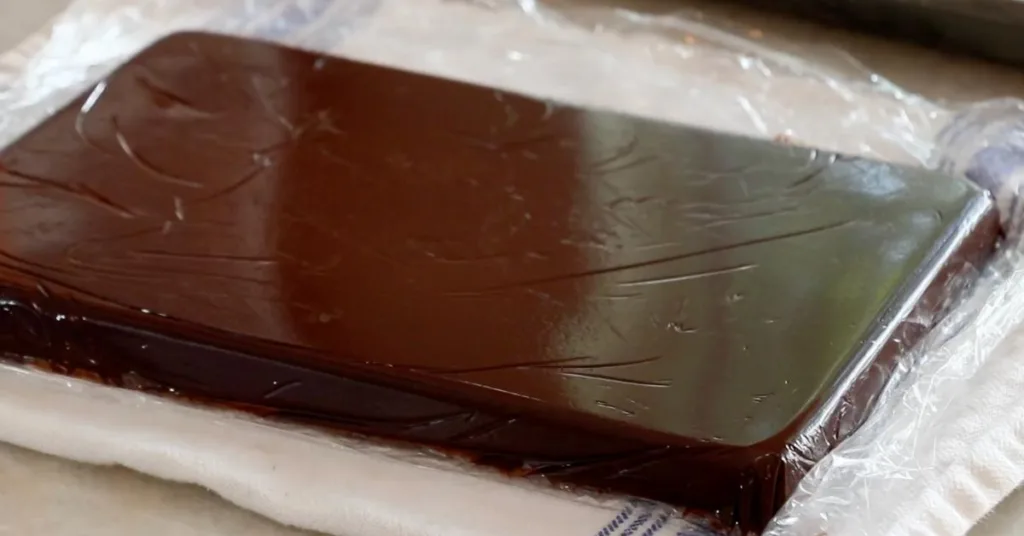

Once set, scrape off the surface with an ice cream scoop to make the curls. If it is too hard to make curls, Heat it with a microwave for a very short time and check. Be careful not to overheat it.
You can also make this ahead and store it in an airtight container. Store it in the fridge when the room is not cool.

To finish the cake, slowly take off the cake ring. If you find it's stuck to one of the sides, push the part and lift the ring.

And decorate the chocolate curls on top.

Step 12: Finish decorating.
Dust some cocoa powder on top.

As an option, decorate it with cherry compote, fresh cherries, and gold leaf!
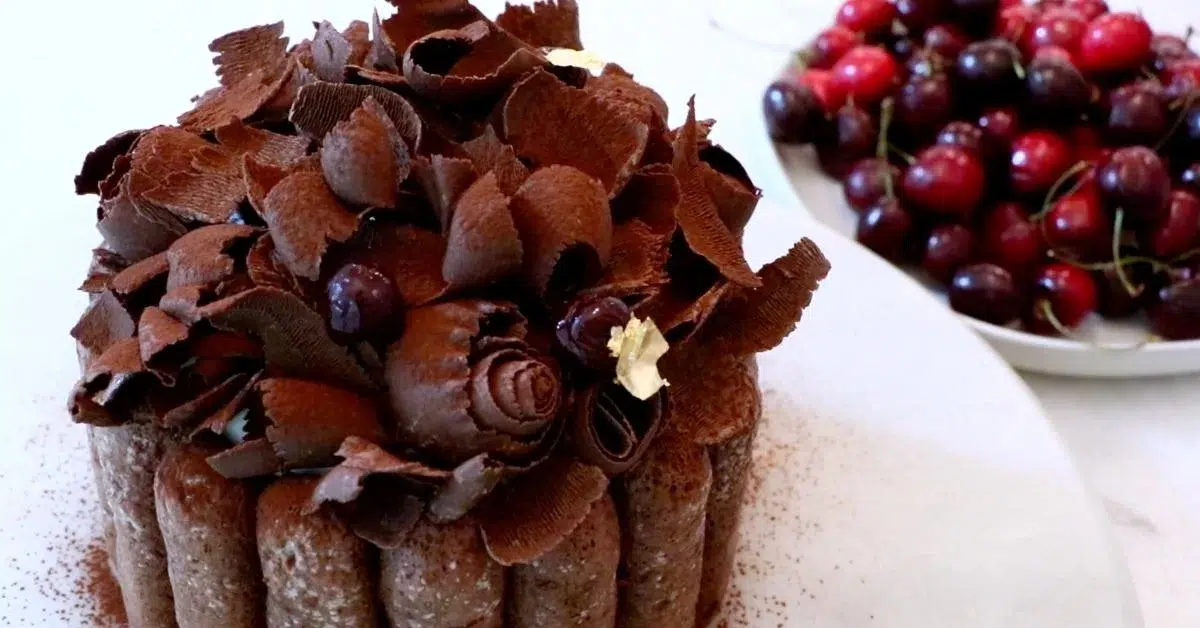
And that's it! it is complete.🍒
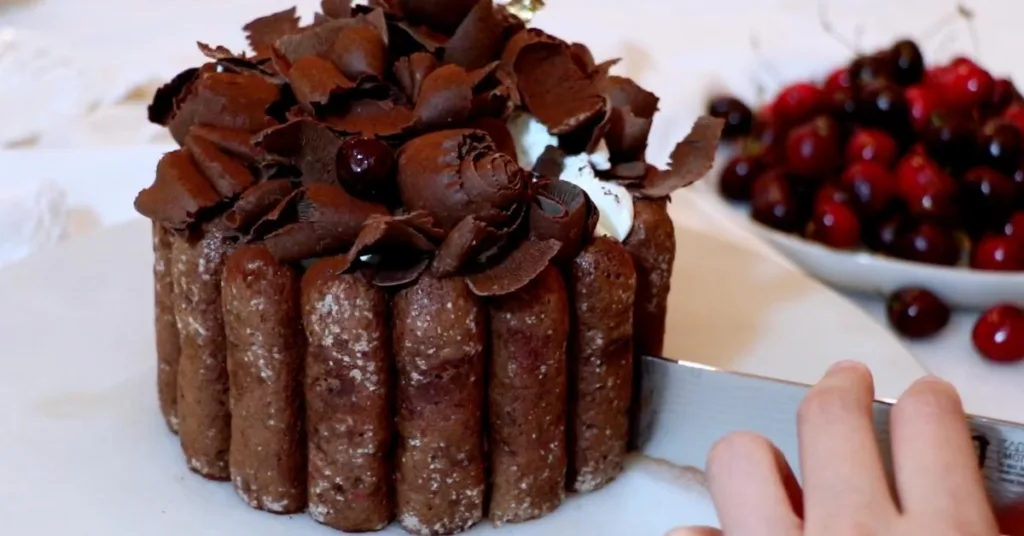
Slice the cake
- Warm a knife with hot water.
- Wipe a knife.
- Slice.
- Wipe a knife again.
- And repeat the same process!

I love dark chocolate, tart cherries, and fluffy whipped cream altogether!
Best Time To Eat Black Forest Cake
Although I often recommend consuming cakes within that day, this cake is different;
It tastes better after a day. Enjoy it in 1 - 2 days if you have a choice.
The flavors of cherries, syrup, and alcohol spread deeper into the cake, and the complex flavors become one. And the sponge gets more moist after a day.
I feel the same for a regular black forest cake!
Best Cherries For Black Forest Cake
I recommend using sour cherries, especially morello cherries, for black forest cake.
The type of cherries or the brand you use changes the cake experience. I highly recommend getting a good one. I used this one today.
Classic Black Forest Cake
Last year, I shared how to make a classic black forest cake on my YouTube channel. And this one is a slightly different version.

Check it out to learn about the classic cake!
Frequently Asked Questions
To store this cake, wrap the surface so it won't get dried, mainly because the sponge is not frosted on the side. It's possible to store it in the fridge for up to 4 - 5 days.
Although I often recommend consuming cakes within that day, this cake is different;
It tastes better after a day. Enjoy it in 1 - 2 days if you have a choice.
The flavors of cherries, syrup, and alcohol spread deeper into the cake, and the complex flavors become one. And the sponge gets more moist after a day.
It's not added to the ladyfingers because the butter or oil makes the batter looser. I want the ladyfingers to hold a nice shape after piping them, especially when it's shown and not hidden in a cake. You can add butter or oil if it doesn't matter for your dessert.
I recommend using sour cherries, especially morello cherries, for black forest cake.
The type of cherries or the brand you use changes the cake experience. I highly recommend getting a good one. I used this one today.
VIDEO: Black Forest Charlotte Cake
To learn how to make Black Forest Charlotte cake visually and have a deeper understanding of each step, watch the video!

Don't forget to subscribe if you liked it 😉
Printable Recipe
💬 If you loved this recipe, please share your feedback on this post! I always love hearing how you enjoyed it with your friends and family.
If you have a question about the tutorial, leave it in the comment section below, and I'll get back to you as soon as possible!
Black Forest Charlotte Cake
Equipment
- Stand mixer with a whisk attachment Or a hand mixer
- Bowl
- Spatula
- Piping bag with a pastry tip I used a 0.5" round tip.
- Sieve
- Parchment paper or a silicone mat
- Pot for a water bath
- Ice cream scoop to make chocolate curls
- Small tray
Ingredients
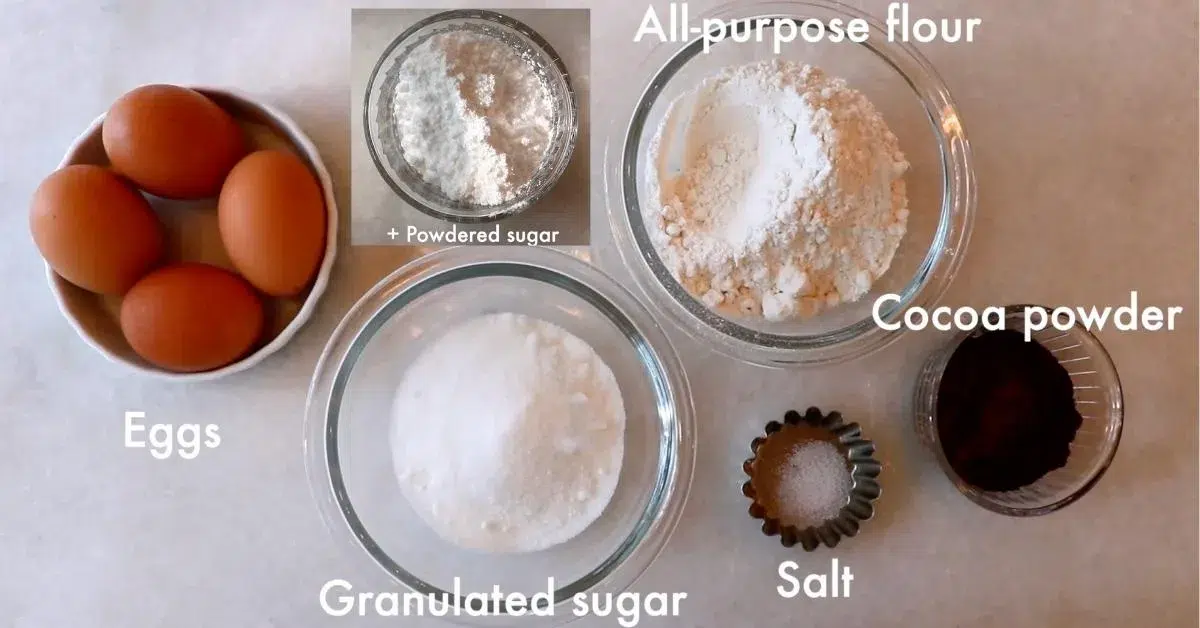
Chocolate Biscuit Sponge Cake
- 200 g (4 large eggs) Egg
- 100 g (½ cup) Granulated sugar
- 100 g (¾ cup) All-purpose flour
- 20 g (2.5 Tablespoons) Cocoa powder
- ⅛ teaspoon Salt
- Some Powdered sugar
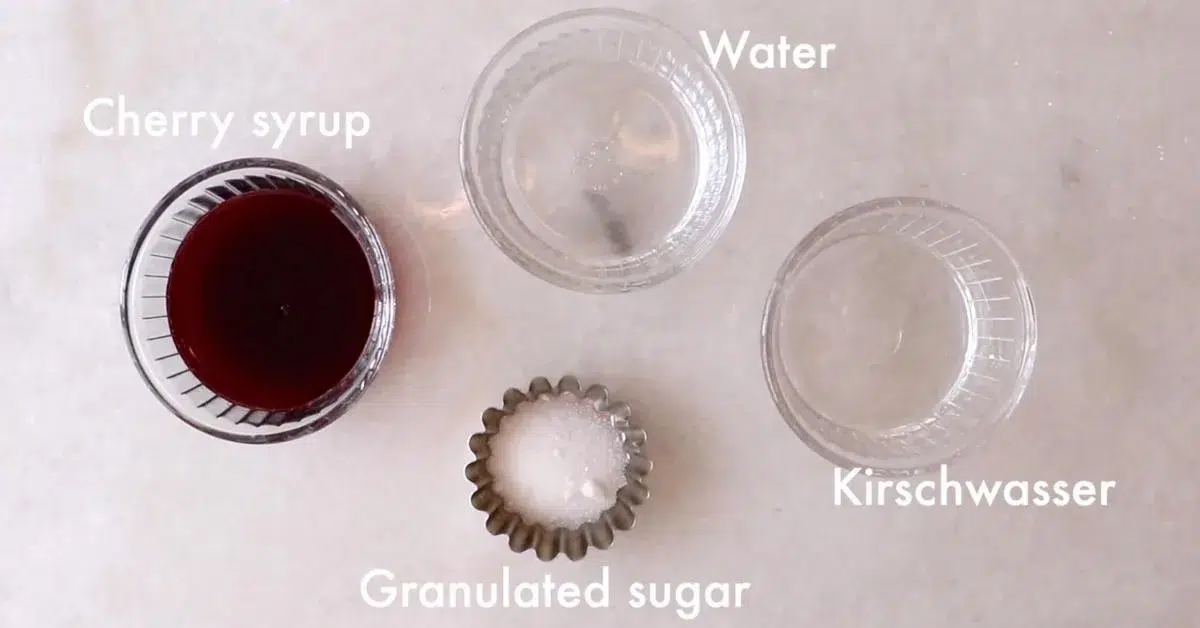
Cherries + Cherry Cake Syrup
- 48 pieces Sour cherries in syrup 24 pieces on each layer
- 52 g (3.5 tablespoon) Cherry syrup from the jar/can
- 22 g (1.5 tablespoon) Water
- 5 g (1 teaspoon) Granulated sugar
- 15 g (1 tablespoon) Kirschwasser
Chocolate Mousse
- 60 g (⅓ cup) Dark chocolate (I used 64%)
- 8 g (½ Tablespoon) Granulated sugar
- 180 g (¾ cup) Heavy cream
Whipped Cream
- 120 g (½ cup) Heavy cream
- 8 g (½ Tablespoon) Granulated sugar
Decoration
- Some Dark chocolate (I used 64%) for chocolate curls
- Some Cocoa powder
- A few Sour cherries in syrup or fresh cherries optional
- Some Gold leaf optional
NOTE: For best results, measure ingredients with a scale. All recipes are designed with weighed ingredients using grams/ounces. Cup measurements (US customary units) are provided for your convenience.
Instructions
Chocolate Biscuit Sponge
- Make one batch of my chocolate ladyfingers recipe. Follow the 5 steps to bake it.Pipe it: For a 1 6-inch cake, you'll need about 17 ladyfingers (a little over 3 inches long, using a 0.5-inch pastry tip.) and 2 circles that are a bit smaller than 6 inches.200 g Egg, 100 g Granulated sugar, 100 g All-purpose flour, 20 g Cocoa powder, ⅛ teaspoon Salt, Some Powdered sugar

- Cut the sponge: Cut the ladyfinger in 3-inch long. And cut the 2 circles so that the ladyfingers and the circles fit nicely in the cake ring.

Cherries & Cherry Cake Syrup
- Cherries: Strain cherries in syrup. Place them on a paper towel and remove excess moisture in advance.48 pieces Sour cherries in syrup
- Cherry cake syrup: Heat cherry syrup, water, and sugar and mix to resolve sugar. Add kirschwasser and mix.52 g Cherry syrup from the jar/can, 22 g Water, 5 g Granulated sugar, 15 g Kirschwasser
- Apply the syrup all over the sponge and set up the sponge in the cake ring:1. Apply cake syrup on the ladyfingers and arrange them along the side of the ring. 2. Place the first layer of the sponge inside and apply cake syrup.3. Apply cake syrup on one of the sides of the 2nd sponge layer.

Chocolate Mousse
- Melt the dark chocolate. And add sugar and a little bit of cold heavy cream. Mix them until the heavy cream is completely blended. Repeat the process until all the heavy cream is added.60 g Dark chocolate (I used 64%), 8 g Granulated sugar, 180 g Heavy cream
- Whip it until it looks fluffy and stiff. * Whip it on ice water. Or whip it after chilling it in the fridge.
Assembling it
- 1. Spread ¼ of the chocolate mousse, push in half amount of the cherries, and spread another ¼ of the chocolate mousse. 2. And place the 2nd sponge on top and apply the rest of the cake syrup.3. And repeat the process: Spread ¼ of the chocolate mousse, push in the rest of the cherries, and spread the rest of the chocolate mousse.Wrap it and chill it in the fridge.
Whipped Cream
- Whip heavy cream and sugar until it looks fluffy.120 g Heavy cream, 8 g Granulated sugar
- Pipe it on top of the cake.

Decoration
- Make chocolate curls: Watch the video tutorial to see how to make them.Some Dark chocolate (I used 64%)
- Dust cocoa powder on top. As options, decorate it with additional cherry compote, fresh cherries, gold leaf, and a ribbon.Some Cocoa powder, A few Sour cherries in syrup or fresh cherries, Some Gold leaf

Video
Notes
How to store it:
To store this cake, wrap it all around the surface so it won't get dried, mainly because the sponge is not frosted on the side. It's possible to store it for 4 - 5 days in the fridge. It tastes best after 1 - 2 days.Nutrition
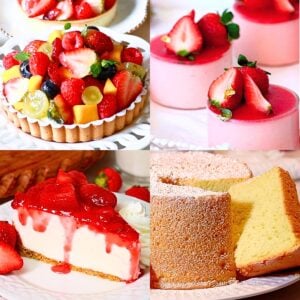
You may also like:
Go back to the top of this post.


Zoe says
Hi
Can I ask why you don't use any gelatin in the mousse in this recipe?
Thanks
Aya Caliva says
Hi! For chocolate mousse, I normally don't use gelatin, as the melted chocolate work as gelatin, getting much firmer when chilled. I always use gelatin for fruit mousse!