
Looking to make pie dough for the perfect pie crust? Follow the simple 3 steps and essential tips to make a deliciously flaky crust that will impress your guests.
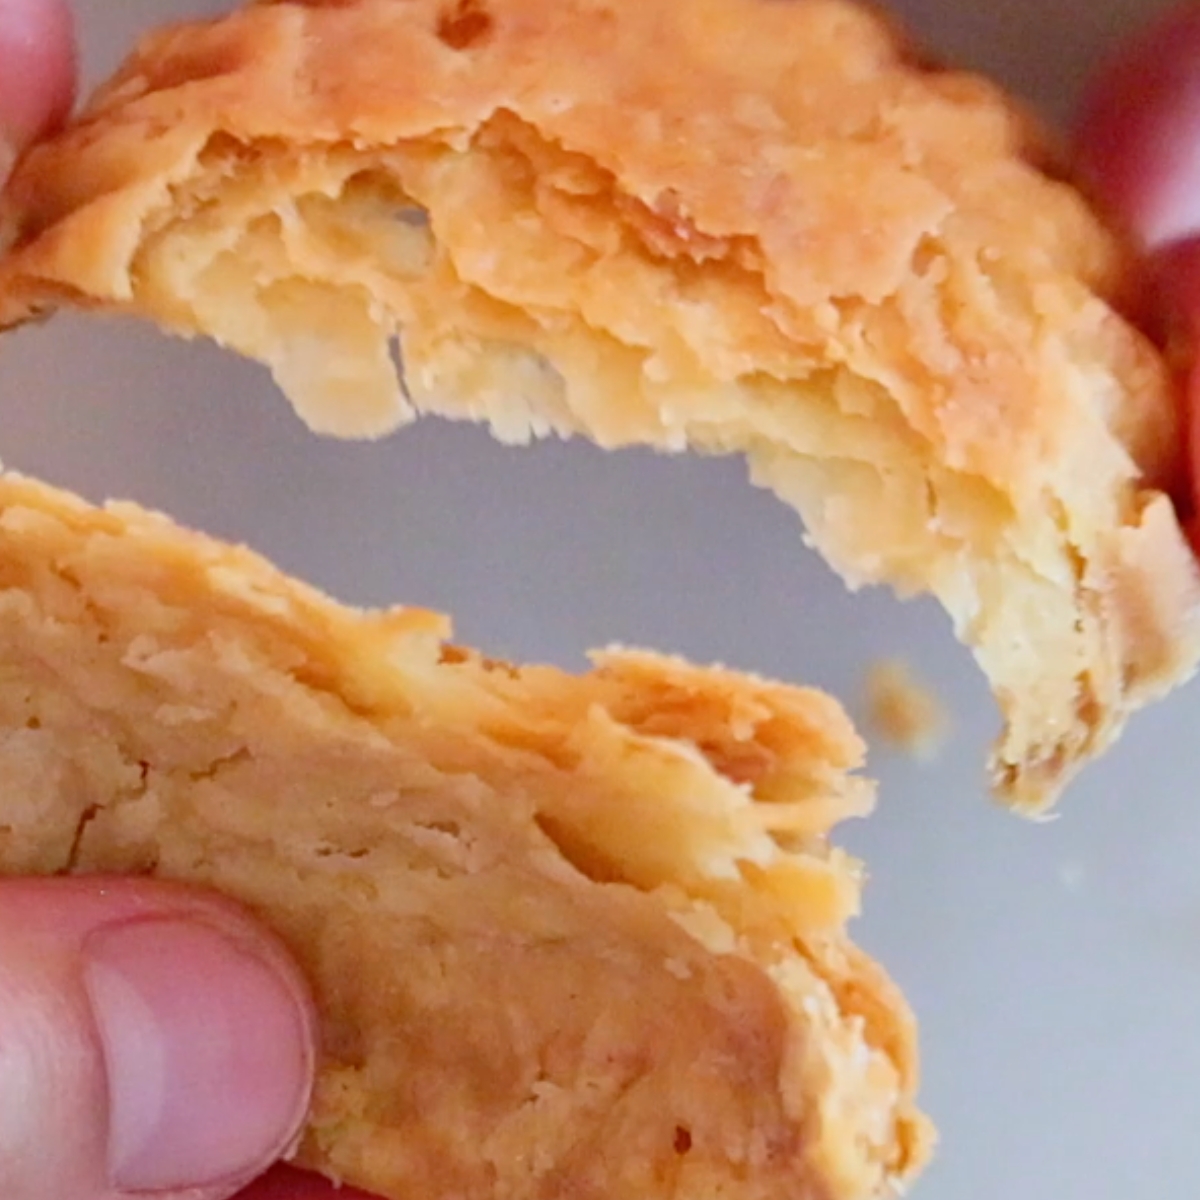
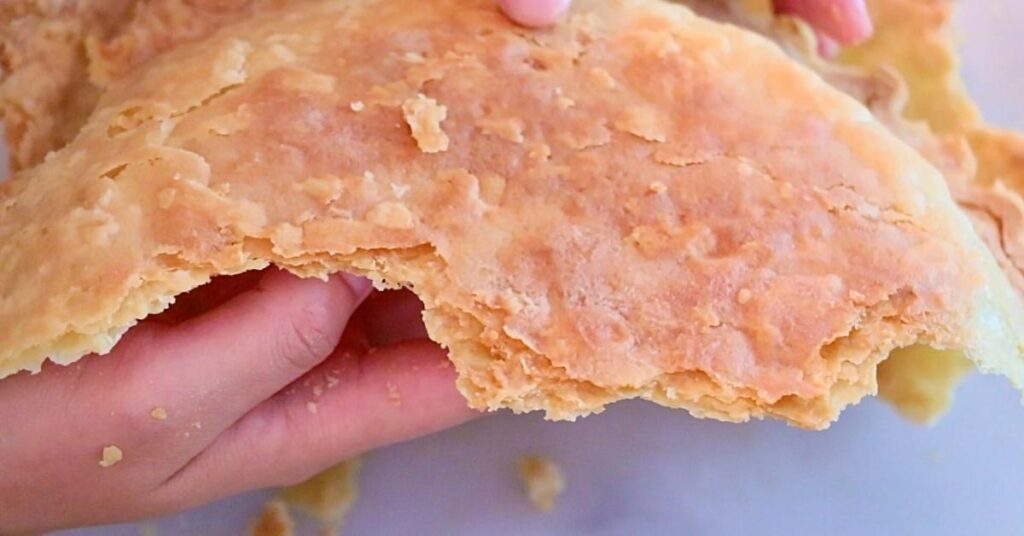
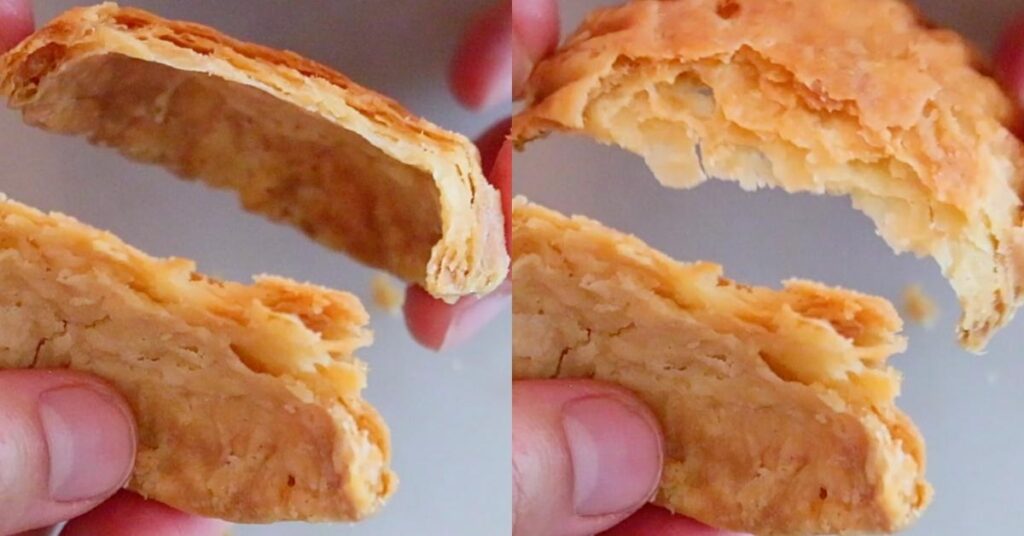
The texture is incredible; the layers delicately break in a mouth.

📌 What you'll learn in this post:
In this post, you'll learn some baking skills, such as :
- Key tips to make your pie dough very flaky
- How to make pie dough with both a food processor and hands.
- How to wrap your dough so that you can roll easier later
- Tips for rolling it with ease
It is everything I use for all types of sweet and savory pies, such as apple pies, apple hand pies, blueberry pies, pecan pies, classic quiche, etc.
📌 What Makes Pie Dough So Flaky?
The simple answer is pieces of butter in the dough.
The tiny pieces of butter in the pie dough melt in the oven, creating hollows that lead to layers of crust:

On the contrary, when your butter is soft, it gets pasted into the flour. You will not get the same flaky texture with this:

The key focus is to keep the pieces of butter cold as you mix the dough to make a flaky pie crust.

📌 What's In Pie Crust?
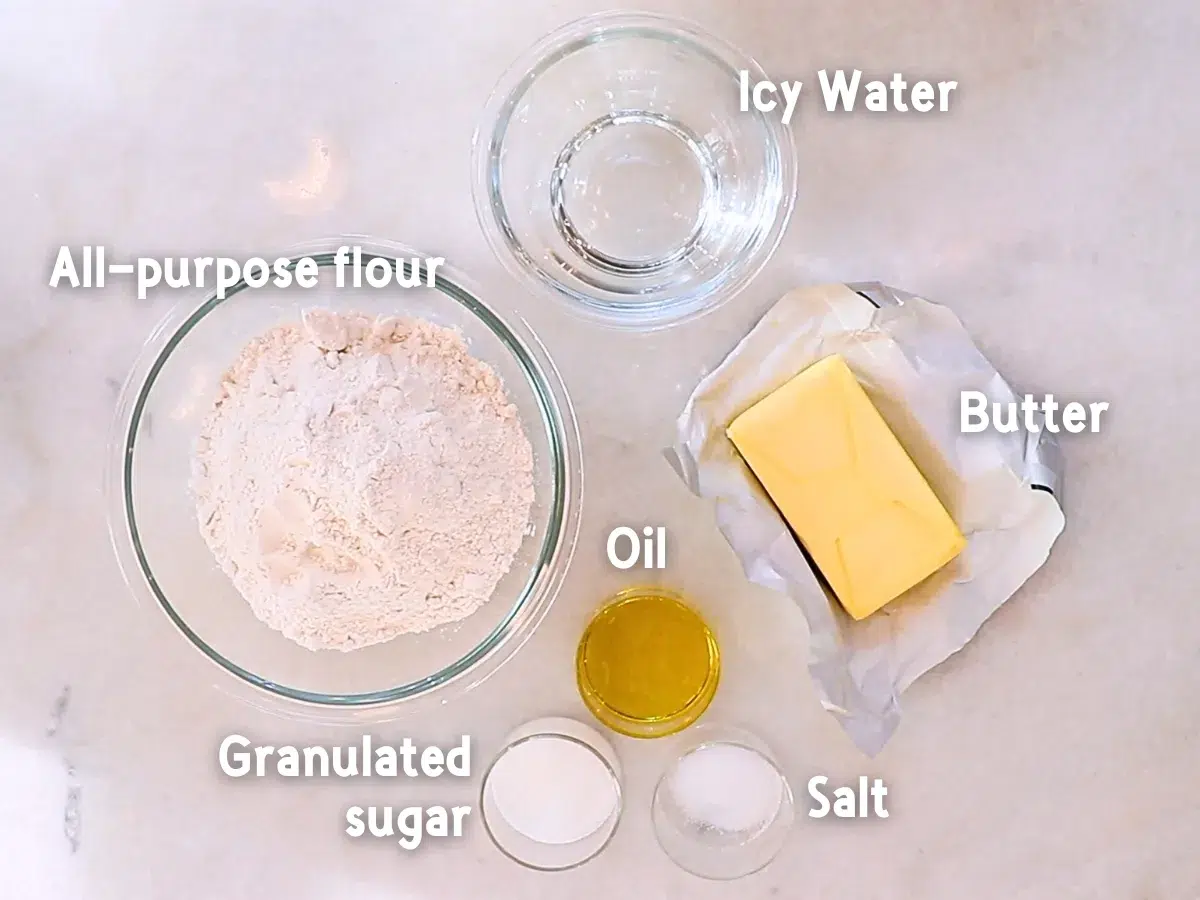
6 Ingredients:
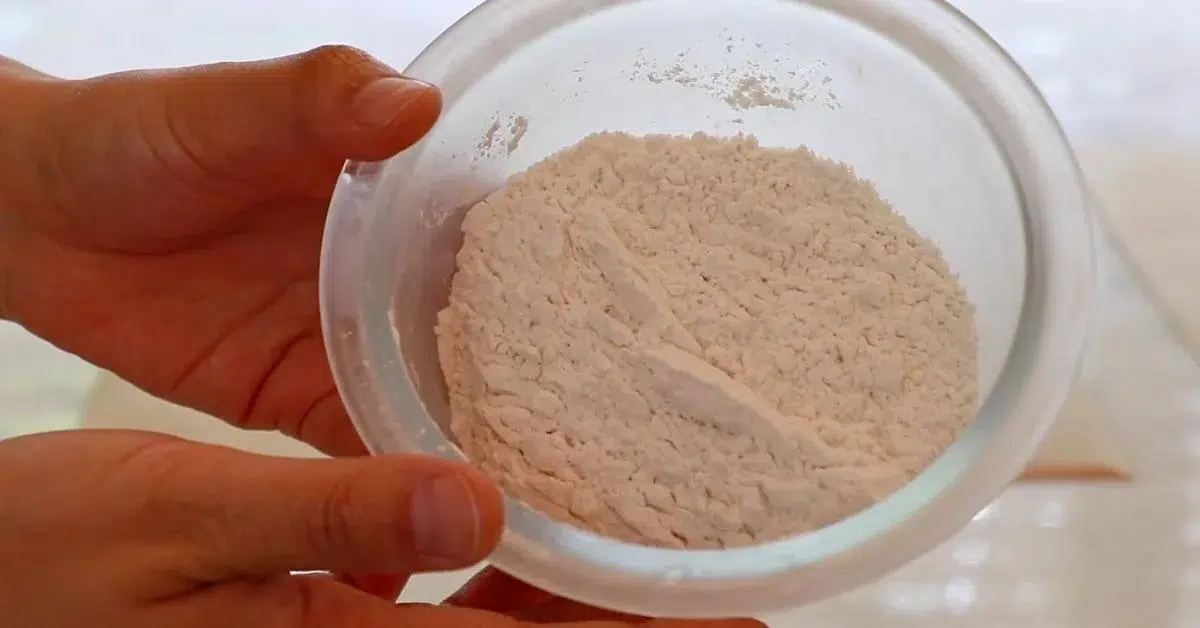
- All-purpose flour: Use regular all-purpose flour. Chilling it in the fridge in advance helps to keep butter cold.
- Granulated sugar: It is not a must, but a small amount is added today for a slight sweetness.
- Salt: I used regular table salt.
- Unsalted butter: Use very cold butter to prevent it from getting too soft as you mix.
- Icy water: The very cold water helps to keep the butter cold.
- Oil: I used olive oil today, but you can use any other regular oils.
👩🏻🍳 Oil is a secret ingredient to make this pie crust - it weakens the connections of gluten in flour and creates such a delightful, lightly flaky texture. The key is not to add too much.
📌 How To Make Pie Dough
Now, let me share detailed tips on each step, which is crucial for making pie dough successful.
Preparation
- Prepare icy cold water.

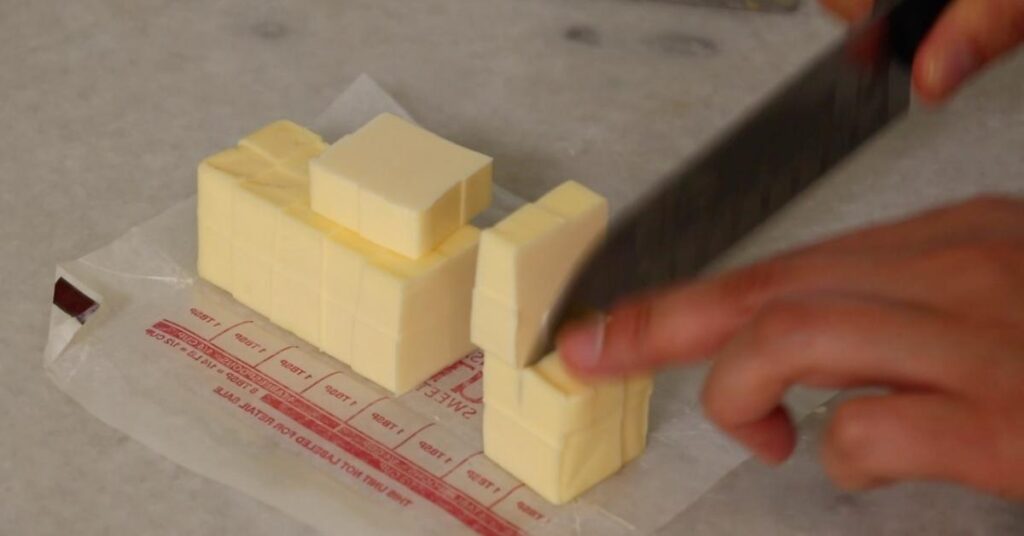
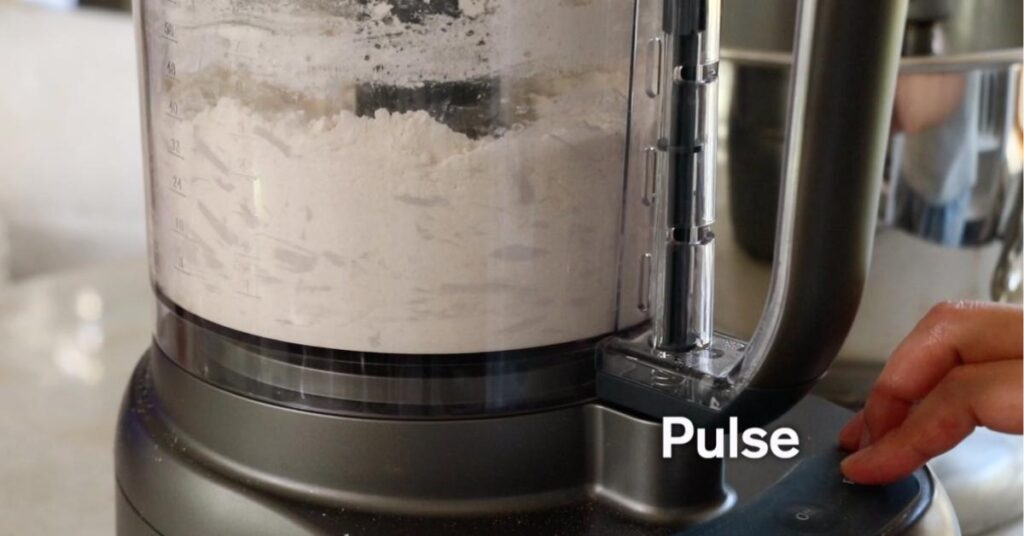
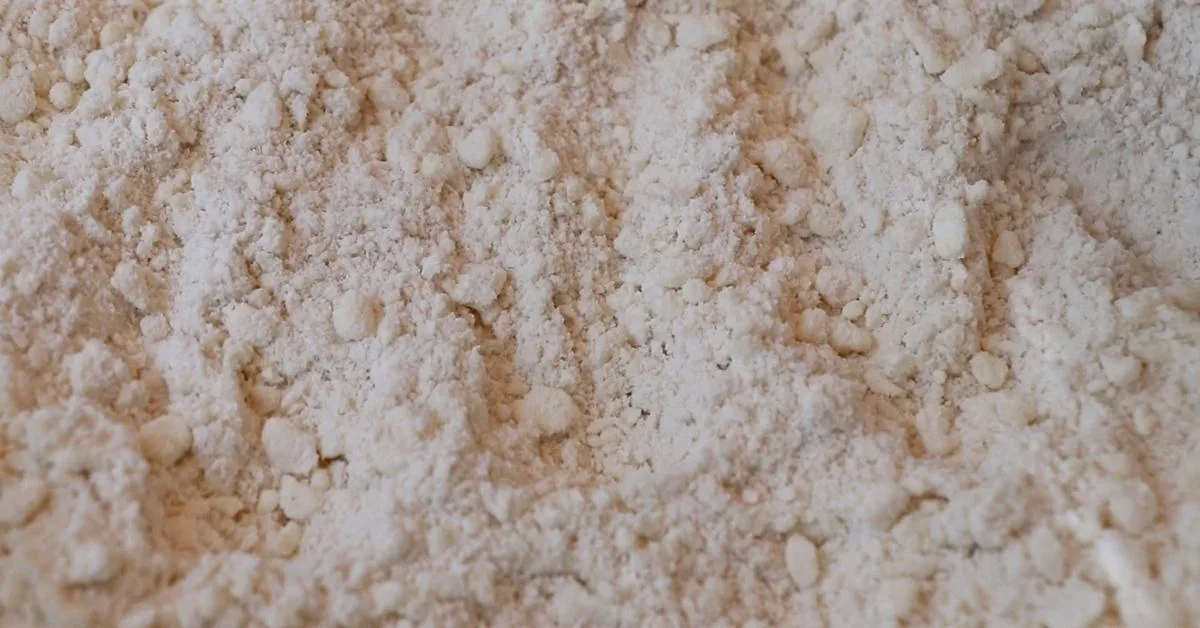
Step 1: Add flour, sugar, salt, and butter to a food processor and pulse until the butter is cut into tiny pieces.
Cut cold butter into small cubes.
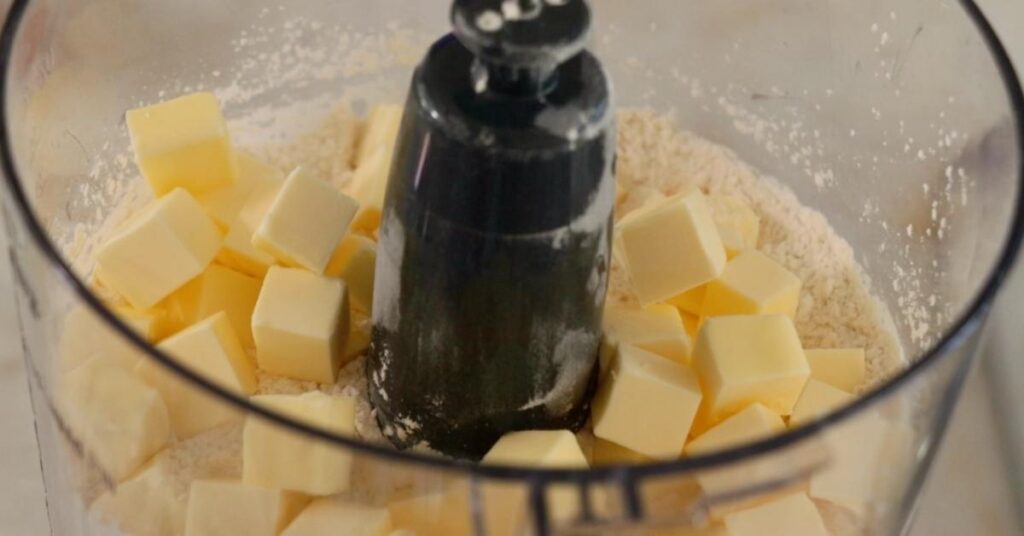
Pulse until the butter is cut into about the size of apple seeds.
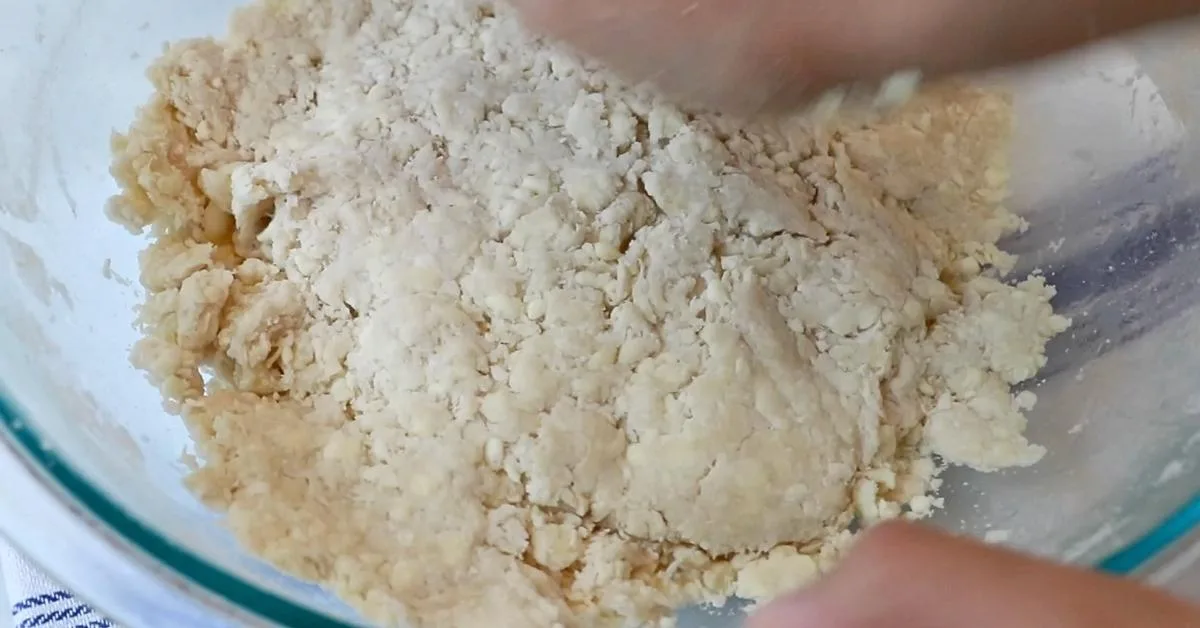
Move it into a large bowl.
Check with your hands and squish if you find some big pieces:

Can I make the dough by hand?
If you don't have a food processor, don't worry! You can still make it by hand. You can use a dough blender to cut butter:
Or grate butter with a cheese grater and freeze it beforehand.
It takes a lot more time to finish the process with the dough blender. I recommend cutting your butter into very small pieces in advance. Chill it in a fridge if the butter gets soft before adding water.

Tips💡:
- The size of the butter should be between rice grains and black peppers. You can not fix it once you cut butter too small - Check the size when unsure, and pulse more if necessary.
- If you feel the butter is getting too soft before adding water, chill the bowl in the fridge for some time to prevent the butter from getting pasted.
Step 2: Add water and oil and mix until it forms a ball.
Combine water and oil in advance.
You can add all of it at once.
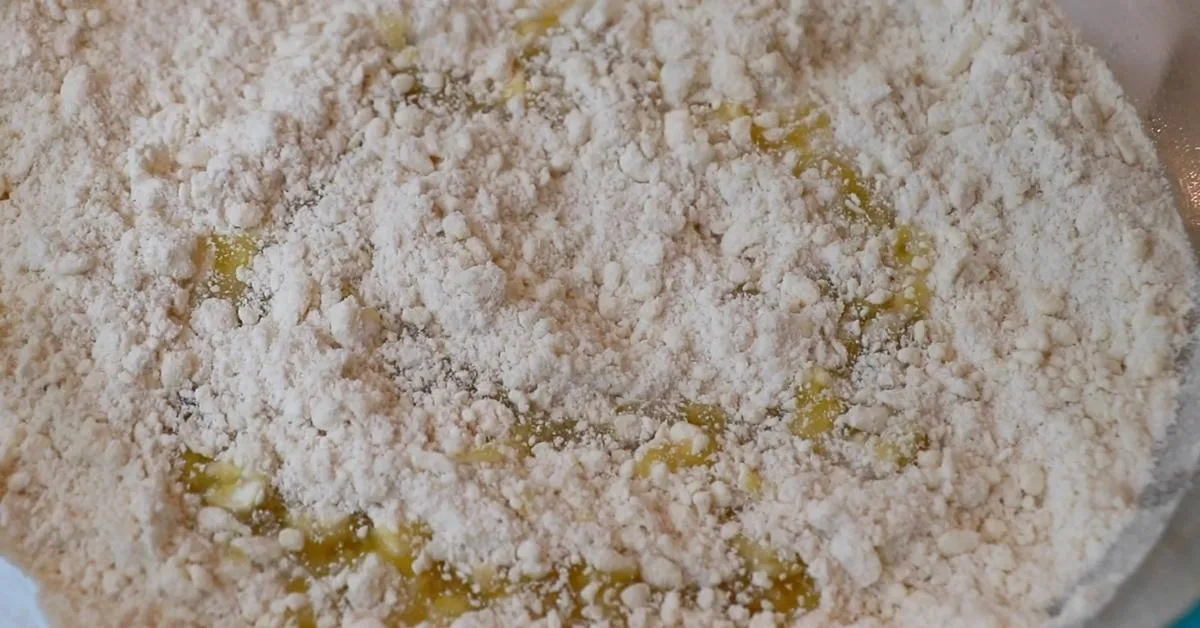
Follow the 2 steps to mix them:
- Cut the surface with a spatula, flip the dough, and repeat it until you see that the liquids are spread evenly in the flour.
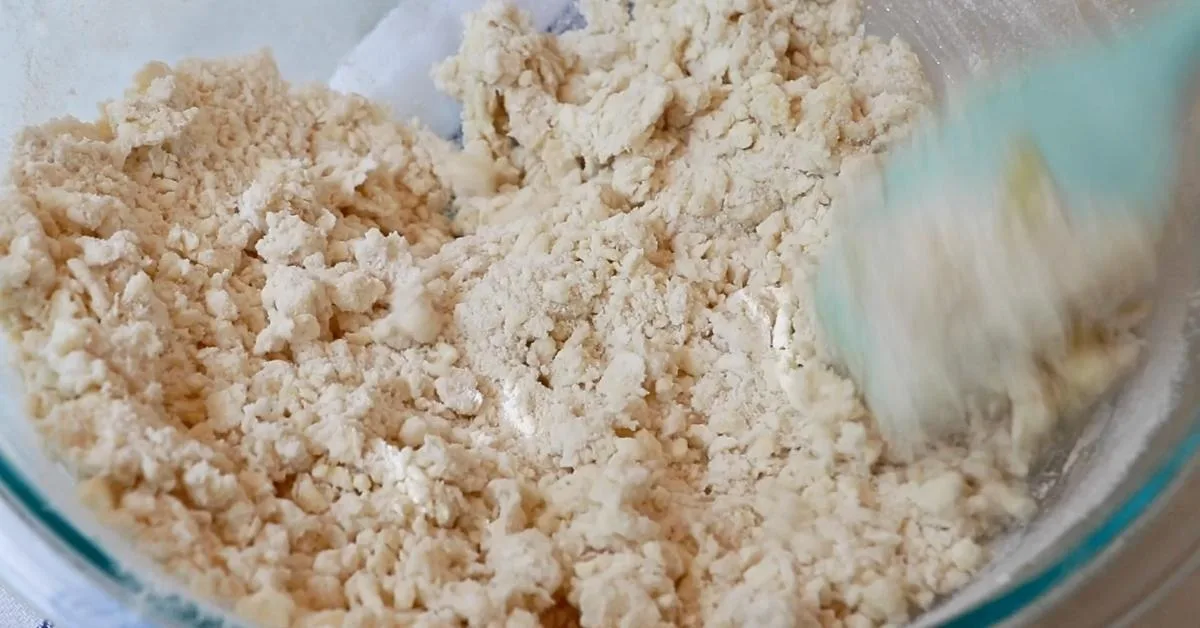
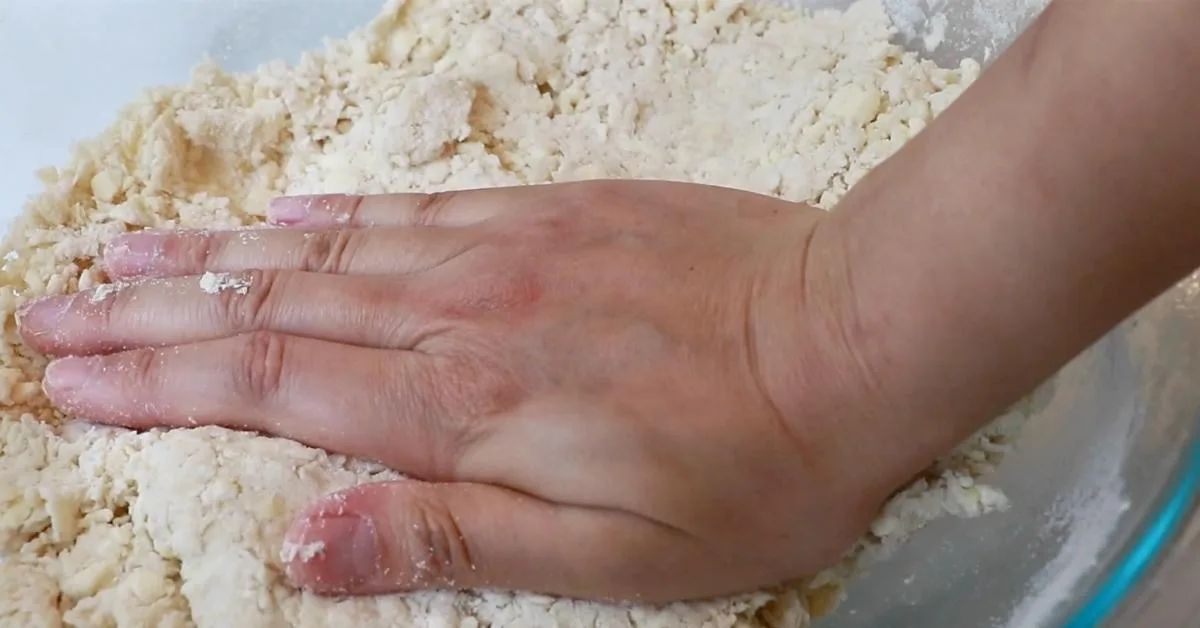
- Press the surface well with a spatula or hand and flip. Repeat it until it forms a ball.
- It'll look very powdery initially, but no worry! It'll slowly come together as you repeat this process.
How to judge if it's done
- It still looks slightly powdery but comes together.
- Stop before it starts getting sticky. (That means the butter is melted partially.)
Tips💡:
- Do not add any more water - it creates more glutens, which makes the crust unpleasantly crunchier!
- Avoid touching the dough directly by hand when it is warm since the heat can slowly melt the butter. Use only a spatula or wear a glove to avoid that.
- This recipe is enough to make 1 10-inch pie with a double crust or 2 10-inch pies with a single crust. Feel free to make double or half the amount, depending on the size of your pies!
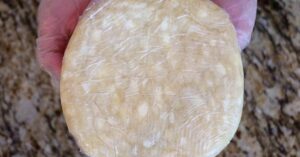
Step 3: Wrap the pie dough and chill it in the fridge for more than a few hours.
How to wrap and chill the pie dough
- Divide it in half for double crusts. Wrap each of them with plastic wrap.


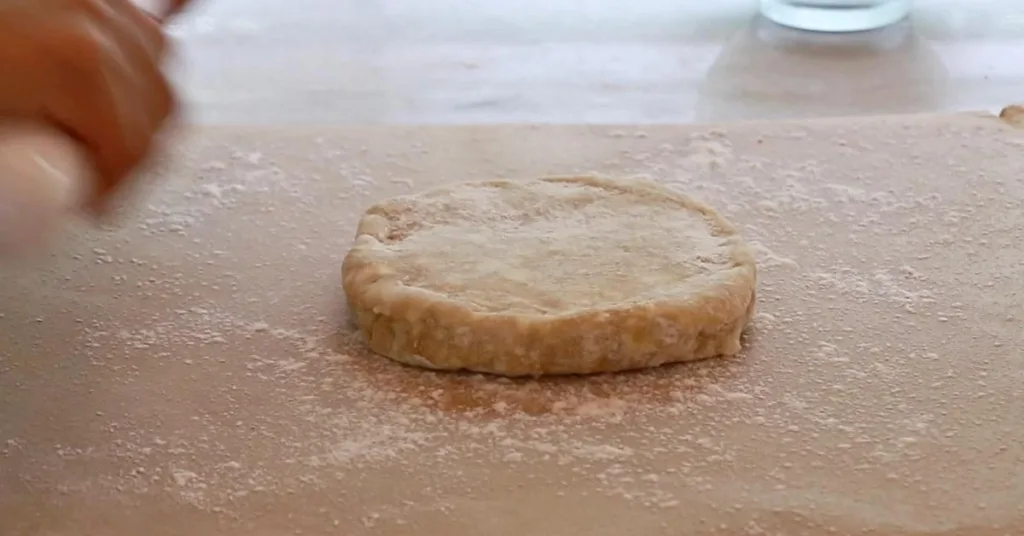
- Roll it over the plastic wrap to make a round shape (Or any shape of your pie plate) with even thickness. It'll be easier to roll the dough later by doing this.
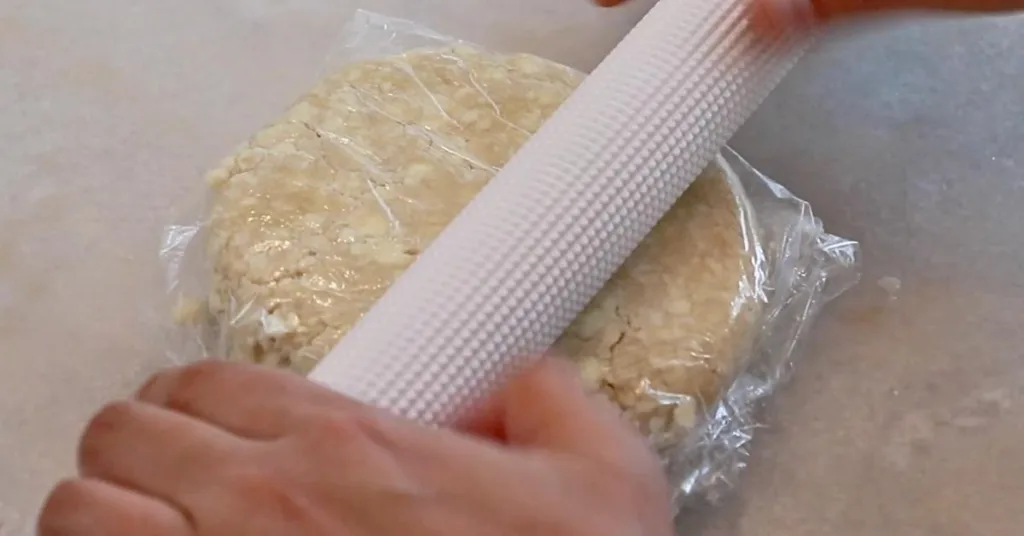
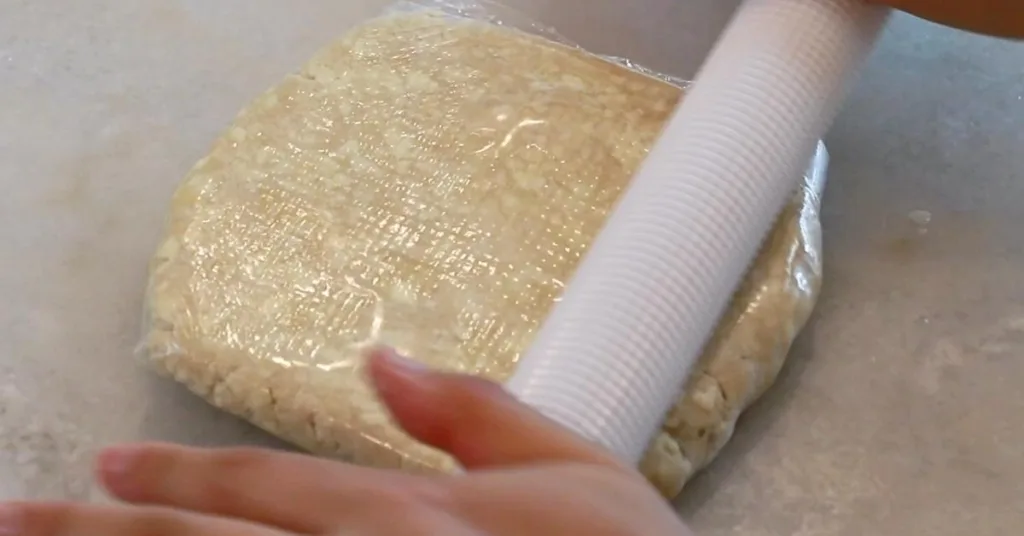
- Pinch all around the edge and smooth it out by spinning it by hand. The edge will crack less as you roll the dough later by doing it.


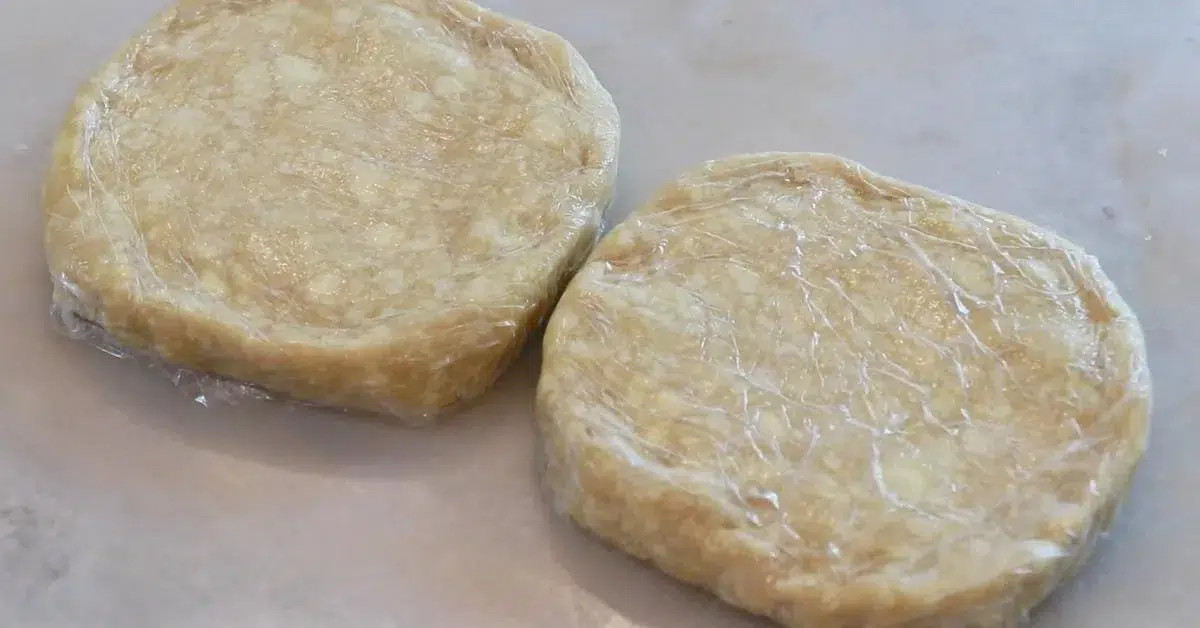
And done! Now, chill the dough.
Why do we need to chill the pie dough before rolling it?
- The butter can remain in pieces: When the dough is just made, it is too soft to roll. (Again, we want to keep the butter in small pieces to create a flaky pie crust!)
- You can roll it more easily: The gluten in flour gets weakened after resting it in the fridge. You'll feel less resistance as you roll the dough when the glutens are rested.
While chilling the dough, I usually work on the pie filling or other preps. Or you can make it the day before and let it rest overnight.
📌 How To Roll Pie Dough
Step 1: Dust bread flour.
I am using parchment paper today but you can also roll it on a table directly.

Why do we use bread flour?
I like to use bread flour to dust on the working surface because:
- It spreads more evenly on the working surface than other flour, such as cake and all-purpose flour.
- It also does not stick to the dough as much as other flours.
If you do not have bread flour at the moment, no problem; you can use all-purpose flour instead. It won't make a significant difference.
Step 2: Push the dough gently.
First, push the dough gently to wake it up and make it soften:

Turn the dough 90 degrees and repeat it.
Pinch the edge; whenever you see it starts cracking:
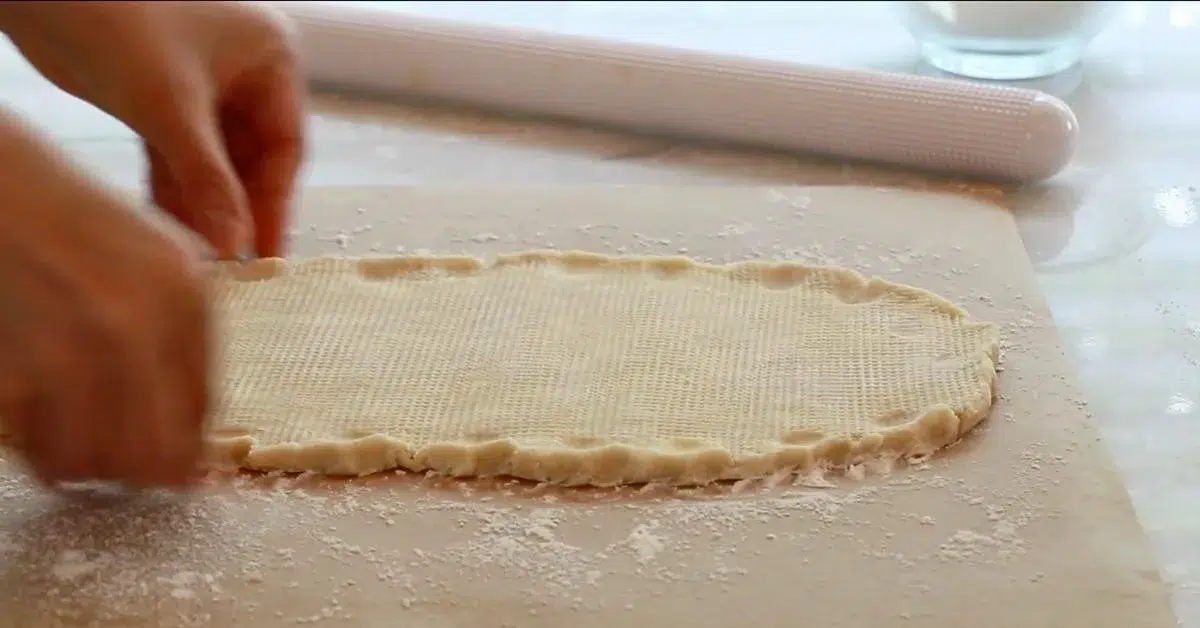
Step 3: Roll the dough.
Start rolling when you feel the dough is soft enough:

Tips💡:
- Apply bread flour frequently on the way so the dough does not stick to the parchment paper and a rolling pin.
- When you roll the dough, add the same pressures from both hands to make evenly spread dough.
- I recommend rolling it very thin (0.1 inch | 2 - 3 mm) to maximize the amazing crispiness of the crust.
- The butter in the dough gets softened quickly when you roll the dough in a warm environment. Work on it in a cooling space and move as fast as possible.
- Chill the dough on the way whenever you feel it is getting too sticky to handle.
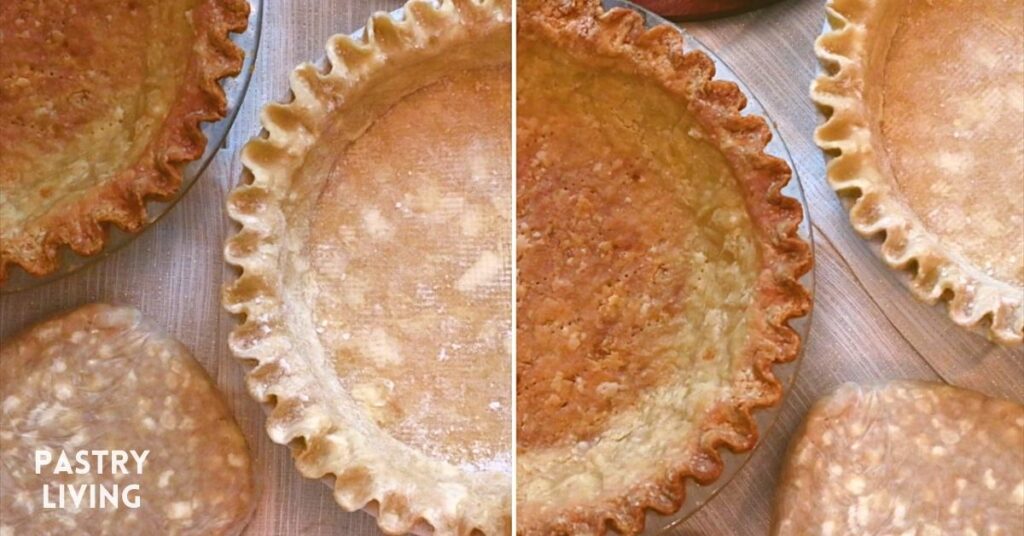
After that, follow the pie recipe you are using to cut the dough or set it into pie plates. Check out my pie recipes to get ideas for the filling.
📌 How To Bake Pie Crust
Chill the dough before baking it
Ok, now I feel I've been a bit psychotic to repeat "CHILL MORE FOR BUTTERRR" But it's that important, so bear with me😅
Chill the dough one last time for one hour or longer.
The benefits of chilling the dough before baking
- Due to the rested gluten in flour and cold butter, the dough doesn't shrink and slide down too much in the oven. Some shrinkage still happens but this process hugely helps to minimize it.
- The cold butter doesn't melt as quickly as soft butter and creates a flakier texture.
The baking time and temperature
If you are using a particular recipe, follow the baking time and temperature.
📌 Uses For Pie Dough
This is the only pie dough I use for all kinds of pies - from desserts to savory food, such as:
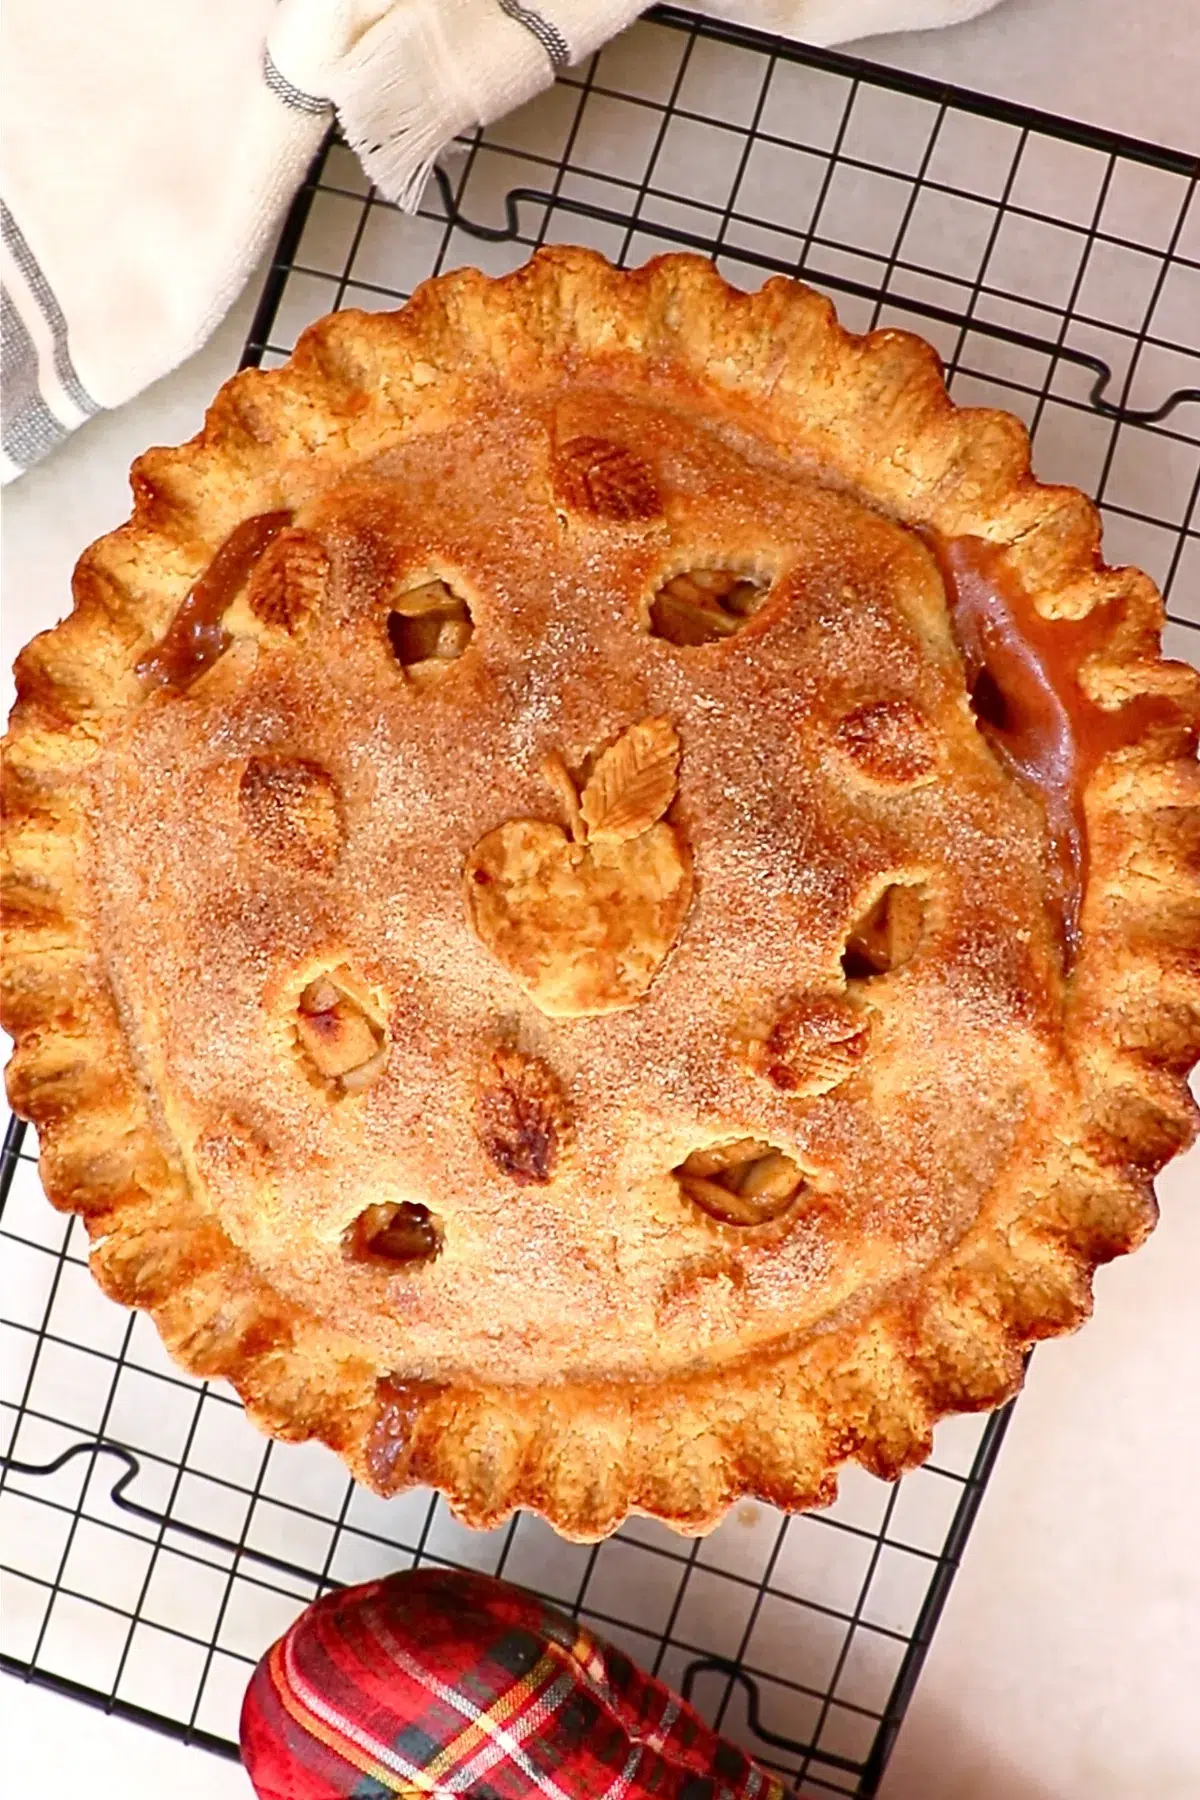
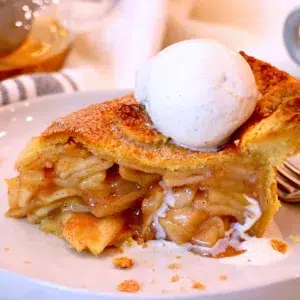
- Apple pie
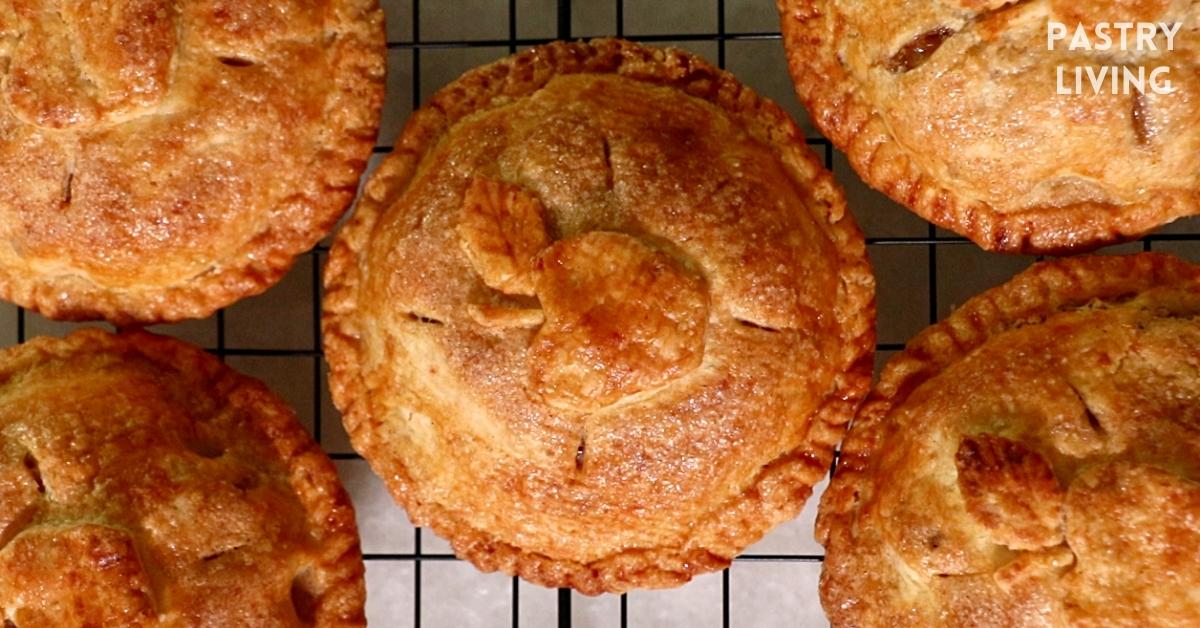
- Apple hand pie
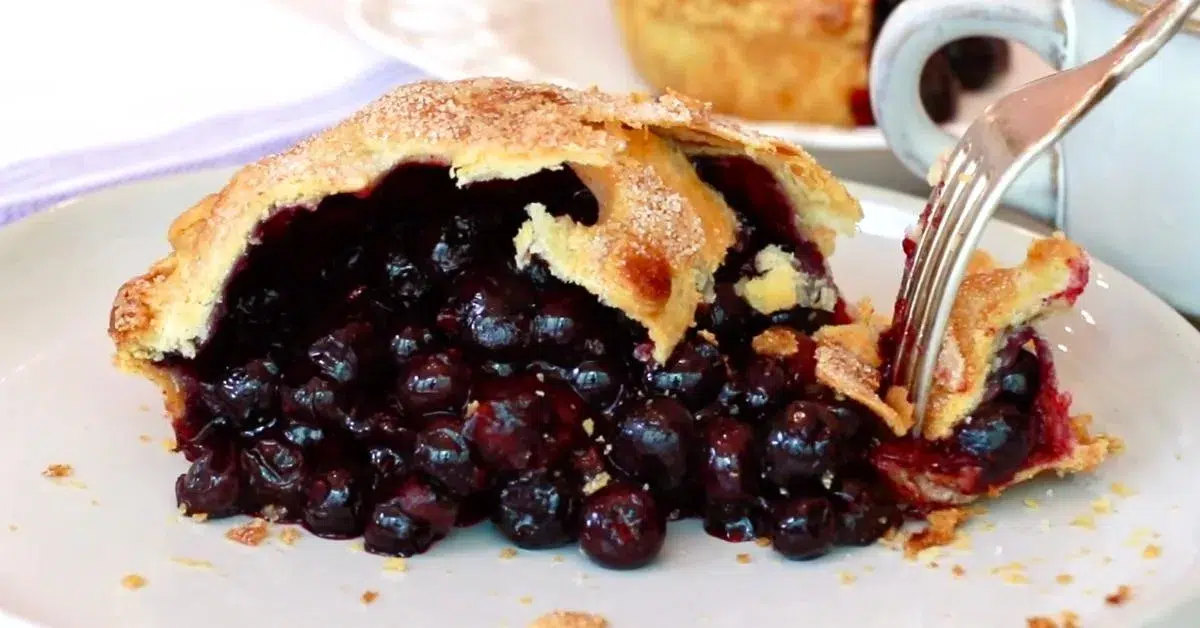
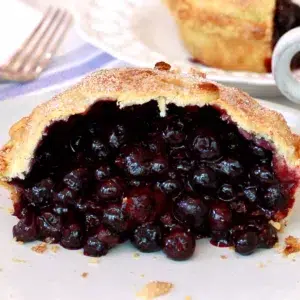
- Blueberry pie
- Apple crumble
- Cheesecake pie
- Quiche
- Pecan pie
- Chocolate pie
... and many more!
Last year, on Christmas, I made apple hand pies using this crust. My mother-in-law confessed she's not into pies but loved this one. She said it's the best pie crust she's had!
Last year on Thanksgiving, we had bacon & spinach quiches, chocolate pecan pies, apple crumbles, and a big caramel rum apple pie... all made from this one dough!

Pies are for everyone, and there are so many ways to enjoy them. I hope you'll try it out to create a special pie for precious memories with your special people.
📌 Frequently Asked Questions
Wrap tightly and store it in a fridge for up to 5 days or in the freezer for a few months.
I recommend bread flour. It does not get absorbed into the dough as much as cake flour and all-purpose flour. Also, it's easier to spread thin since it's less lumpy!
It depends on the recipes or what filling goes into the crust. (If you only need to bake your filling for a short time, you'll need to blind-bake the crust ahead.) Follow the instructions of the recipe you are using!
📌 VIDEO: Watch How To Make It!
Check out this video to learn how to make the pie dough visually and complete the delicious apple pie using it!
Don't forget to subscribe if you liked it😉
📌 Printable Recipe
💬 If you loved this recipe, please share your feedback on this post! I always love hearing how you enjoyed it with your friends and family.

The Best Pie Dough
Equipment
- Knife
- Food processor or a dough blade/cutter with a bowl
- Spatula
- Plastic wrap
Ingredients
- 13.2 oz All-purpose flour 3 US cups * Calculated as 1 cup = 125 g *
- 1 tablespoon Granulated sugar
- ½ teaspoon Salt
- 8 oz Unsalted butter 2 US sticks
- 3.9 oz Cold water ⅓ + ⅛ US cups
- 1 tablespoon Oil I use olive oil. Any regular oil works.
Instructions
Preparation: Prepare icy water.
Pie dough
- Add flour, sugar, salt, and cold cubed butter into a food processor and pulse them together until the butter gets small pieces like seeds of apples or whole black peppers.13.2 oz All-purpose flour, 1 tablespoon Granulated sugar, ½ teaspoon Salt, 8 oz Unsalted butter

- Move it to a bowl, add water and oil and mix until it forms a ball:First, rub the surface, flip, and continue until the liquids go around evenly. Next, press the surface well, flip, and repeat it until it comes together. Stop when it is still slightly powdery but can form a ball by hand.1 tablespoon Oil, 3.9 oz Cold water
- Let it rest in the fridge:Cut the dough in half, wrap them individually, and roll them to make a circle or desirable shape. Pinch the edge and smooth it out to prevent it from cracking too much as you roll the dough.Chill in the fridge for one hour or ideally for more than a few hours to rest the dough before you roll it.


Notes
Tips for rolling the dough
-
- Apply bread flour frequently on the way so the dough does not stick to the parchment paper and a rolling pin.
- When you roll the dough, add the same pressures from both hands to make evenly spread dough.
- I recommend rolling it very thin (0.1 inch | 2 - 3 mm) to maximize the amazing crispiness of the crust.
- The butter in the dough gets softened quickly when you roll the dough in a warm environment. Work on it in a cooling space and move as fast as possible.
- Chill the dough whenever you feel it is getting too sticky to handle.
The baking time and temperature
If you are using a particular recipe, follow the baking time and temperature.How to store it:
Wrap tightly and store it in a fridge for up to 5 days or in the freezer a few months. ** For best results, measure ingredients with a scale. All recipes are designed with weighed ingredients using grams/ounces. Cup measurements are provided for your convenience. **Nutrition
📌 Pin It!
Pin it if you love this recipe, and find so many other recipes on my Pinterest page!


Robert Cecere says
I love your videos. You are a great teacher. I have learned a great deal from your videos. Your daughter is beautiful take’s after her mother.. God Bless.
ayacaliva says
Thank you so much! I'm so glad to know the videos have been helpful. Thank you for watching them!
Monika Felicella says
Why the oil in the pie crust ? First time I have heard of that?
ayacaliva says
Hi! It weakens the glutens in flour a little bit to create slightly lighter crispiness. You can omit it if you prefer!