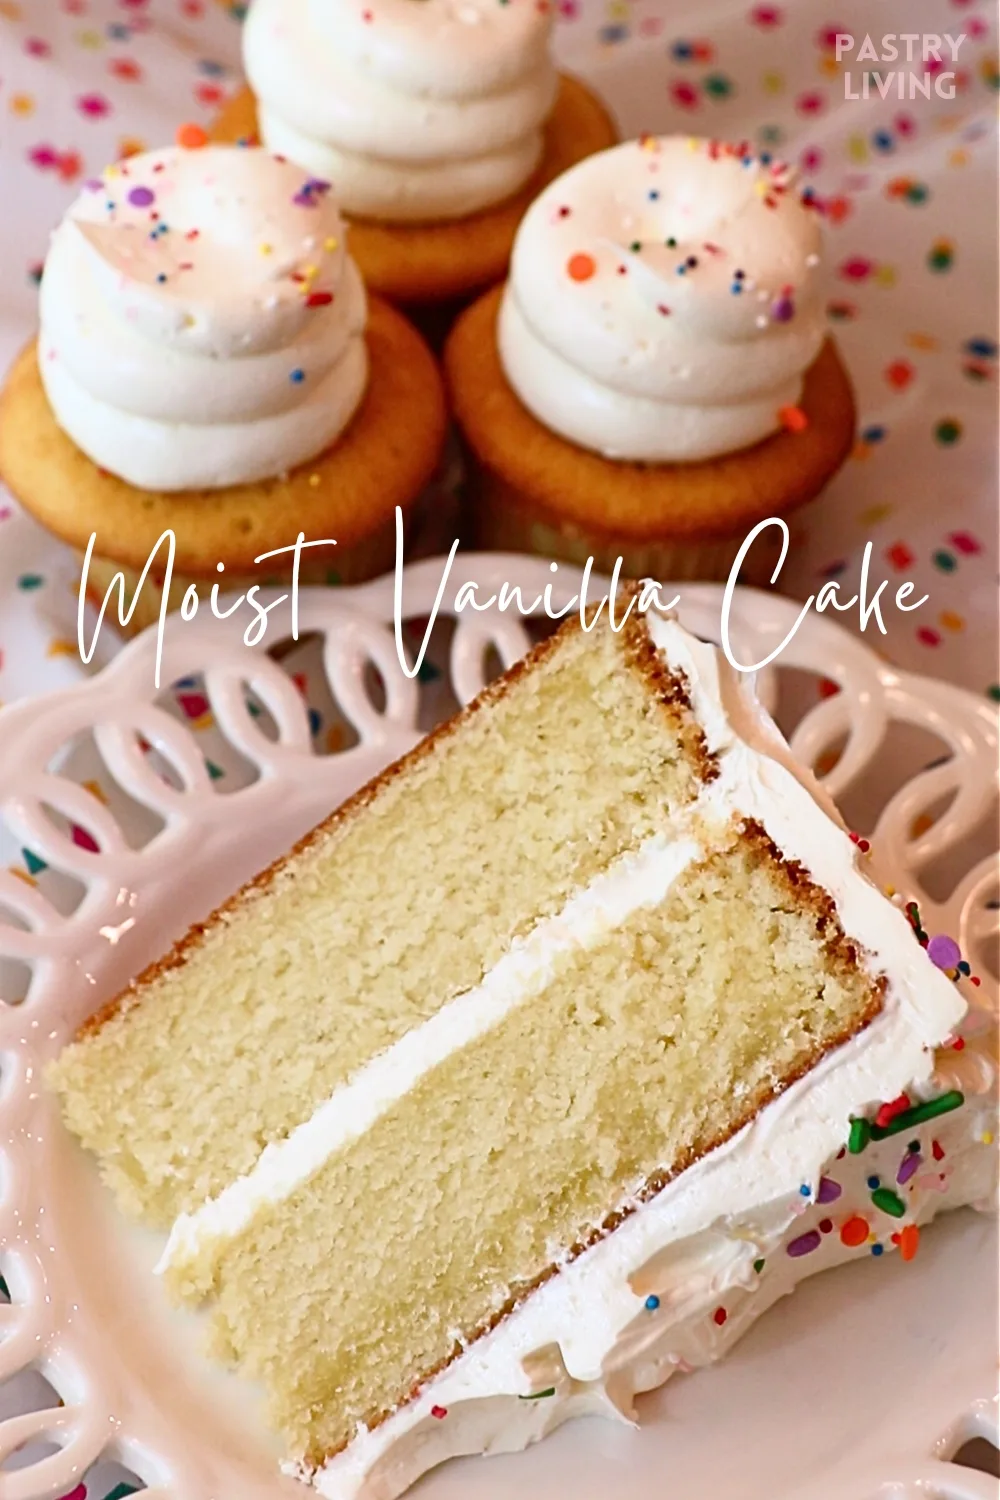
Look no further for a perfectly moist and soft vanilla cake recipe! This simple & delicious cake will surely impress your family and guests.
I shared how to make the vanilla cake on YouTube about four years ago. Since then, I have tasted it many times, and I feel this one is much better than the first one. It became my new favorite.
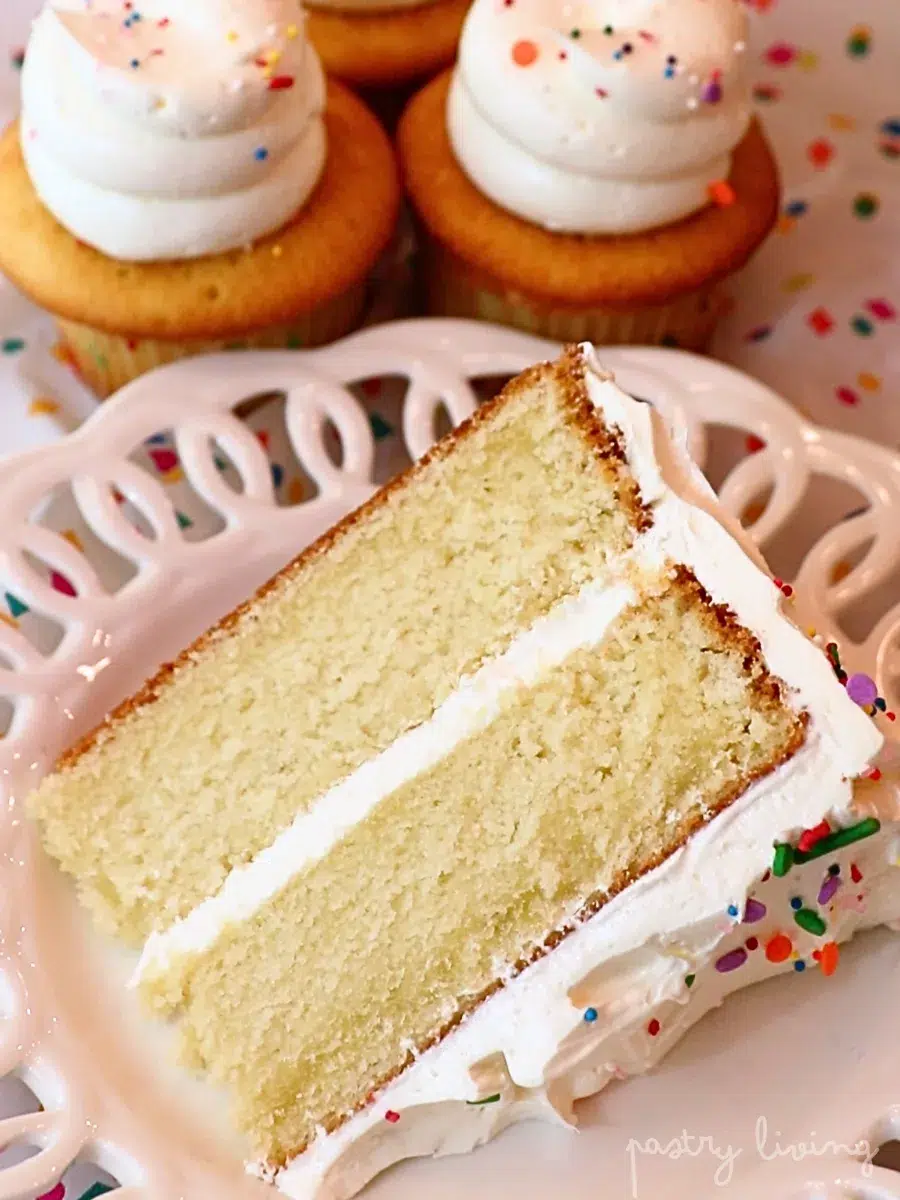
📌 Why we love this vanilla cake:
- It's very moist. It's the moistest classic vanilla cake I've ever had!
- The texture is so silky and soft. It's not crumbly and firm.
- It is easy to make. Just follow the simple 5 steps!
- It stays moist even after it cools down.
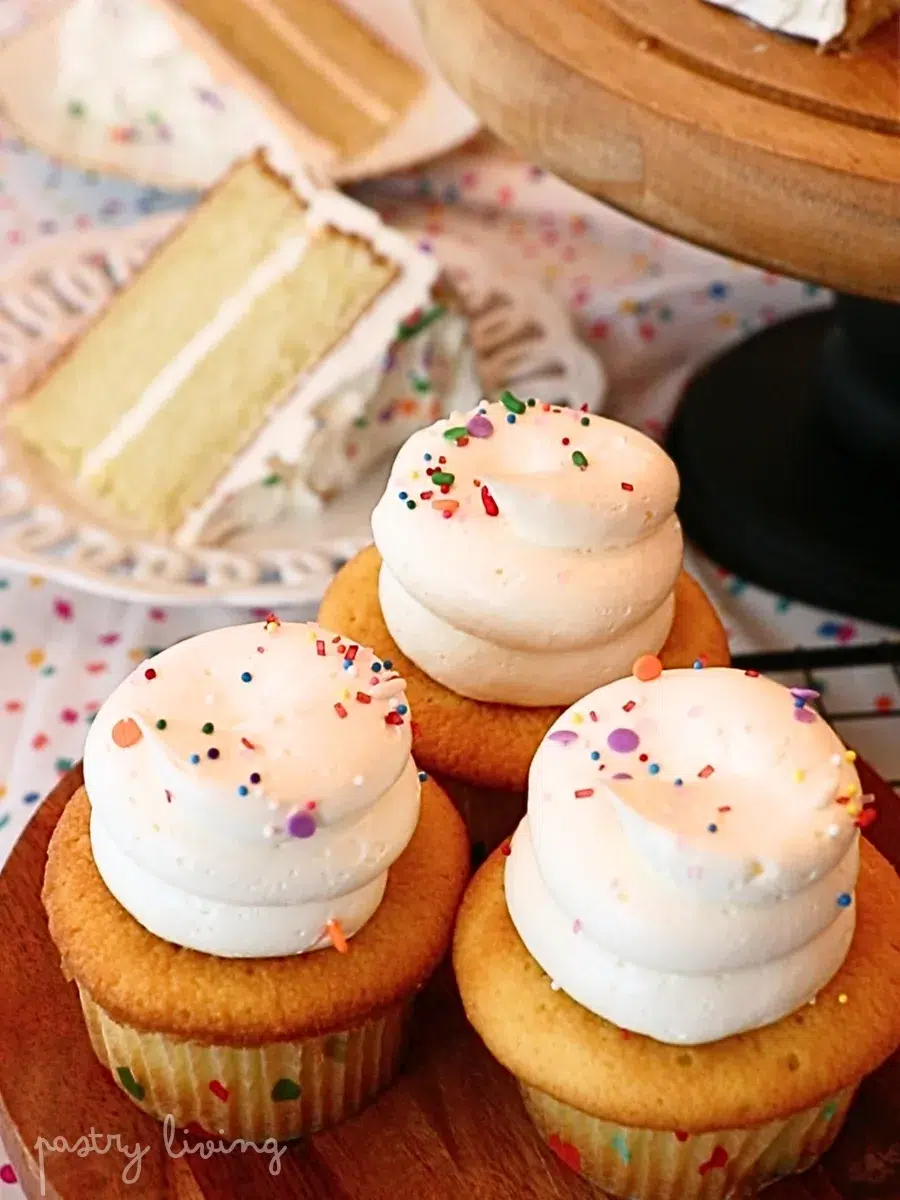
🧁 Enjoy making cupcakes, birthday cakes, and any other cake for your special occasion.
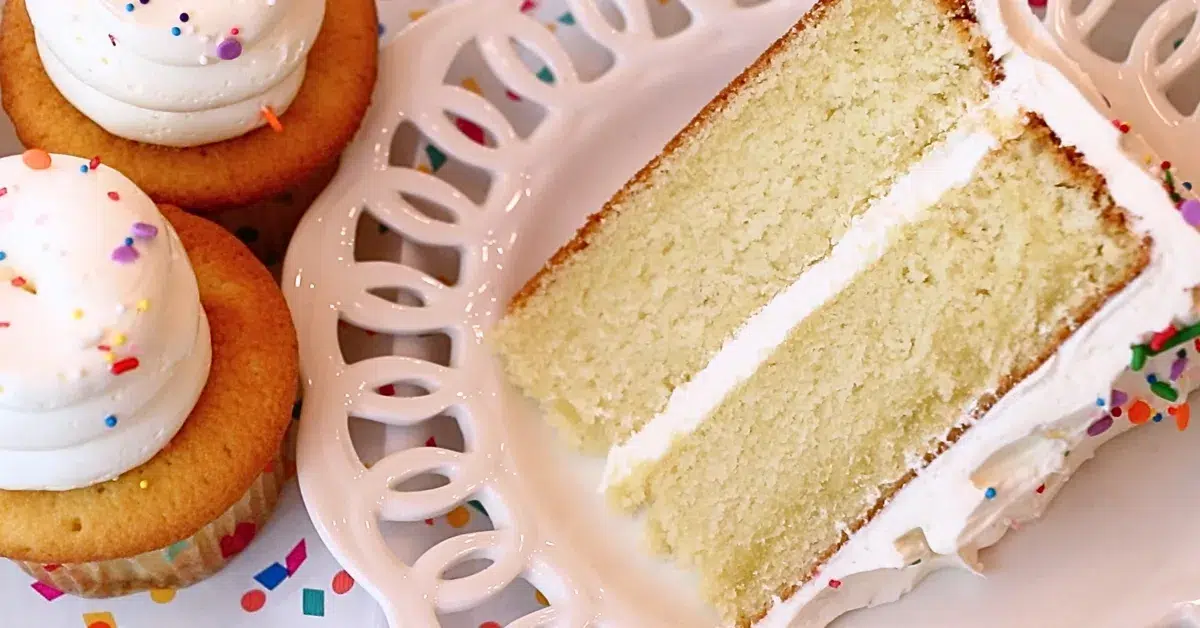
📌 What you'll learn in this post:
In this post, you'll learn essential baking tips, such as:
- Tips for making the silky and soft cake texture.
- The effect of whipping butter
- How to avoid lumpy cake batter
- The purpose of adding vinegar
- The difference between baking powder and baking soda
... and so on.
Let's get started! 🙌🏻
📌 What's In Vanilla Cake?

- Granulated sugar
- It helps to create a moist & soft texture.
- Salt
- It adds depth in flavor.
- Unsalted butter
- Leave it at room temperature in advance to make it soft.
- Oil
- I always use olive oil, but you can use regular oil, such as canola.
- Cake flour
- Cake flour plays a huge role in the silky and soft texture. Toward the end of this lesson, I will compare this recipe with cake flour and all-purpose flour.
- Baking powder
- Baking powder reacts to moisture and heat and helps to create a fluffier texture. It's often added to white cakes, butter cakes, etc.
- Baking soda
- Baking soda reacts to acid (vinegar for this sponge) and helps to create a fluffier cake with more volume.
- Egg
- Egg helps to create a soft texture.
- Milk
- Use regular whole-fat milk.
- Heavy cream
- Use regular heavy cream. You can use milk instead if you don't have it.
- White vinegar
- The vinegar acid reacts with baking soda, creating a fluffier cake with more volume.
- If you don't have white vinegar, you can use other vinegar, such as apple cider vinegar and rice vinegar.
- Vanilla
- You can also use vanilla beans or paste.
📌 How To Make Vanilla Cake
Preparation
As a prep, apply a thin layer of butter around the pans and attach a cake liner to the bottom. (You can also attach parchment paper on the sides.)
💬 One batch of this recipe makes 1 8" cake (2 - 4 layers) or 24 regular cupcakes.
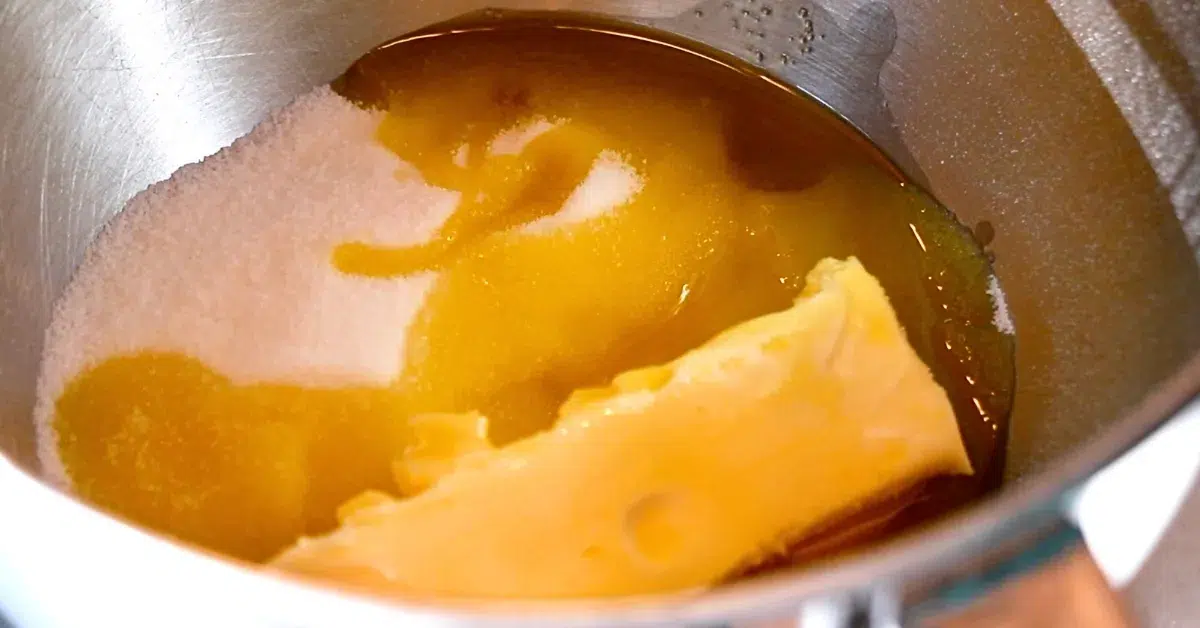
Step 1: Whip butter, oil, salt, and sugar.


Tips💡:
- Use soft butter so that it whips well to create a fluffier cake.
- Whip butter: It's important to whip it well here to create a softer, fluffier texture. I usually whip it for 4 - 5 minutes at high speed for one batch until it looks very fluffy. By doing it, butter contains lots of air to help push the cake up in the oven. While it's going, I usually work on steps 2 and 3.
- The purpose of adding some oil: The butter doesn't whip well with just butter and sugar because the mixture is too thick due to the ratios. The amount of oil helps to create a nicer consistency for it to whip well.
Step 2: Combine flours.

💬 I recommend sifting cake flour ahead since it's lumpier than all-purpose flour and bread flour.
Step 3: Mix all the wet ingredients.
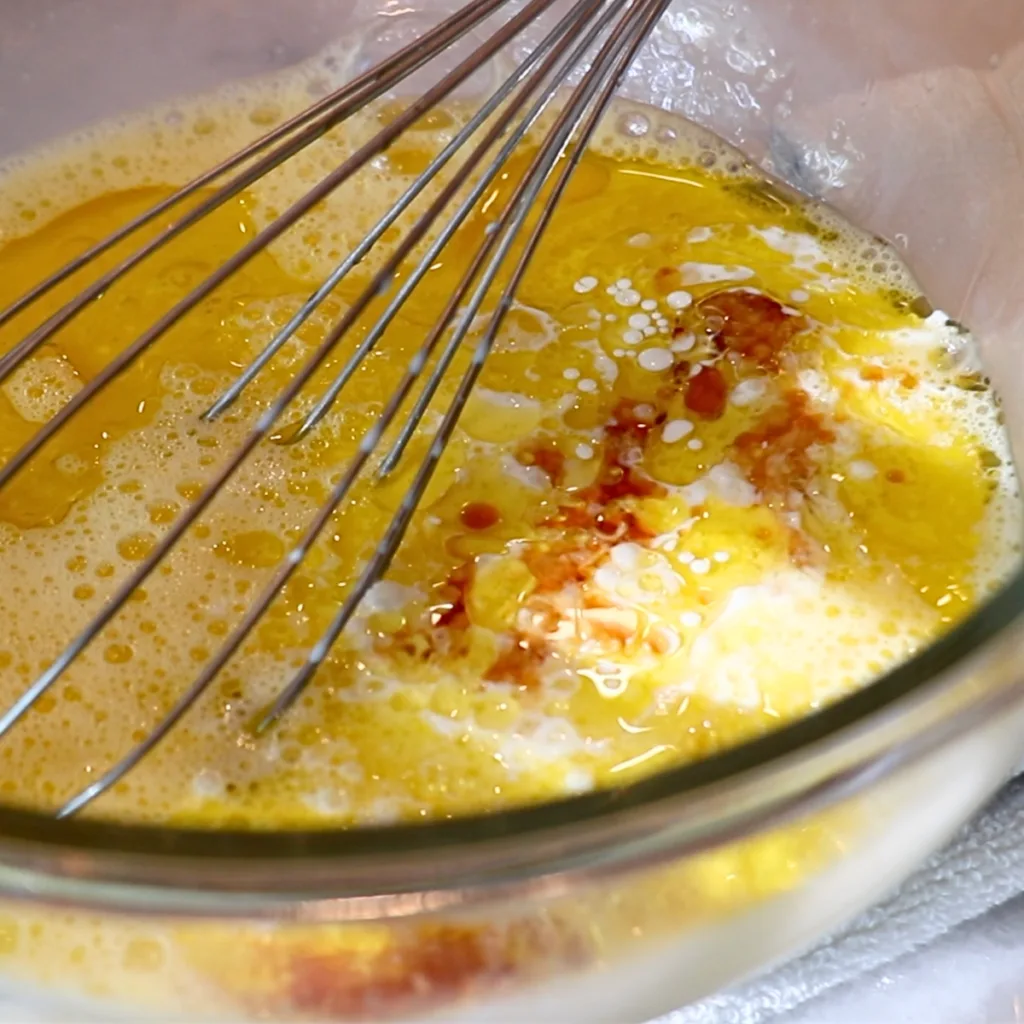
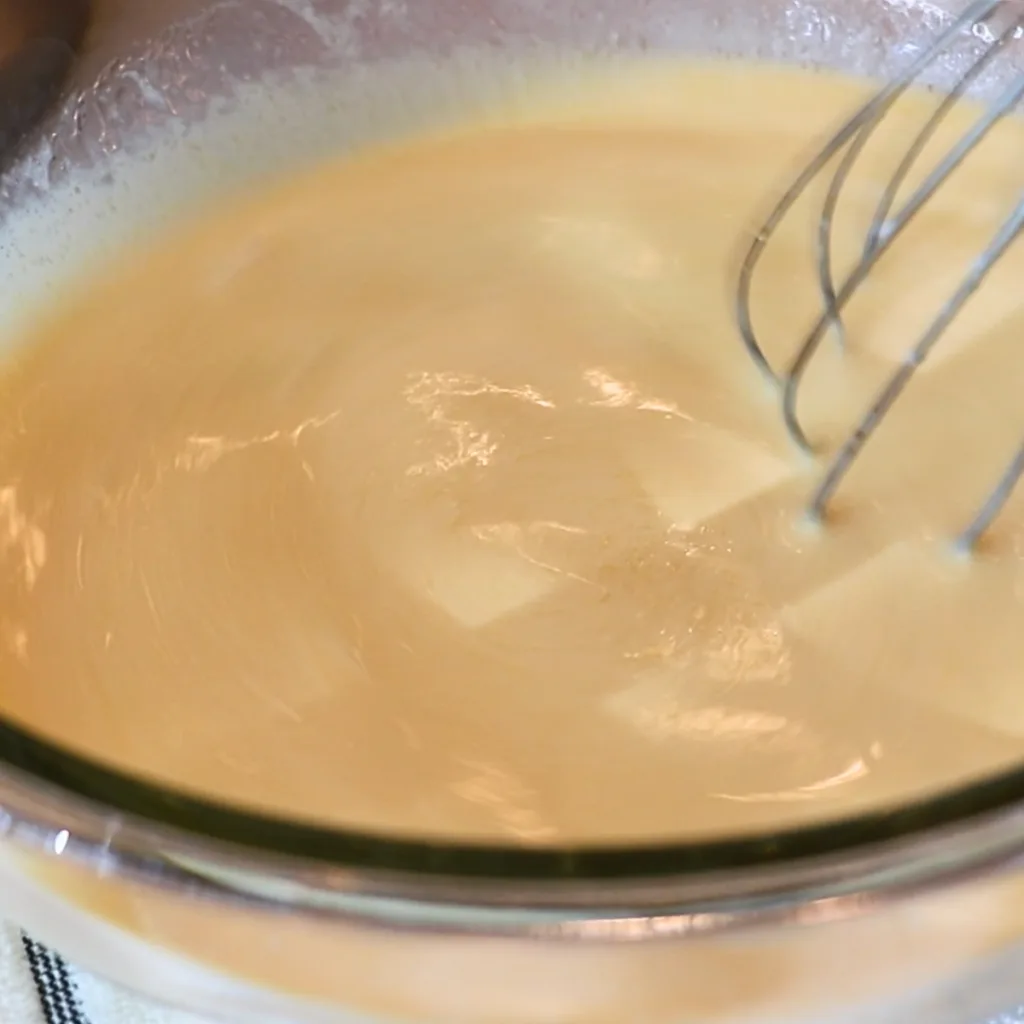
Mix beaten egg, the other half of the oil, milk, heavy cream, vinegar, and vanilla extract.
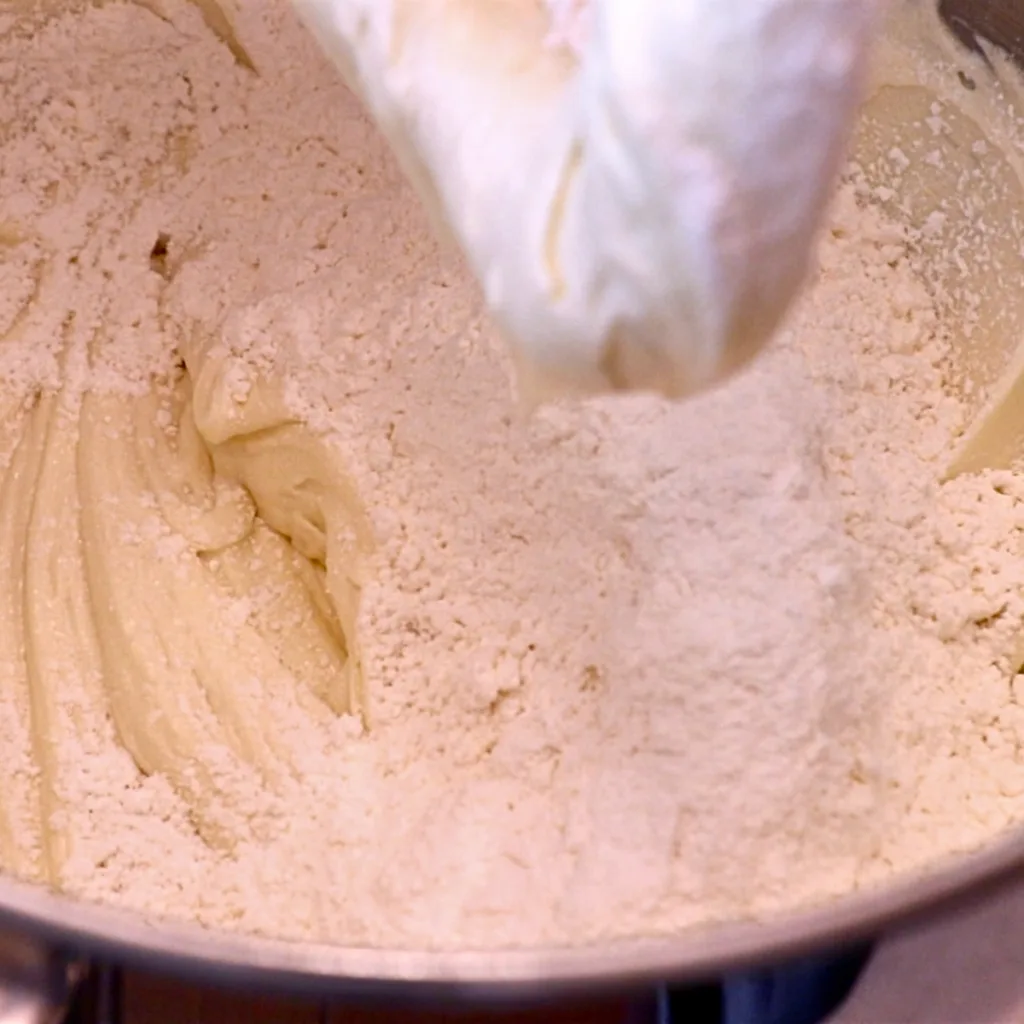
Step 4: Mix 2 and 3 to 1.
The 6 steps to combine them
- Add half of the flour and mix until it's evenly combined.
- Add half of the liquids. Mix slowly first to avoid it from scattering everywhere and gradually speed up. Mix until it looks smooth.
- Clean up the bowl and the paddle to catch anything left.
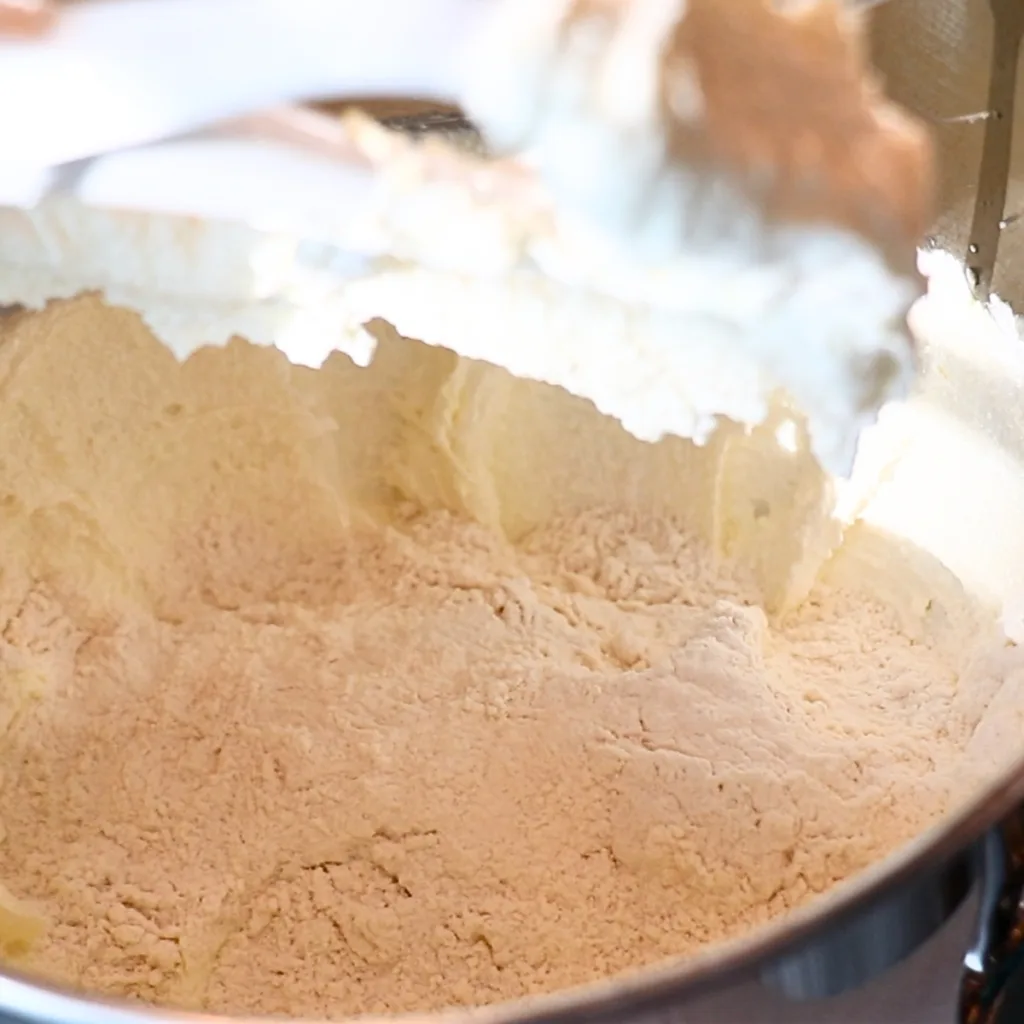
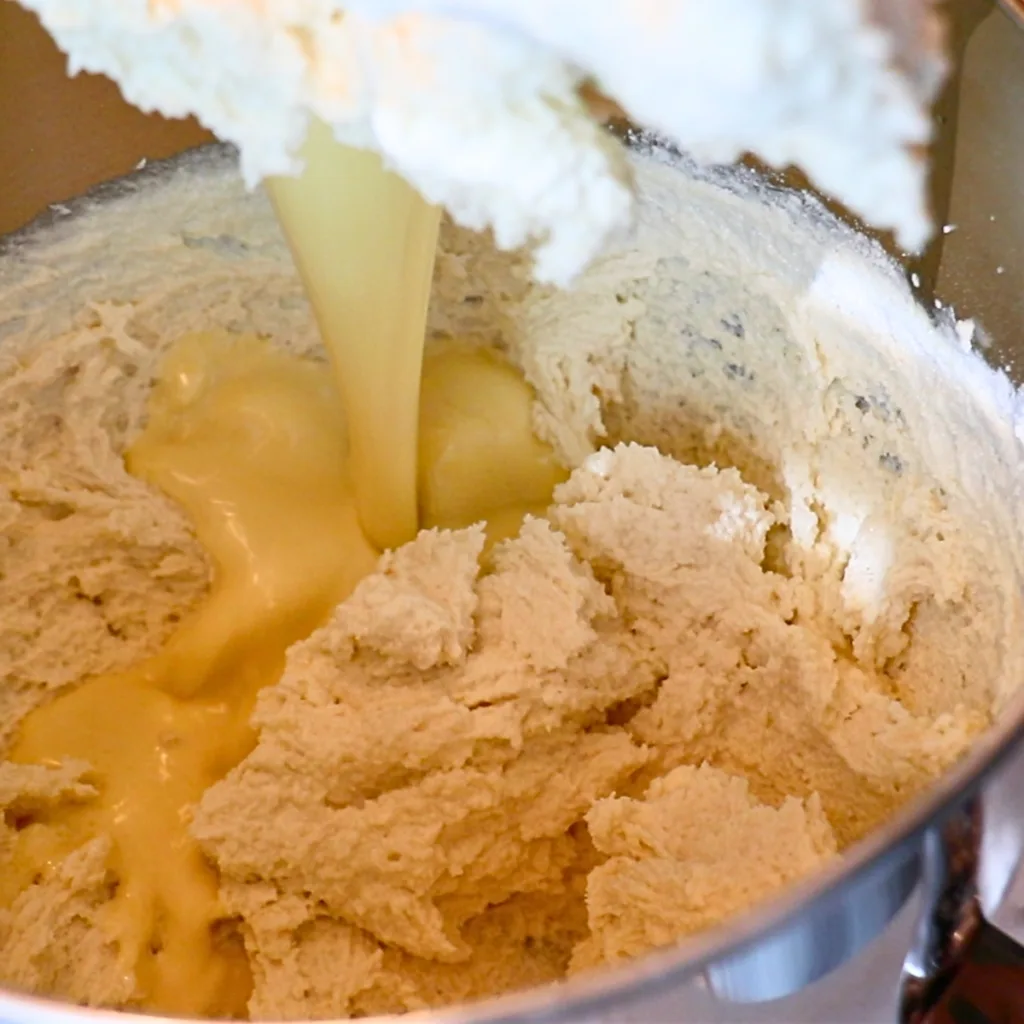

- Add the rest of the flour. And mix well until it's evenly incorporated.
- Add the rest of the liquids. Again, mix slowly first and gradually speed up. (You can also divide it in half if it's easier.)
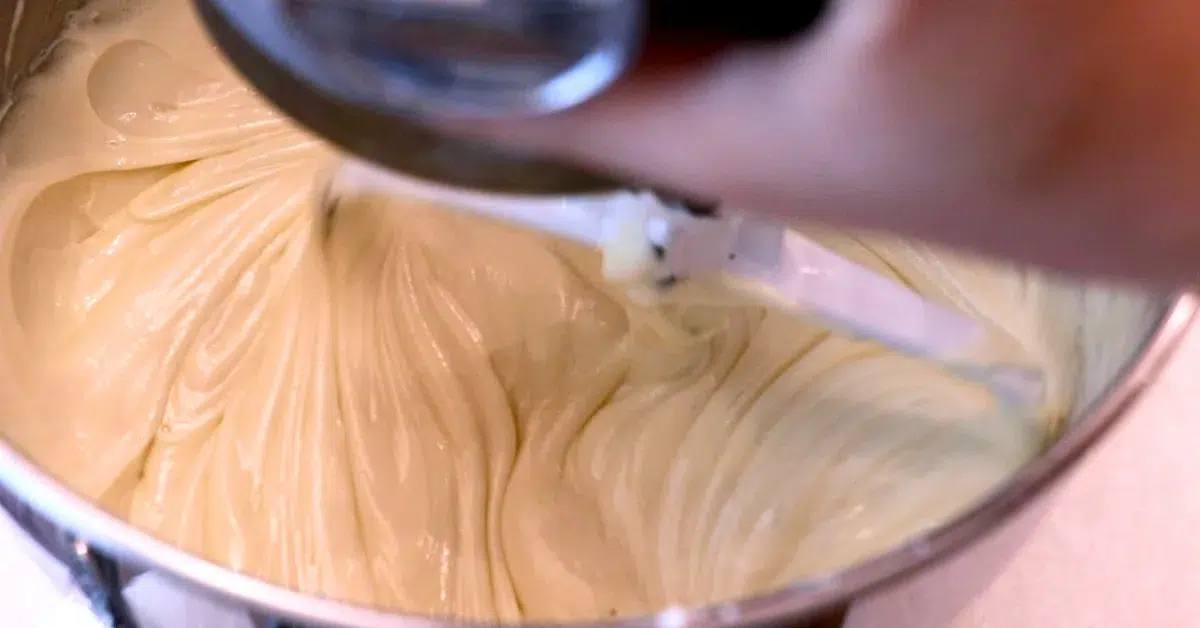
- Scrape off the bowl and paddle. Mix one last time to ensure everything is evenly incorporated. The batter should look nice and smooth.

Tip💡:
Cleaning the side and bottom of the bowl, spatula, and paddle at least a few times on the way is essential to make an even cake batter, which leads to the ideal texture for the cake.
Step 5: Bake.
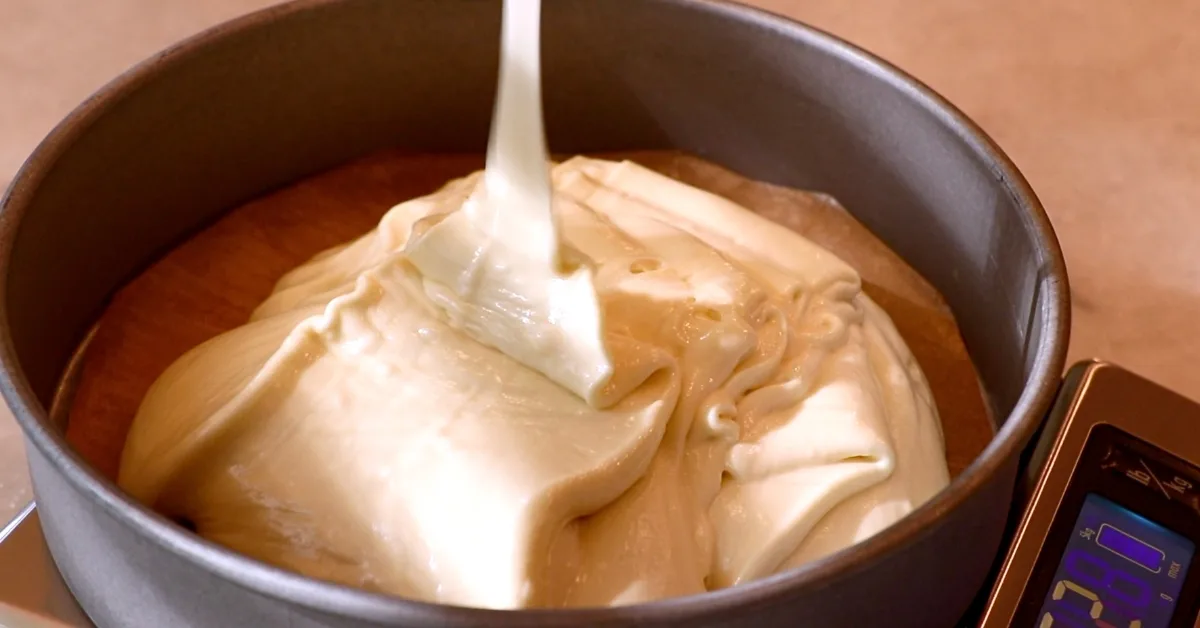
Baking time and temperature
Bake at 350 F | 175 C (Preheated) for about:
- 33 - 38 minutes (for 2 8-inch layers)
- 30 minutes (for 2 8-inch layers when using all-purpose flour)
* Adjust the time and temperature depending on the thickness and size of the cake, oven, etc.

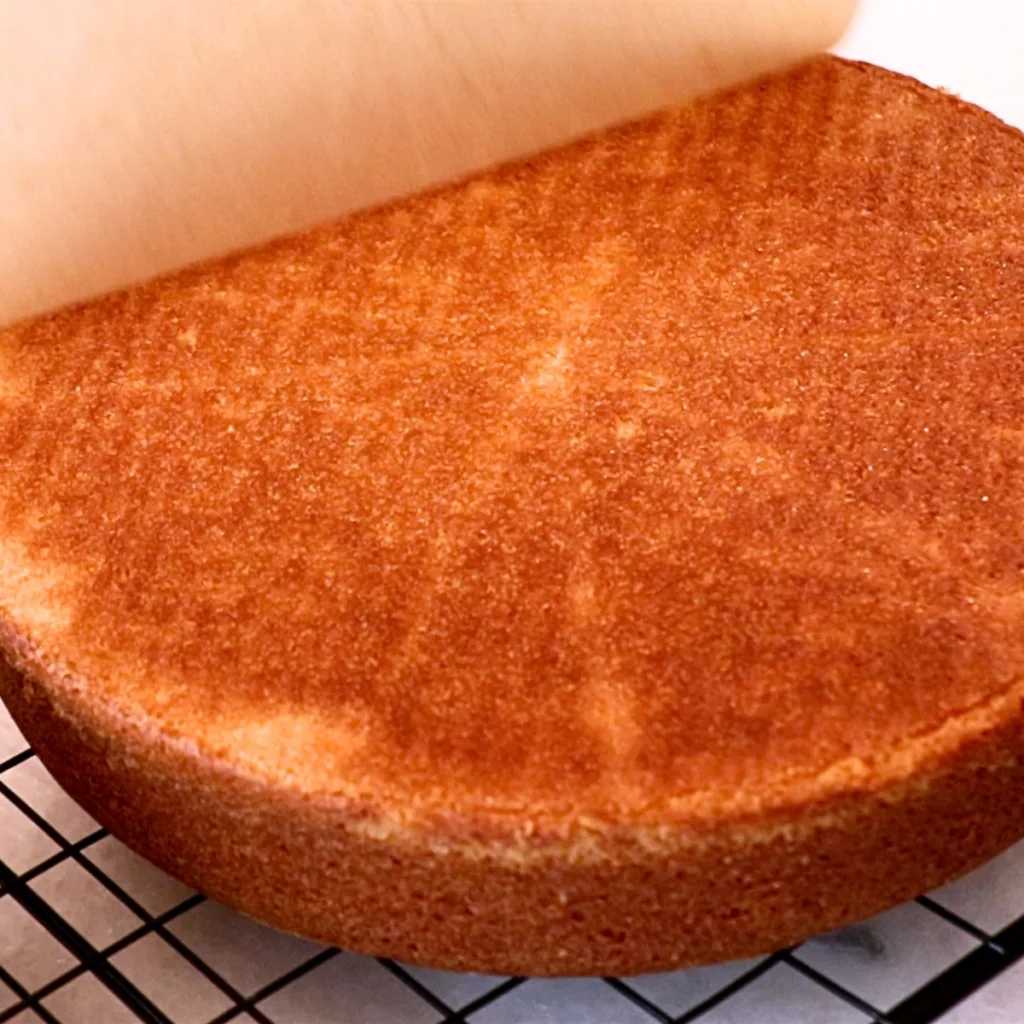
How to check if it's baked enough
- Touch the surface gently: It should bounce back gently.
- Insert a toothpick: Insert it in the very center and see if it comes off clean.
Lastly, insert a small spatula around the cake to remove it from the pans. And flip gently.
📌 Tips For Frosting The Cake
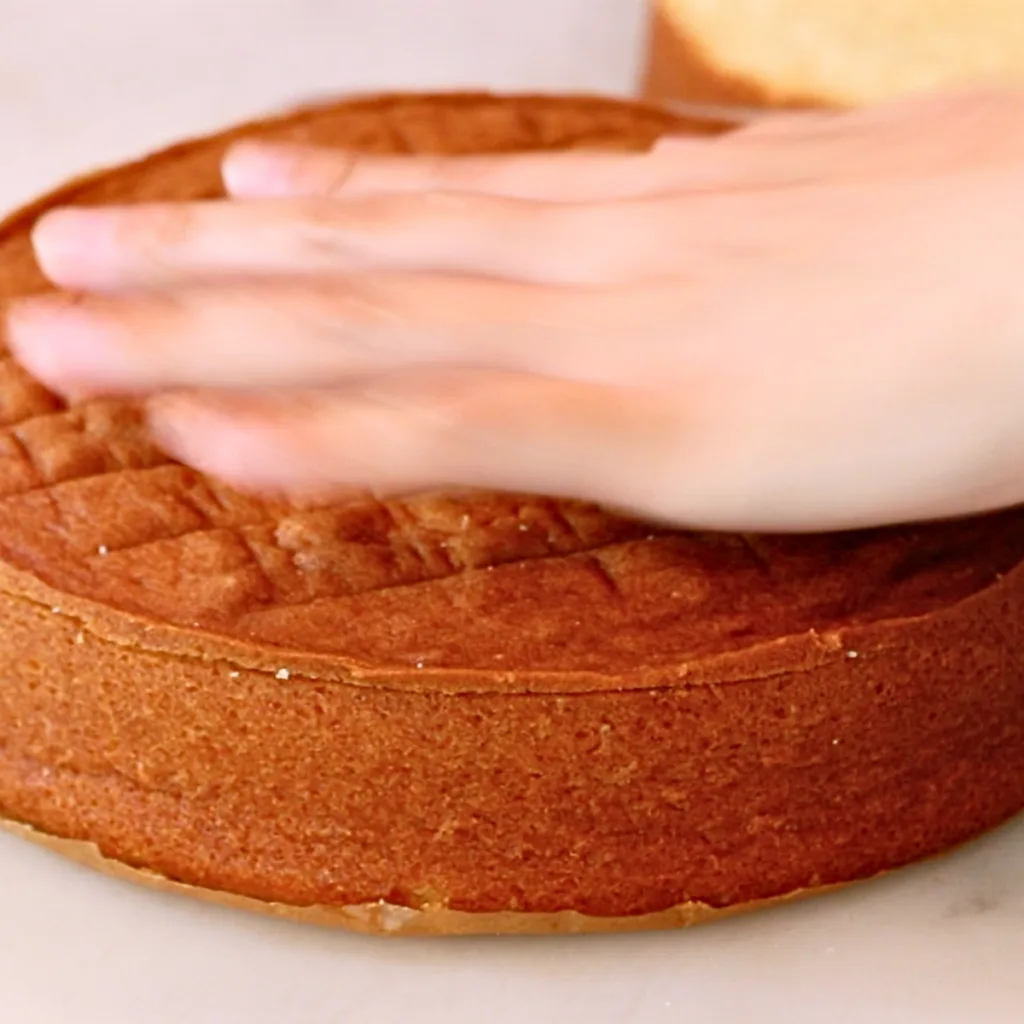
Once the cake is completely cooled, cut off and level the surface if it looks uneven.

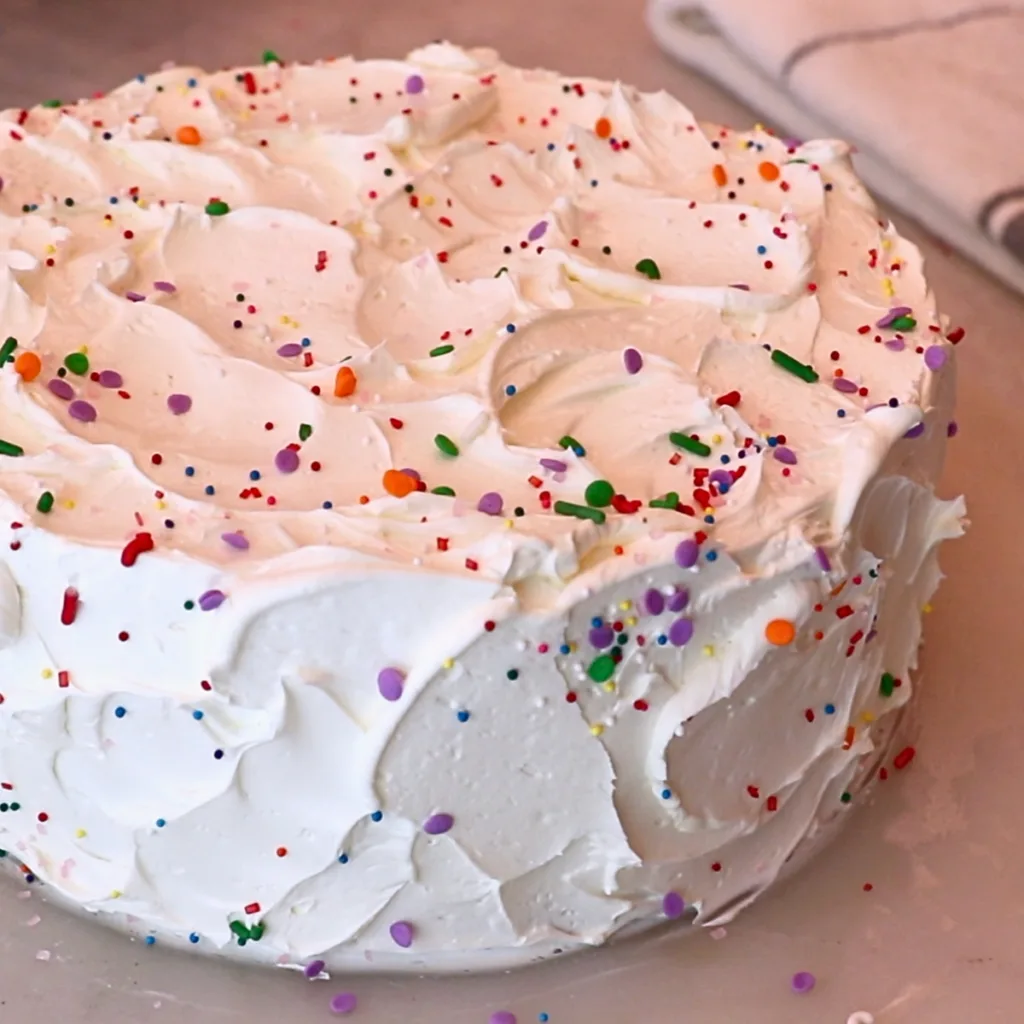
Today, I frosted it with my Swiss buttercream.
This cake is heavier and more stable than my sponge cake recipe - You can frost it more easily with heavier frosting, such as buttercream and ganache.




📌 As Cupcakes
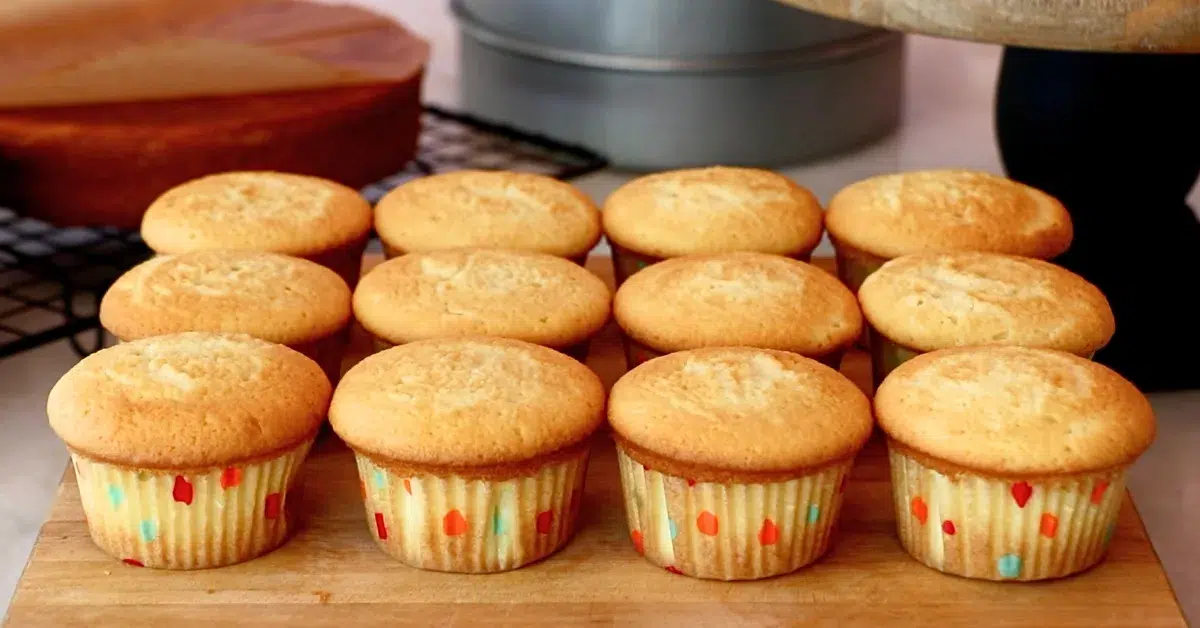
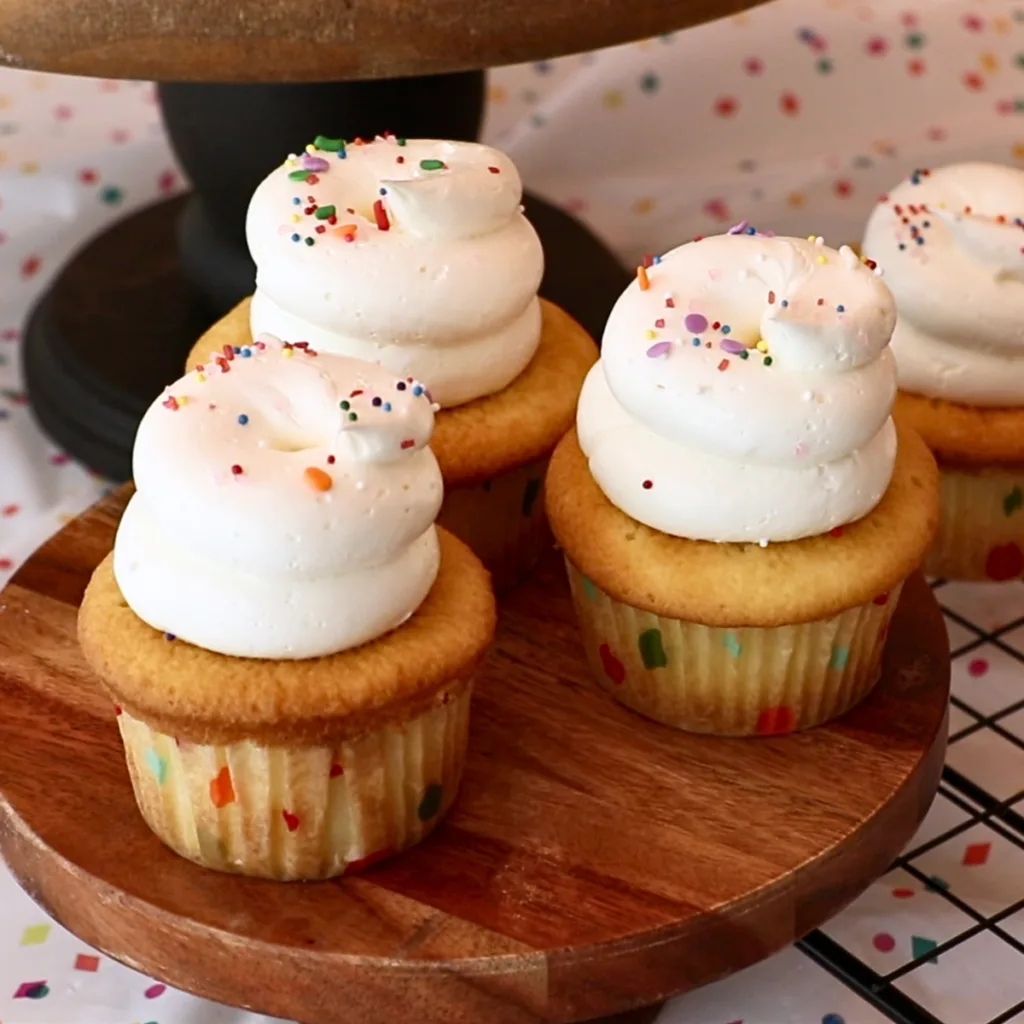
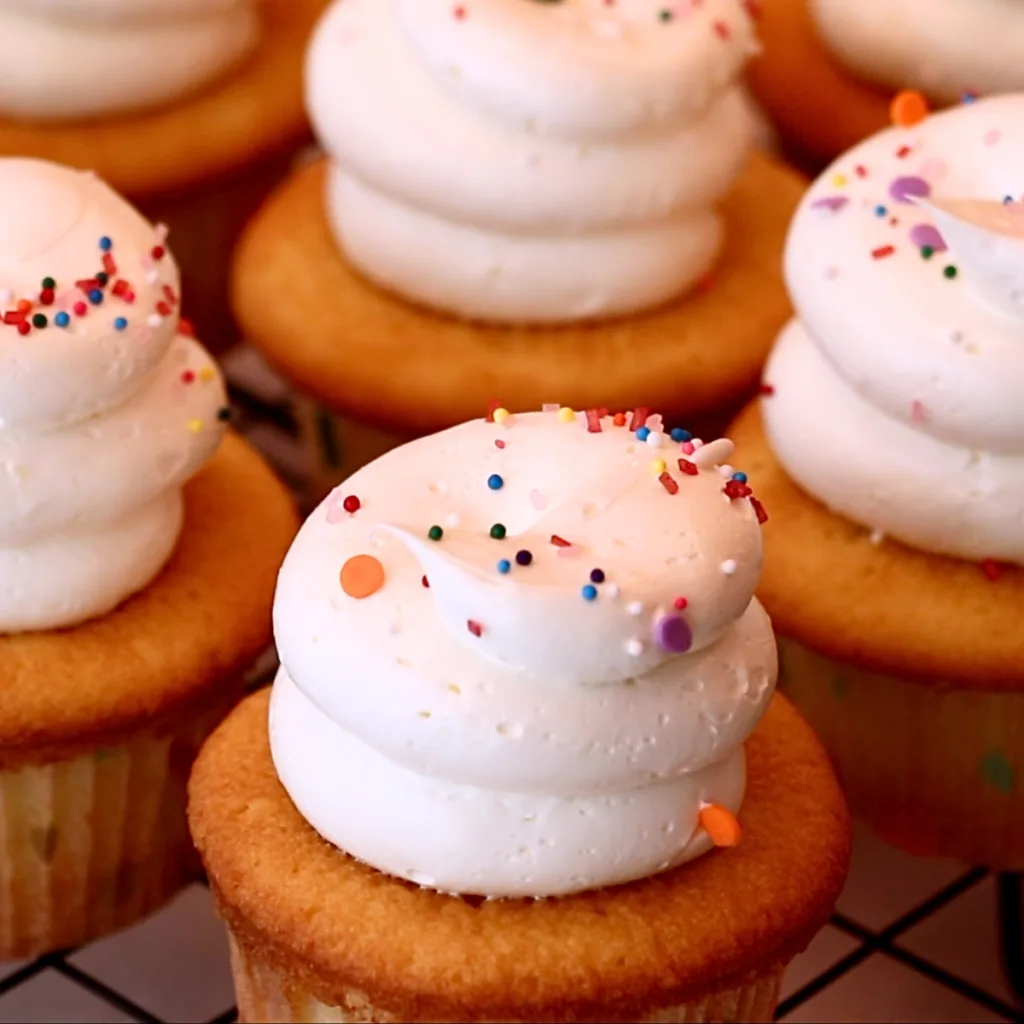
You can also bake amazing cupcakes using this recipe. You can make two dozen cupcakes with one batch. I made a half batch to make 12 cupcakes this time!


Baking time and temperature
Bake at 350 F | 175 C (Preheated) for about:
- 17 - 18 minutes (for regular cupcakes)
- 16 - 17 minutes (for cupcakes when using all-purpose flour)
* Adjust the time and temperature depending on the thickness and size of the cake, oven, etc.
📌 Uses For Vanilla Cake
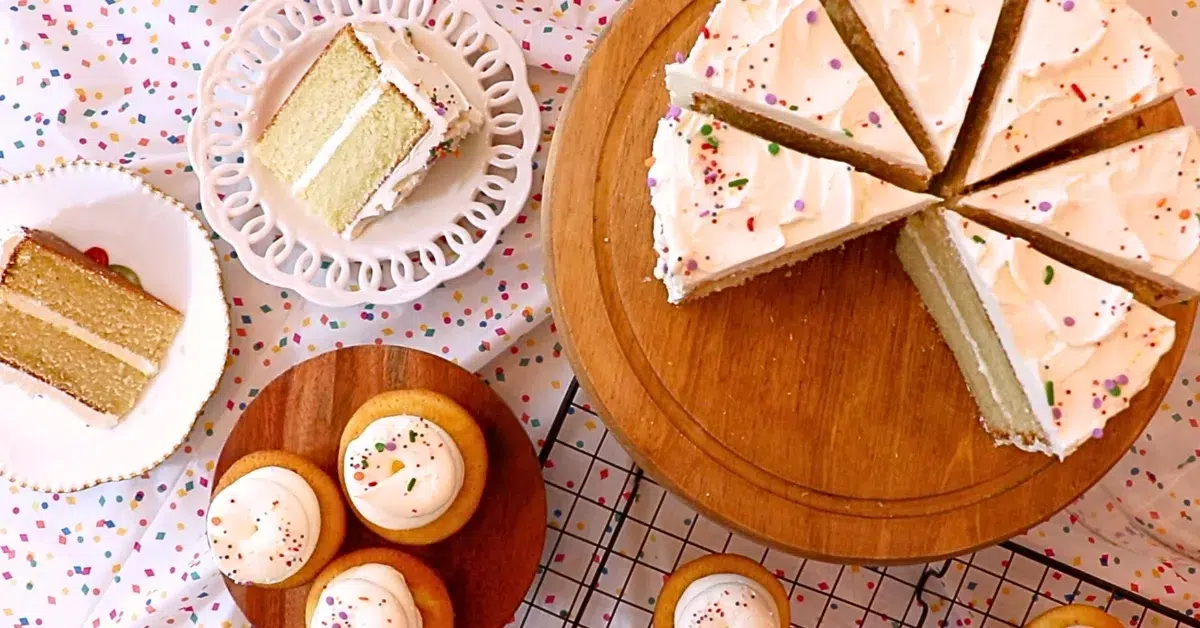
Enjoy the classic vanilla cake in many ways, such as:
- Classic vanilla cake with buttercream frosting. Enjoy it with your family and friends!
- A Birthday cake: Vanilla and chocolate cake never go wrong for birthdays!
- Cupcakes: The fluffy cupcakes will be a hit for kids, teachers, and guests!
- A sheet cake: Serving it for bigger crowds? You can also bake it in a sheet pan, frost, and slice to save some time!
- Ice cream cake: This stable cake can also hold ice cream cake well! Use a cake ring to assemble them easily and take it out once the ice cream is set completely.
📌 Frequently Asked Questions
Yes, you can! Just be careful not to add too much so it won't affect the texture.
Use whole-fat milk if you don't have heavy cream.
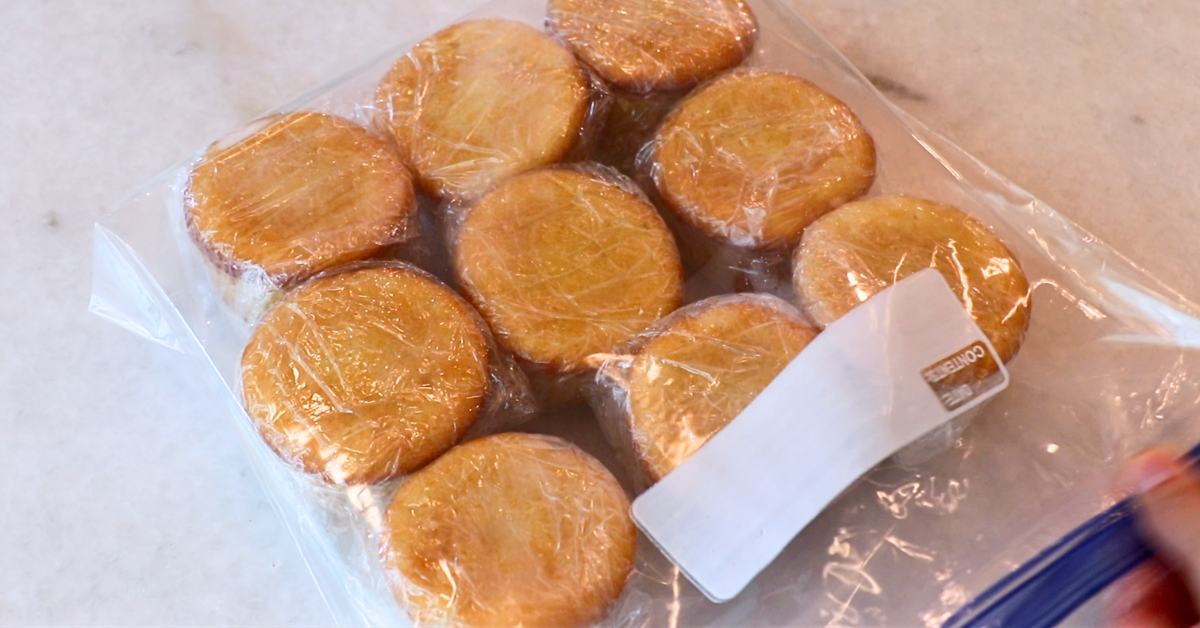
Wrap tightly twice or wrap it one time and put it in a Ziploc. You can store it in the fridge for 4 - 5 days if you are not consuming it within that day. But I recommend eating it within the day for the best taste.
Yes, Wrap it tightly twice or wrap it one time and put it in a Ziploc, and you can freeze it for up to 2 months.
Yes, make the double batch or more as you like and bake longer accordingly. I recommend not making one layer too thick to prevent it from getting too dense and to omit some baking time. The texture gets heavier when the cake is thicker.
How should we store it?
To store this cake, wrap it tightly to prevent it from getting dried. Or wrap it one time and put it in a Ziploc.
You can store it in the fridge for 4 - 5 days if you are not consuming it within that day. But I recommend eating it within the day for the best taste!
When it's chilled:
Because this cake contains butter, the texture gets firmer once it's chilled completely in the fridge. Today, I used half oil and half butter, so it doesn't get as firm as butter cakes or pound cakes.
It still tastes great, but if you want to enjoy the softer, fluffier texture,
I recommend leaving it at room temperature for some time.
Can I Use All-Purpose Flour Instead?
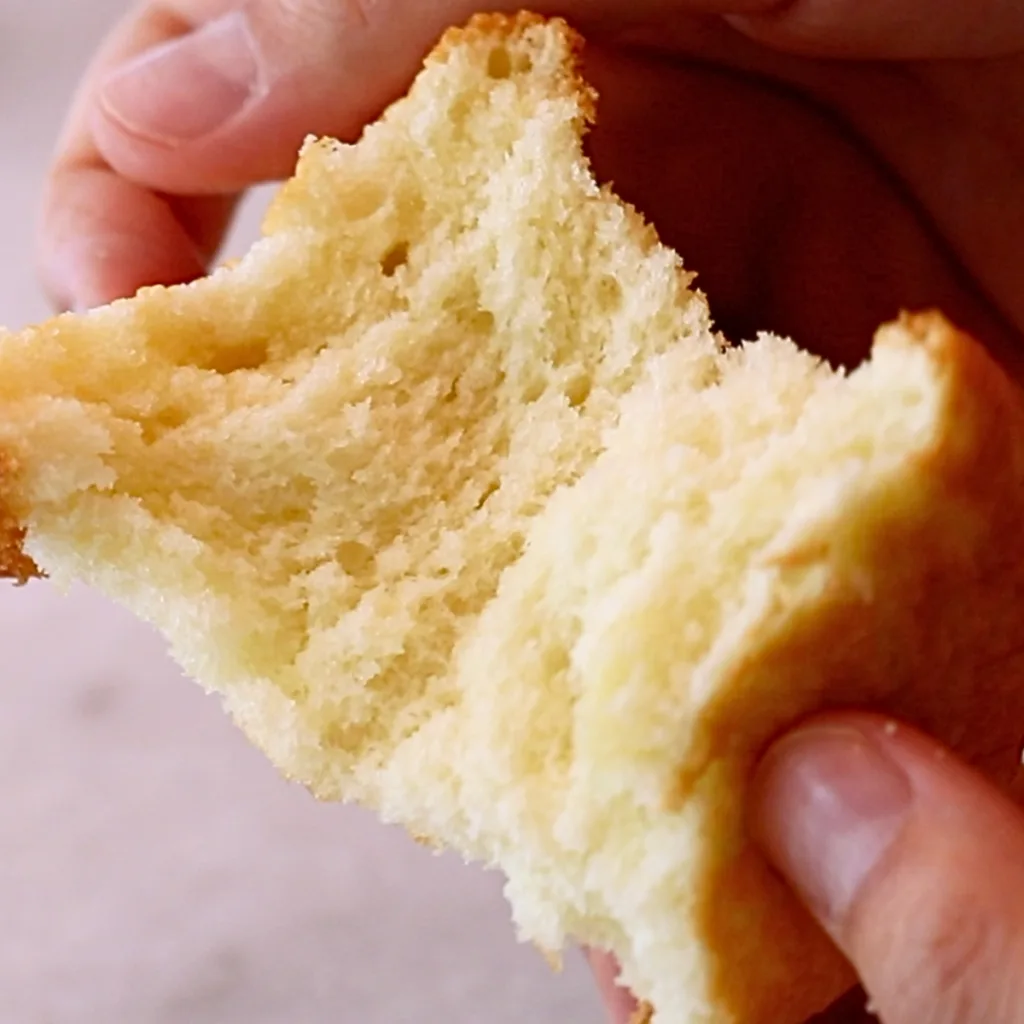
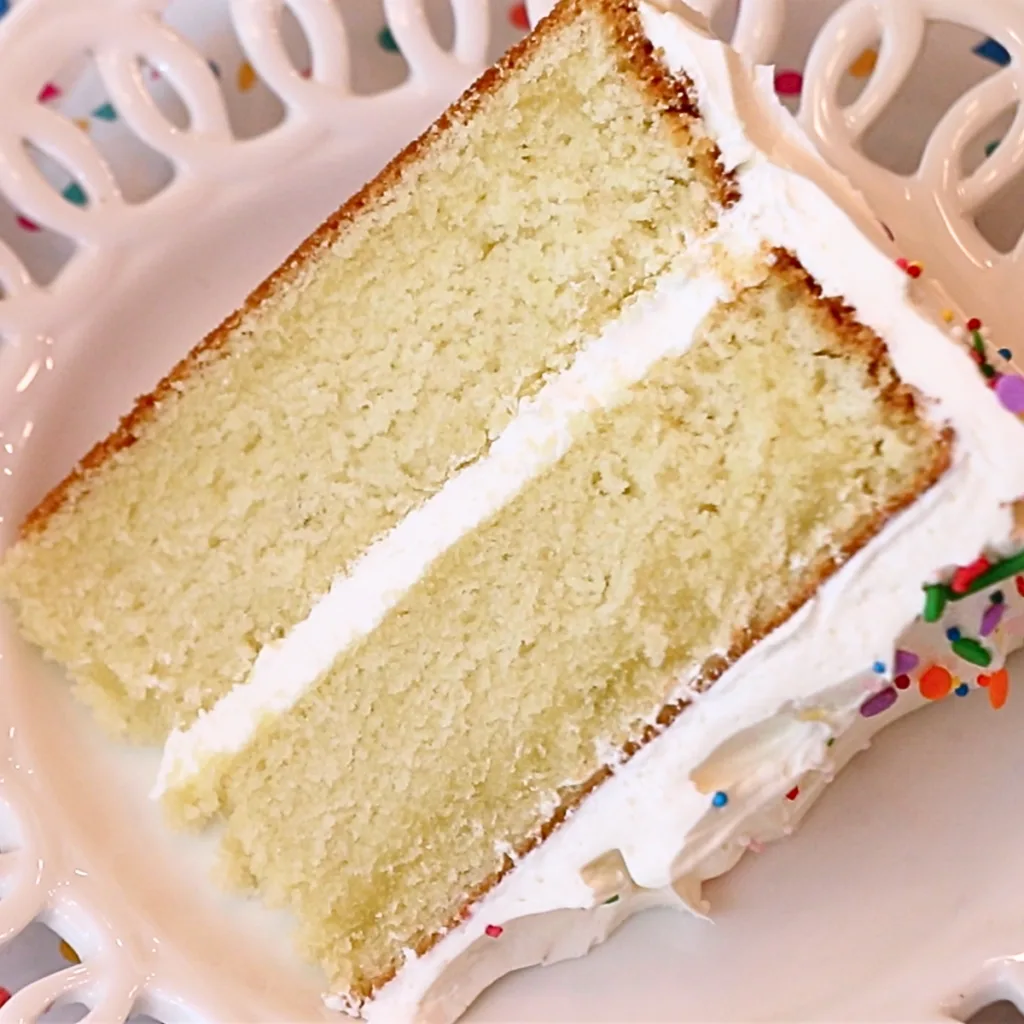
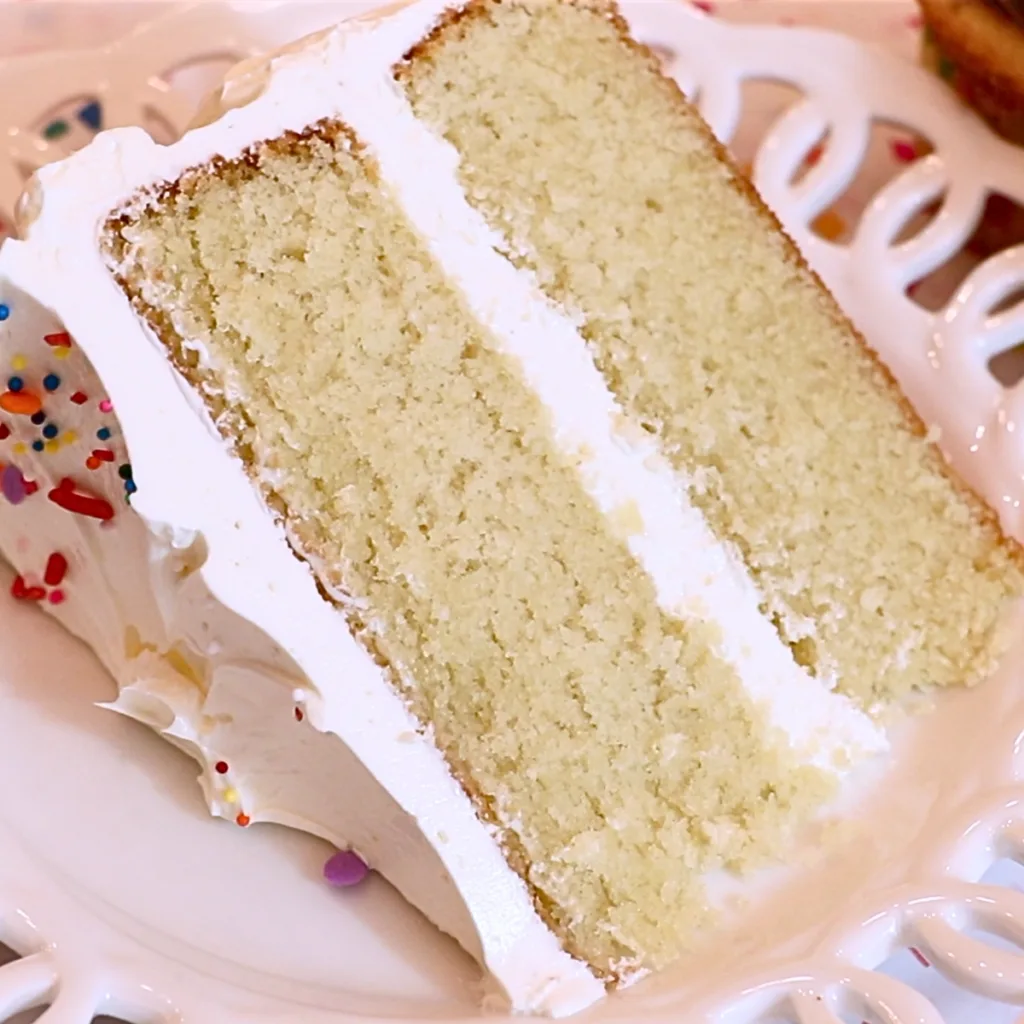
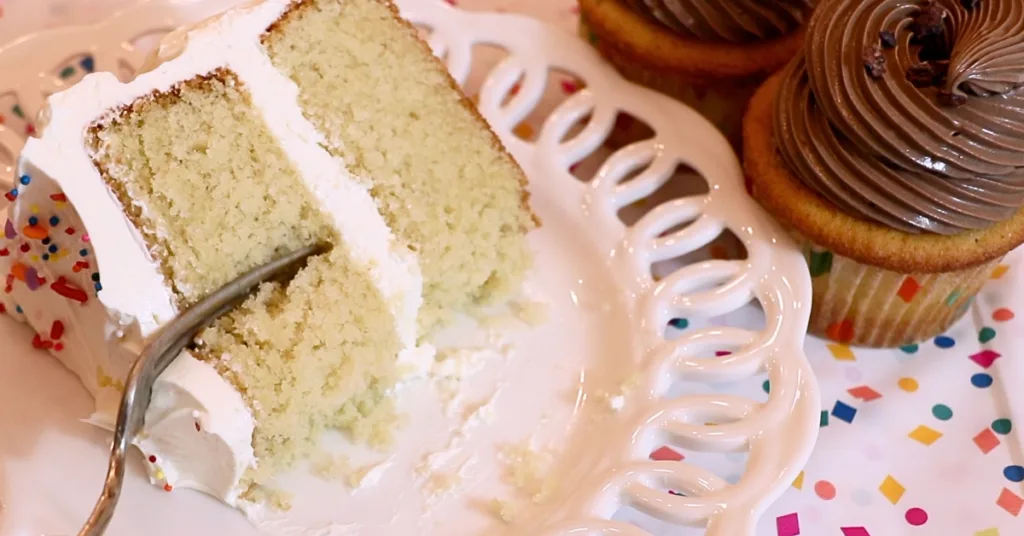
Lastly, I wanted to show the comparison of this cake with cake flour and all-purpose flour.
With cake flour, the cake tastes silkier and moister. The cake is still soft with all-purpose flour but has a crumblier texture, which may feel drier.
Although the difference is not as big as a sponge cake, I still feel classic vanilla cake tastes better with cake flour.
Use all-purpose flour instead if cake flour is not available in your country.
With cake flour:


With all-purpose flour:

📌 VIDEO: Watch How To Make It!
To learn how to make vanilla cake visually and have a deeper understanding of all, watch the video!
Don't forget to subscribe if you liked it 😉
📌 Other Classic Cake Recipes
- Fluffy Vanilla sponge cake
- Strawberry cream cake
- New York cheesecake
- Moist lemon pound cake
- Fluffy chocolate sponge cake
- Moist chocolate banana cake
📌 Printable Recipe
💬 If you loved this recipe, please share your feedback on this post! I always love hearing how you enjoyed it with your friends and family at home.
Moist Vanilla Cake
Ingredients
- 10.5 oz Granulated sugar 1 ½ US cups
- ½ teaspoon Salt
- 4 oz Unsalted butter 1 US stick
- 2 oz Oil for butter ¼ US cup
- 2 oz Oil for liquids ¼ US cup
- 12.5 oz Cake flour 3 US cups **When using all-purpose flour: 11 oz | 312 g (2 ½ US cups)**
- 2 ½ teaspoon Baking powder
- ½ teaspoon Baking soda
- 5.3 oz Egg 3 eggs
- 6.3 oz Milk ¾ US cup
- 2.1 oz Heavy cream ¼ US cup
- 2 tablespoon Vinegar
- 1 tablespoon Vanilla
Instructions
Preparation
- Apply a thin layer of butter all around the pans and attach the cake liner to the bottom. You can also attach parchment paper on the sides.
Step 1 - 5
- Whip sugar, salt, soft butter, and oil:Use soft butter so that it whips well to create a fluffier cake.It's important to whip butter well to create a softer, fluffier texture. I usually whip it for 4 - 5 minutes at high speed for one batch until it looks very fluffy.10.5 oz Granulated sugar, ½ teaspoon Salt, 4 oz Unsalted butter, 2 oz Oil for butter
- Combine flours:I recommend sifting cake flour ahead since it's much lumpier than all-purpose flour and bread flour.12.5 oz Cake flour, 2 ½ teaspoon Baking powder, ½ teaspoon Baking soda
- Mix all the wet ingredients:Mix beaten egg, the other half of the oil, milk, heavy cream, vinegar, and vanilla extract.2 oz Oil for liquids, 5.3 oz Egg, 6.3 oz Milk, 2.1 oz Heavy cream, 2 tablespoon Vinegar, 1 tablespoon Vanilla
- Add 2 and 3 to 1 and mix:The 6 steps to combine them:1. Add half of the flour and mix until it's evenly combined.2. Add half of the liquids. Mix slowly first to prevent it from scattering everywhere and gradually speed up. Mix until it gets smooth. 3. Clean up the bowl and the paddle to catch anything left.4. Add the rest of the flour. Mix well until it's evenly incorporated.5. Add the rest of the liquids. Again, mix slowly first and gradually speed up. (You can also divide it in half if it's easier.)6. Scrape off the bowl and paddle. Mix one last time to ensure everything is evenly incorporated. The batter should look nice and smooth.
- Bake:Bake at 350 F | 175 C (Preheated) for about:* 33 - 38 minutes (for 2 8-inch layers)* 17 - 18 minutes (for regular cupcakes)* 30 minutes (for 2 8-inch layers when using all-purpose flour)* 16 - 17 minutes (for cupcakes when using all-purpose flour)* Adjust the time and temperature depending on the thickness and size of the cake, oven, etc.To check if it's baked enough:1. Touch the surface: It should bounce back gently.2. Insert a toothpick: Insert it in the very center and see if it comes off clean.
Video
Notes
How to store it
To store this cake, wrap it tightly so it won't get dried. Or wrap it one time and put it in a Ziploc. You can store it in the fridge for 4 - 5 days if you are not consuming it within that day. But I recommend eating it within the day for the best taste. ** For best results, measure ingredients with a scale. All recipes are designed with weighed ingredients using grams/ounces. Cup measurements are provided for your convenience. **Nutrition
📌 Pin It!
Pin it if you love this recipe, and find so many other recipes on my Pinterest page!
💬 A Sprinkle Of Life
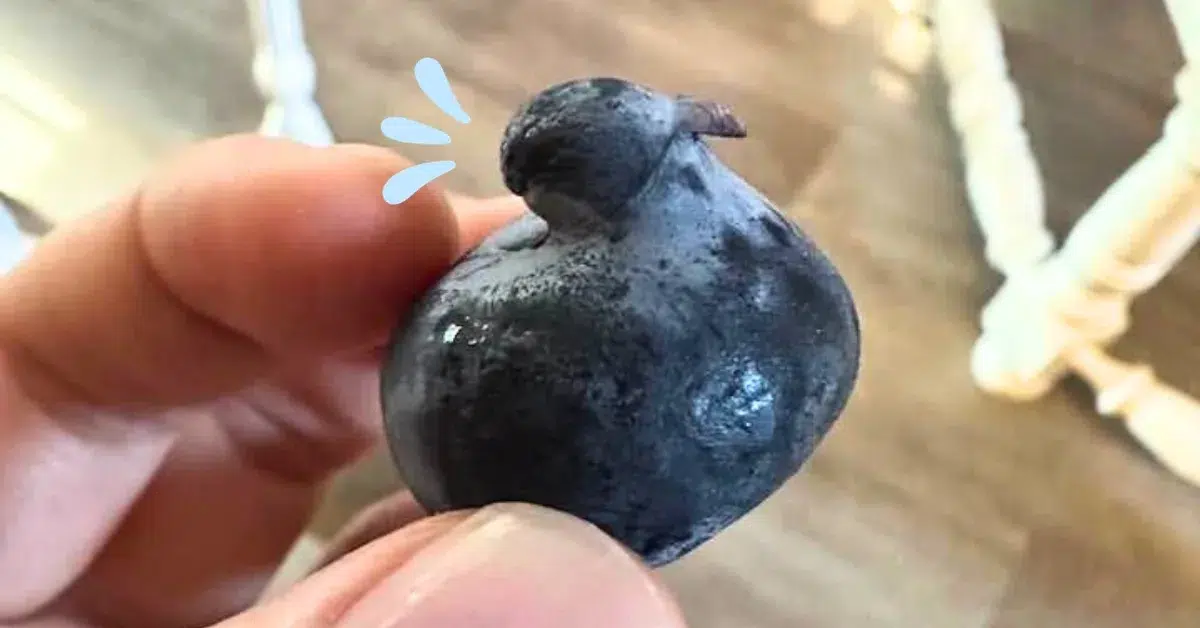
Look at this blueberry ducky! The biggest discovery of the week🔍 A lucky ducky!🐤



Leave a Reply