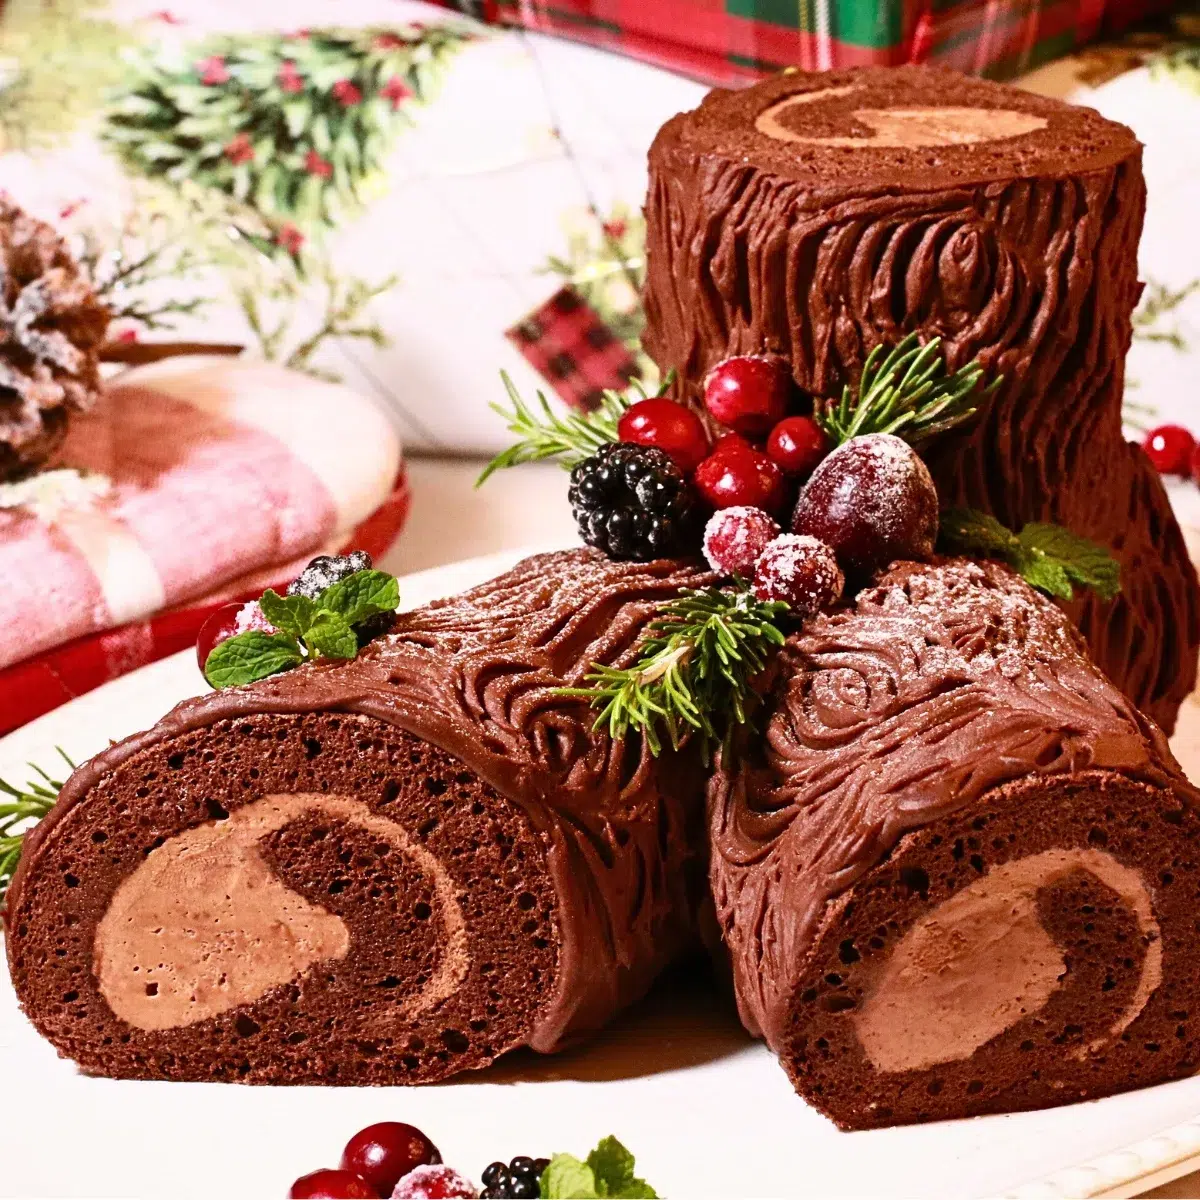
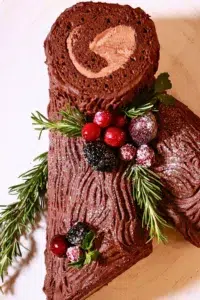
Looking for the best Yule Log recipe this year? Then look no further! This bûche de noël is so soft, moist, and rich. Share this festive cake after Christmas dinner, at a Christmas party, and more. It will surely be a big hit for your family and friends!


Jump to:
- 3 Reasons Why You'll Love This Yule Log
- What Is Yule Log?
- 9 Important Tips For Making Yule Log
- Tips For The Yule Log Ingredients
- How To Make Yule Log (Buche de Noel)
- Frequently Asked Questions
- VIDEO: Watch How To Make It!
- More Chocolate Cakes
- More Christmas Desserts
- Printable Recipe
- Fluffy & Moist Yule Log Cake (Buche De Noel)
3 Reasons Why You'll Love This Yule Log
1. Fluffy sponge cake
This chocolate sponge cake is incredibly fluffy, inspired by the Japanese sponge cake I grew up with. You can also bake this sponge cake to make a chocolate roll cake for a different occasion, such as a birthday party, or dessert after dinner.
2. Flexible texture
Compared to my basic chocolate sponge cake, this sponge cake is more elastic. I combined the techniques of making basic sponge cake and chiffon cake to create a very fluffy yet flexible texture. And it's perfect for roll cake since you can roll it without getting a lot of cracks on the surface. You also do not need to roll the cake while it's warm to curve it, as some recipes require.
My vanilla roll cake recipe is the vanilla version of this chocolate roll cake.
3. Very moist texture
The sponge cake is also very moist and keeps it moist even after a few days. Say goodbye to dry chocolate sponge cake after using this recipe!


What Is Yule Log?
Yule log is a chocolate roll cake filled with chocolate frosting, shaped like an actual log. It is a traditional French dessert made worldwide to celebrate Christmas.
In Japan, every showcase in pastry shops is filled with various strawberry shortcakes and chocolate yule logs in many shapes and colors during the Christmas season.
I remember eating Strawberry shortcake or Yule log every Christmas Eve in my childhood. Baking is about making your special day even more special to celebrate precious moments, and a yule log is just the perfect way to make it happen.
9 Important Tips For Making Yule Log
Prepare all the tools and ingredients for the sponge cake ahead.
I highly recommend finishing all the preparation beforehand to finish each step smoothly afterward.
Whip the egg whites and yolks well.
The whipped eggs play a huge role in creating a fluffy sponge cake texture. Not properly whipped eggs lead to a flatter, less fluffy sponge cake. Ensure there are no yolks, liquids, or anything other than egg whites on your tools or in your mixing bowl to ensure they whip properly.
Move quickly after adding flour to the whipped eggs.
I understand it's going to be difficult in the beginning, but try to finish the folding process as fast as you can, especially after the flour is added to the whipped eggs. Bake the cake batter in the oven immediately while the conditions are best. The longer it takes to finish, the denser and flatter your sponge cake gets.
Be careful not to overbake the sponge cake.
The overbaked sponge cake feels dry and cracks a lot more easily when rolling it.
Use thick chocolate cream filling.
Use thick chocolate whipped cream frosting as the filling so that the sponge cake can hold the log shape. The log will look flatter when using loose frosting!
Let the cake cool completely before spreading the cream.
Ensure that the cake is cooled completely before spreading the chocolate frosting on top. The frosting melts on a warm cake and gets loose!
Do not push the sponge cake too much while rolling it.
Press the chocolate sponge cake very gently when rolling it - It will crack if you add too much pressure.
Use the chocolate ganache frosting while it's not too loose or thick.
Spread it on the entire surface of the rolled cake while it's a spreadable consistency. Try not to take too much time here since the lines of a fork do not look as pretty when using a thicker ganache.
Use a hot, sharp knife to slice the cake beautifully.
Warm a serrated knife with hot water, wipe the excess water with a wet towel or kitchen towel, slice the cake, clean the knife with a towel again, and repeat the process!
Tips For The Yule Log Ingredients
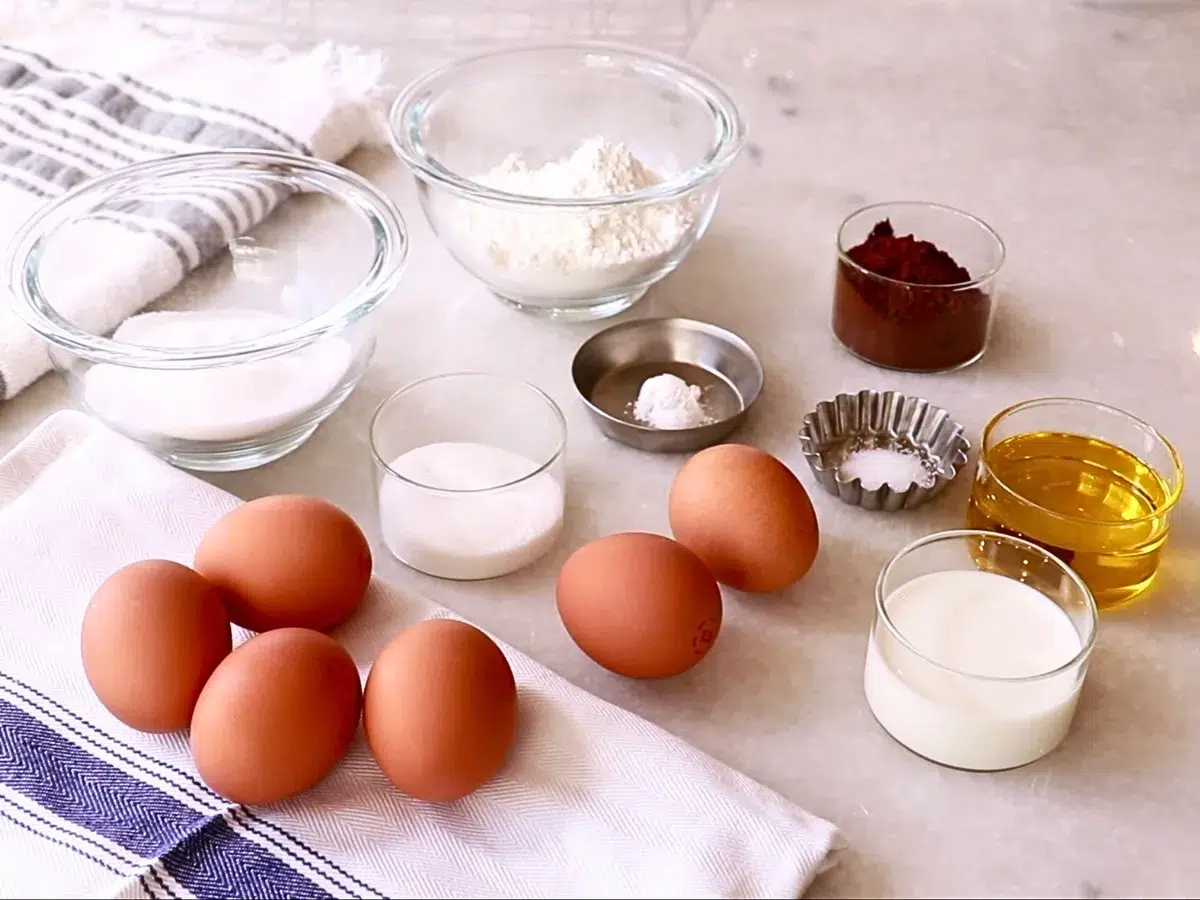
Chocolate Sponge Cake
- Egg white - Ensure there are no yolks, liquids, or anything else mixed in the egg whites. Also, ensure all the tools used are clean of anything other than egg white. This will ensure the egg whites get whipped properly (anything other than egg whites will affect the consistency!)
- Granulated sugar for egg white - Sugar helps to stabilize meringue for a longer time
- Yolks: We are whipping egg whites and yolks separately to make the sponge cake.
- Granulated sugar for yolks
- Cake flour - Use cake flour to create a soft texture.
- Baking powder - A little bit of baking powder is added to create a slightly fluffier texture since the oil in cocoa powder kills air bubbles in the whipped eggs more quickly compared to a regular plain sponge cake.
- Milk - The liquid helps to create a moist texture.
- Oil - Oil also helps to keep it moist.
- Salt - It adds depth to flavor.
- Unsweetened cocoa powder - Use dark, good-quality cocoa powder for the best result.
Cake Syrup for Sponge Cake
- Water
- Granulated sugar
You can also add alcohol, such as Grand Marnier, to make the cake taste more exceptional if kids are not consuming it.
Chocolate Whipped Cream Frosting
- Dark chocolate - Use good-quality dark chocolate for the best taste. I used 55% dark chocolate. Adjust it as you like.
- Heavy cream (warm) - It's added to make ganache first with the chocolate.
- Heavy cream (cold)

Chocolate Ganache Frosting
- Dark chocolate - I used 55% dark chocolate. Adjust it as you like. bittersweet chocolate
- Heavy cream (warm)
- Honey - Honey helps to keep the ganache smooth.

Decorations
- Fresh cranberries - Coat them with thick syrup and attach granulated sugar all over the surface to make the quick candied cranberries.
- Berries - I used blackberries this time.
- Rosemary sprigs
- Fresh mint (optional)
- Confectioners' sugar
You can also decorate a yule log with cocoa powder, chocolate shavings, meringue mushrooms, or whatever you wish!
How To Make Yule Log (Buche de Noel)
Now, let me share detailed tips on each step, which are all crucial for making a Yule log at home successfully.
1. Bake a chocolate sponge cake.
Preparation
- Line parchment paper on a half-sheet rectangular baking sheet. (12-inch x 17-inch | 30 cm x 43 cm)
- Sift cake flour and baking powder ahead with a fine sieve.
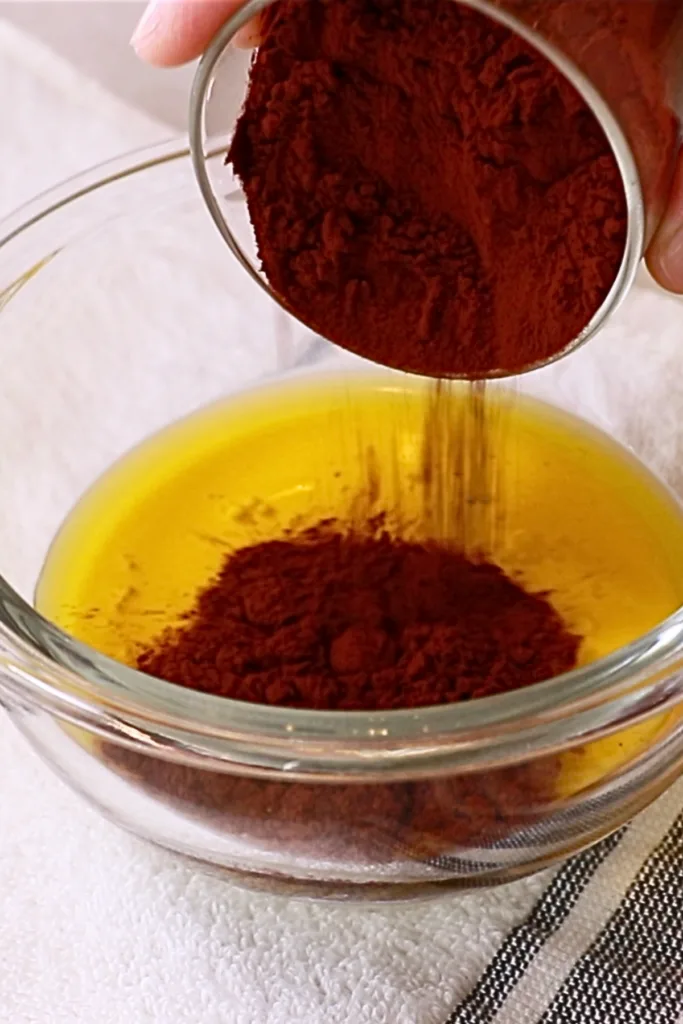
- Mix milk, oil, salt, and cocoa powder ahead of time to make the process a little bit easier, especially if this is your first time making it. (You can do it later while whipping the meringue once you start getting used to the process.) In the beginning, it will look separated, but don't worry; continue mixing until it looks nice and smooth. Set it aside.
- Preheat the oven to 355ºF (180ºC).

Whip egg yolks.
- Whip eggs and granulated sugar in a large bowl at high speed with a whisk attachment until fluffy and pale in color.


You can whip the yolks and egg whites at the same time if you have a hand mixer and a stand mixer.
- Whip egg whites - Whip egg whites in a bowl of a stand mixer at medium speed. Add about half of the sugar when the meringue looks bubbly, like hand soap. Add the rest of the sugar when it looks fluffier, like fluffy shampoo. Once it is soft peaks, lower it at low speed for a few minutes to make the bubbles smaller and create a silkier meringue.
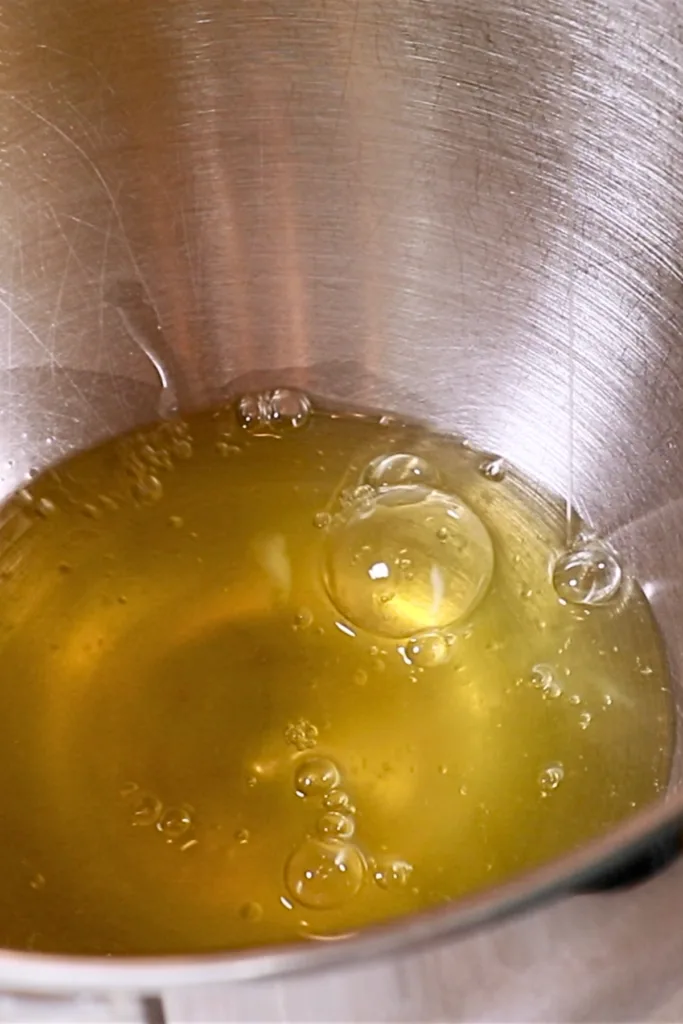
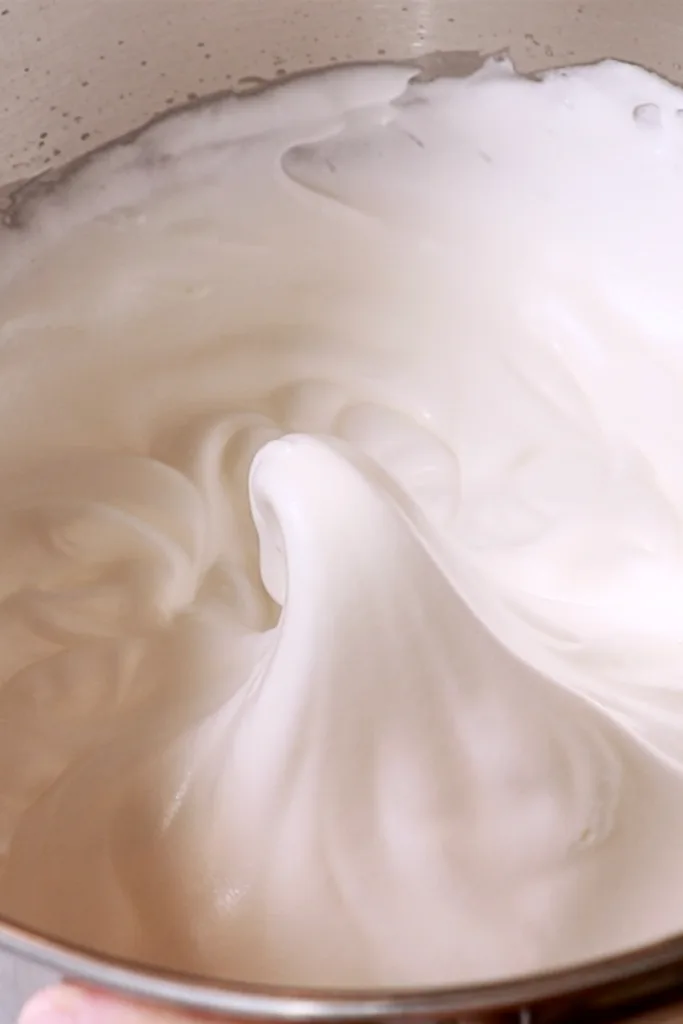
How do I check if the meringue is whipped enough?
Mix it with a whisk, and lift it - It is ready when the tip curls up.
- Combine the yolks and meringue - Add the meringue to the yolks immediately after it's made and start folding. Fold until about 50% is blended.
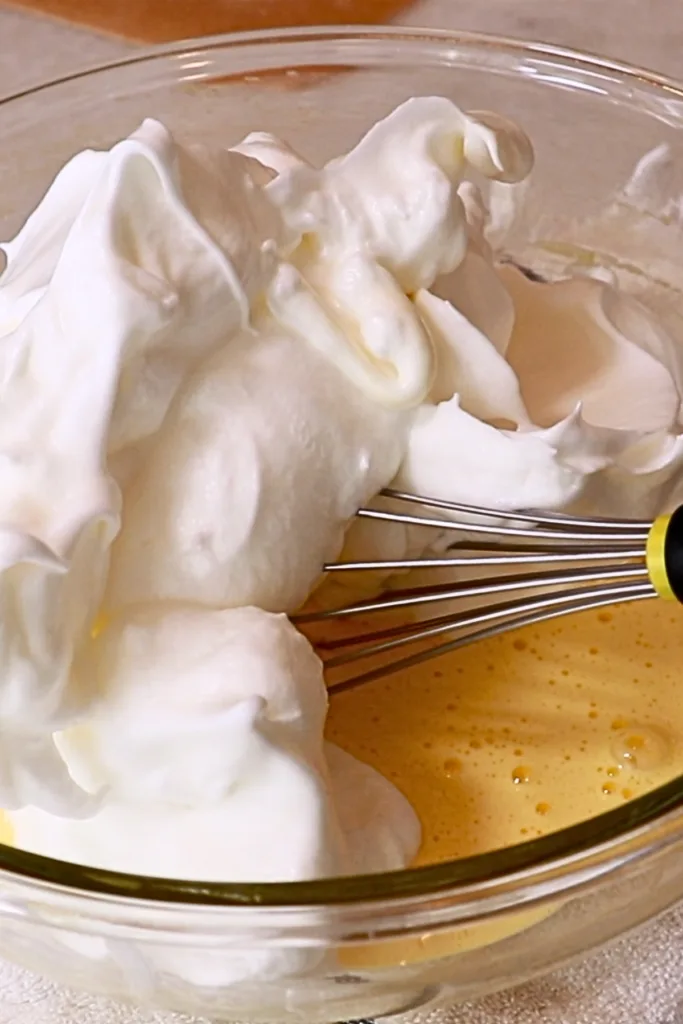
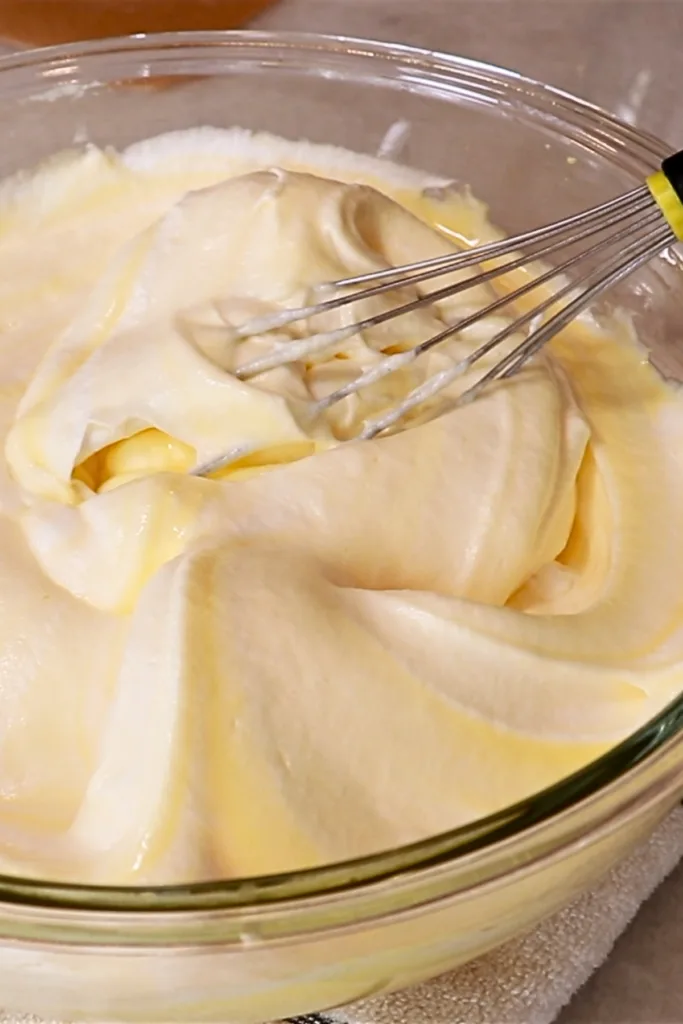
When folding with a whisk, repeat the scooping motion and dropping the batter as you turn the bowl. You can also use a rubber spatula.
- Add the sifted flour. Continue folding just until you don't see any flour. (Watch the video tutorial to see the movement.)


- Add the cocoa powder mixture. Continue folding until 70 to 80% is blended.
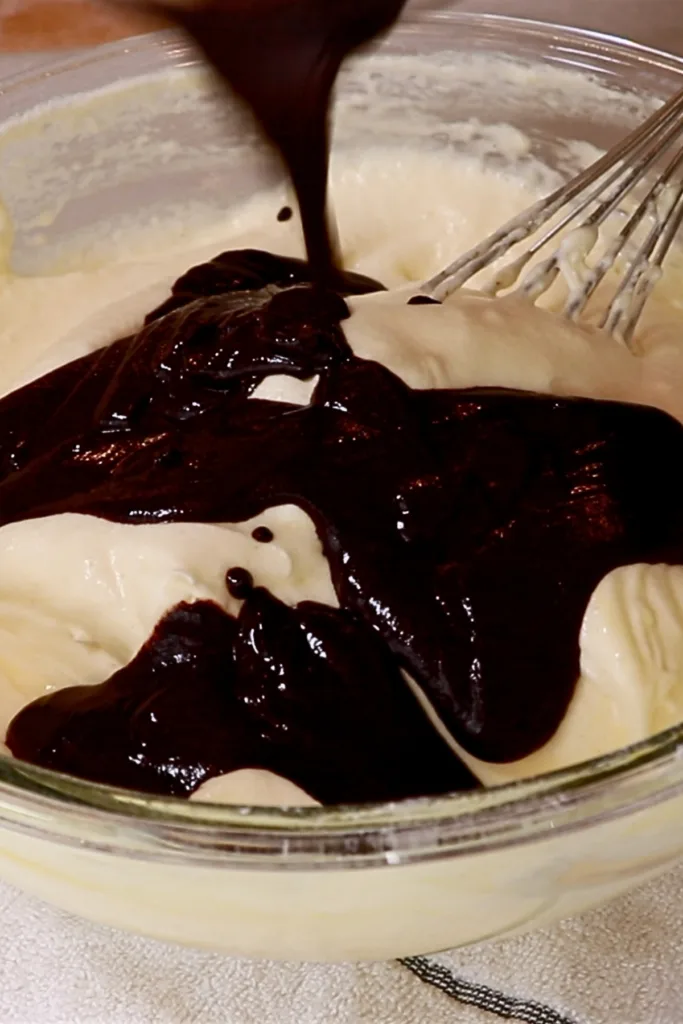
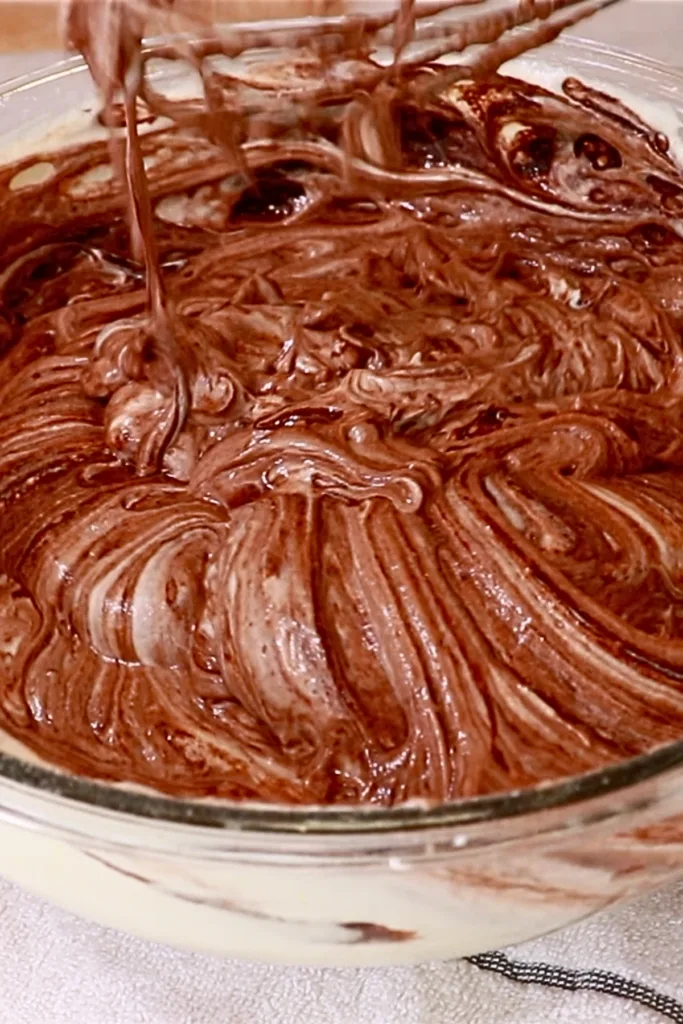
- Pour it into the baking sheet - Switch a whisk with a rubber spatula at the very end to catch everything on the side and bottom of the bowl to make an even batter. Be careful not to over-mix at this point. You can stop as soon as everything is incorporated evenly! Immediately pour the cake batter onto a prepared baking sheet and spread it with the offset spatula.


- Bake it at 355ºF (180ºC) for 8 - 10 mins until the surface bounces back gently when you touch it. Adjust the baking time according to your oven's temperature. Be careful not to overbake it to prevent it from getting dry.
- After it's baked, take it out from the baking sheet, gently transfer it onto a wire rack, and seal the surface with plastic wrap. The plastic wrap prevents the cake from getting dry and also removes the baked skin later - When the thin layer of baked skin is still attached to the sponge, the cake syrup does not get soaked easily, and it also gets mushy after it's wet.

2. Brush cake syrup over the sponge cake.
Applying cake syrup is recommended to keep the sponge cake moist for a longer time. Make cake syrup while the cake is cooling.
- Heat water and granulated sugar in the microwave until simmering hot. Mix well to dissolve sugar.
- Once the cake is cooled completely, flip it gently and remove the parchment paper.
- Place new parchment paper and flip it back.
- Hold the edges of parchment paper with the other hand and remove the plastic wrap at the fastest speed to peel off the baked skin. If you see any part that didn't come off, gently rub the surface with a serrated knife, and it should come off. Clean your knife each time. There is no need to remove all of them perfectly!
- As an option, cut one of the edges of the short end diagonally so that the end line fits a little bit better after you roll it.
- Trim the other side straight and insert four to five lines of small cuts with about a half-inch intervals so that you can curl the sponge a bit more easily.
- Apply the cake syrup all over the surface.

3. Spread the chocolate whipped cream filling.
Make the cream while the sponge is cooling down.
- Melt chocolate with a water bath.
- Add about ⅓ of the warm heavy cream and mix well until even. Clean the spatula and the bowl on the way to make an even ganache.
- Add about half and mix well.
- Add the remaining heavy cream and mix.
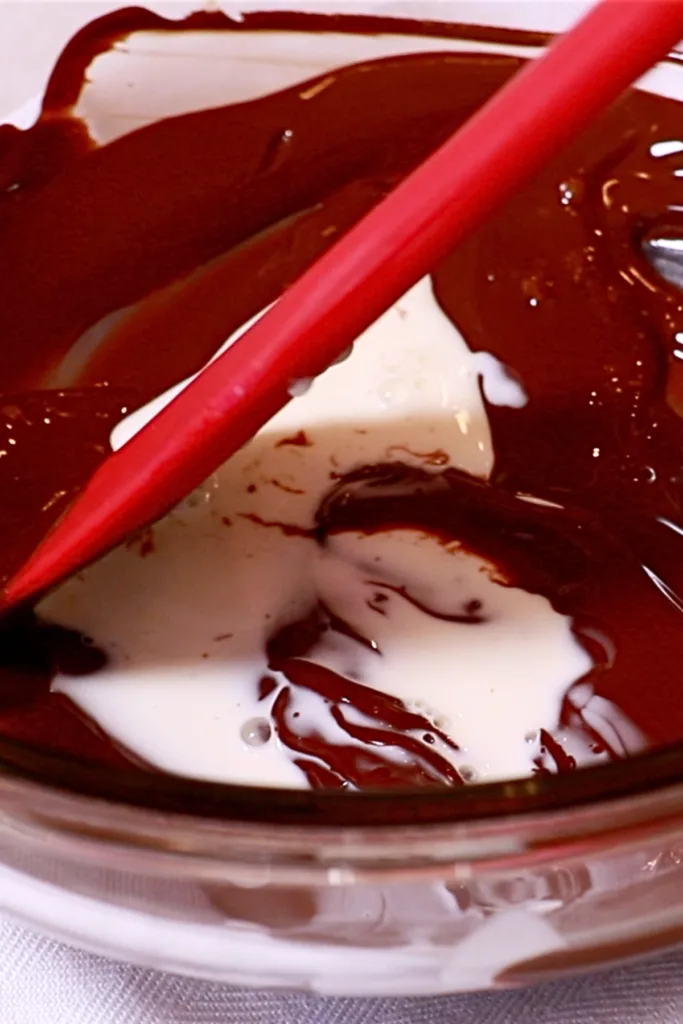
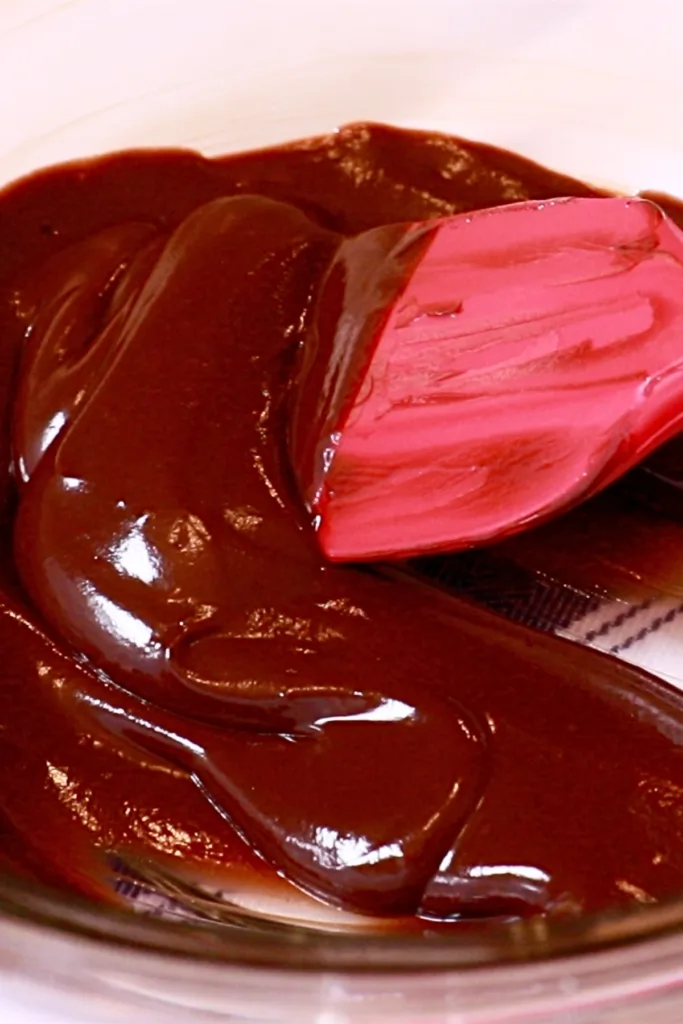
- Pour cold heavy cream into the ganache and mix, dividing it three to four times.
- Dip the bowl in icy water and whip it until fluffy and stiff so that it can hold the body of the soft chocolate sponge cake after you roll it.


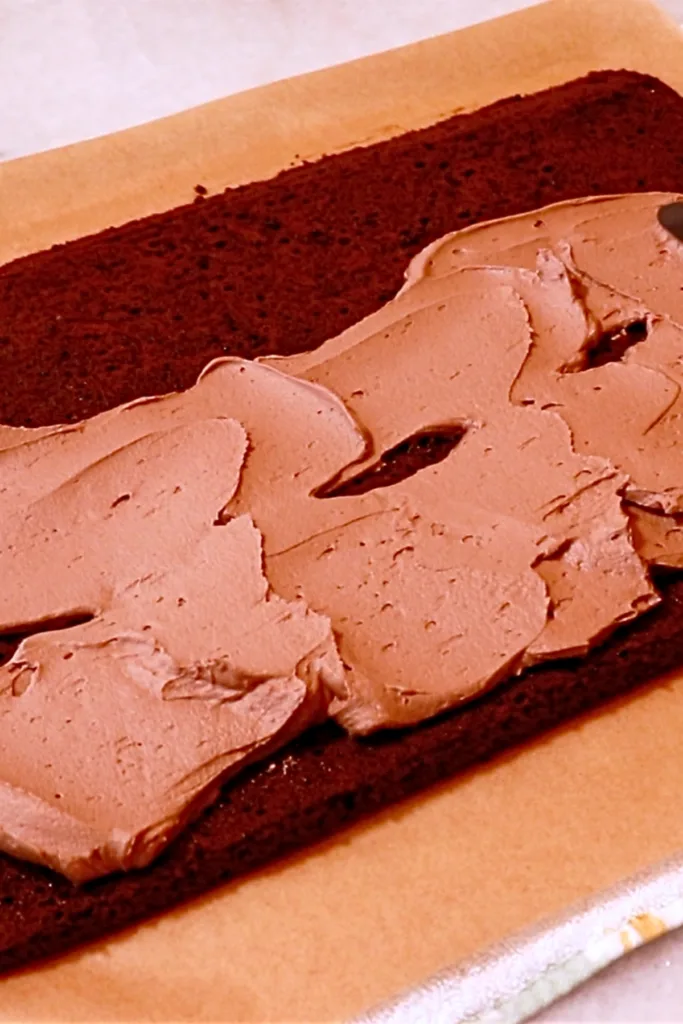
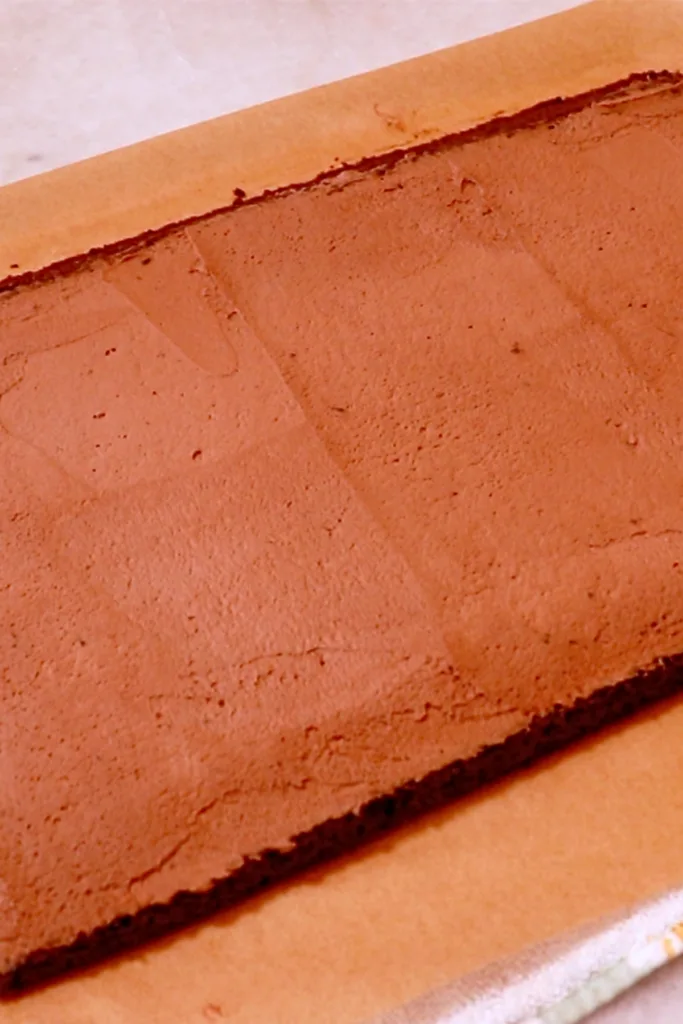
- Spread the cream on top of a cooled cake. Don't spread too much cream near the end line to prevent it from coming out after rolling it.
4. Roll the cake.
- Curl the edge of the sponge by hand. Gently push the edge inward to make the round shape.
- Once it's curled nicely, hold the parchment paper with the other hand to prevent it from sliding, and pull the parchment paper forward to finish rolling. Ensure that the edge of the sponge cake is on the very bottom.
- Fill the hollows on the edges with extra cream.
- When you feel the sponge is not rolled tight enough, tighten it up by holding the bottom parchment paper, placing your hand or cake palette on the side of the cake, and pulling it inward at the same time. (Watch the video tutorial to see it visually!)
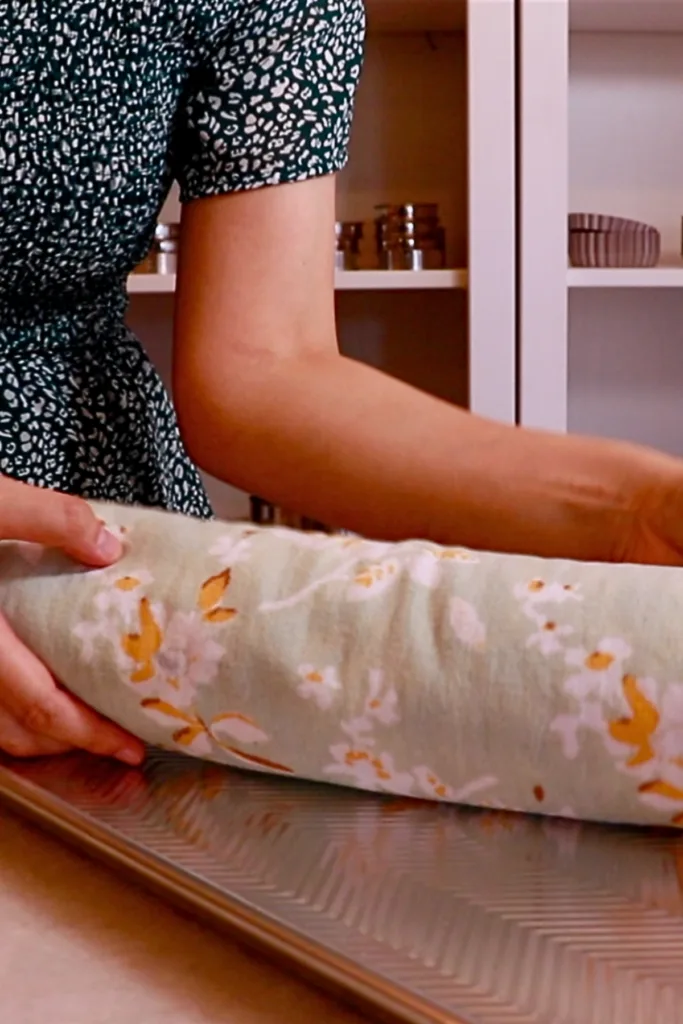
- Tape the parchment paper or wrap the cake with a towel to hold the shape.
- Chill this in the fridge for at least 1 hour to make the cream firmer. You can slice the cake more easily by doing this.

5. Make chocolate ganache.
Make the chocolate ganache while we are waiting for the rolled cake to set in the fridge.
- Melt dark chocolate with a water bath.
- Add warm heavy cream, dividing it into three to four portions. Clean up the spatula and bowl well on the way to make an even ganache.
- Add honey.


- It looks very soupy in the beginning, but don't worry; wait for about 1 hour to 1.5 hours at room temperature, and it'll slowly get firmer. (The time can vary depending on the room temperature.) Mix sometimes to make a smooth ganache. Once it gets to the spreadable consistency, use it immediately before it gets too firm!
- Slice the cake - Use a hot, sharp knife to slice the cake neatly. Warm it with hot water and wipe it each time you slice it. First, trim one of the edges. Next, cut the other side to any length you would like to get trunks. Finish slicing the cake before the ganache is thickened enough so that you can use it right after it's ready.

6. Spread the ganache and make patterns with a fork
- Apply a good amount of ganache on the side and top of the cake, and attach the sliced trunks. Fill the gaps around the bottom edge.

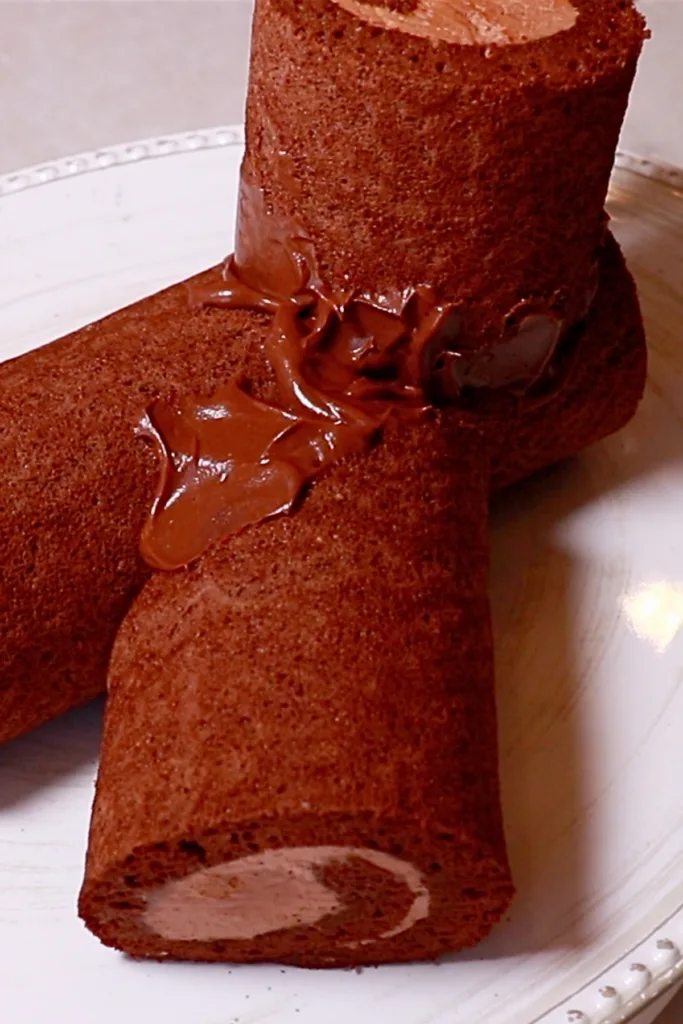
- Spread the remaining ganache all over the surface of the sponge cake. It doesn't have to look pretty at this point - just cover the entire surface. Finish this part as fast as possible before the ganache gets hardened too much.
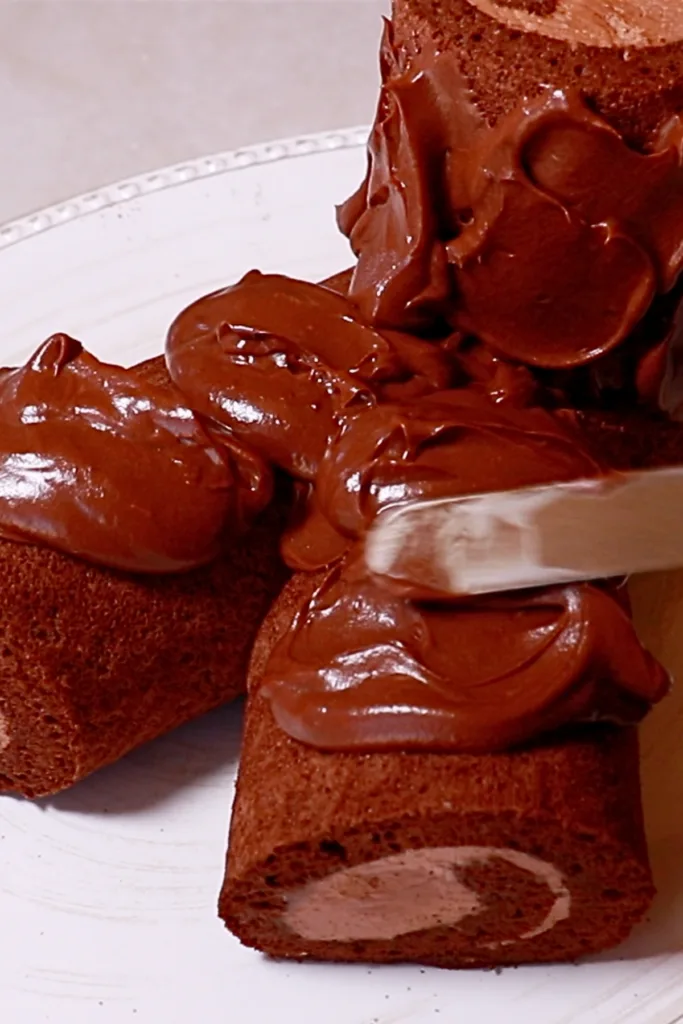

- Create patterns using a fork. This is probably the most fun part. Have fun!!

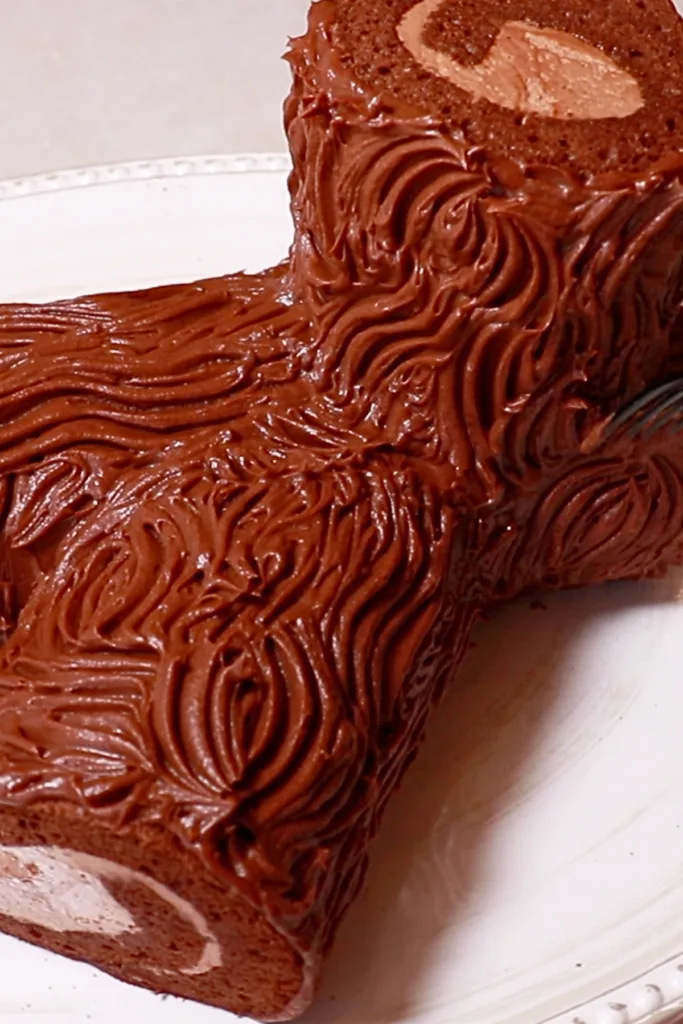
The ganache doesn't firm up too quickly as we spread it on a cake because we added a good amount of heavy cream to it. It doesn't get too firm after it's chilled either - the soft ganache goes so well with the soft chocolate sponge and melty chocolate cream inside.
7. Finish decorations.
Decorate the top of the cake with some herbs and fresh fruits. Use any ingredients of your choice!

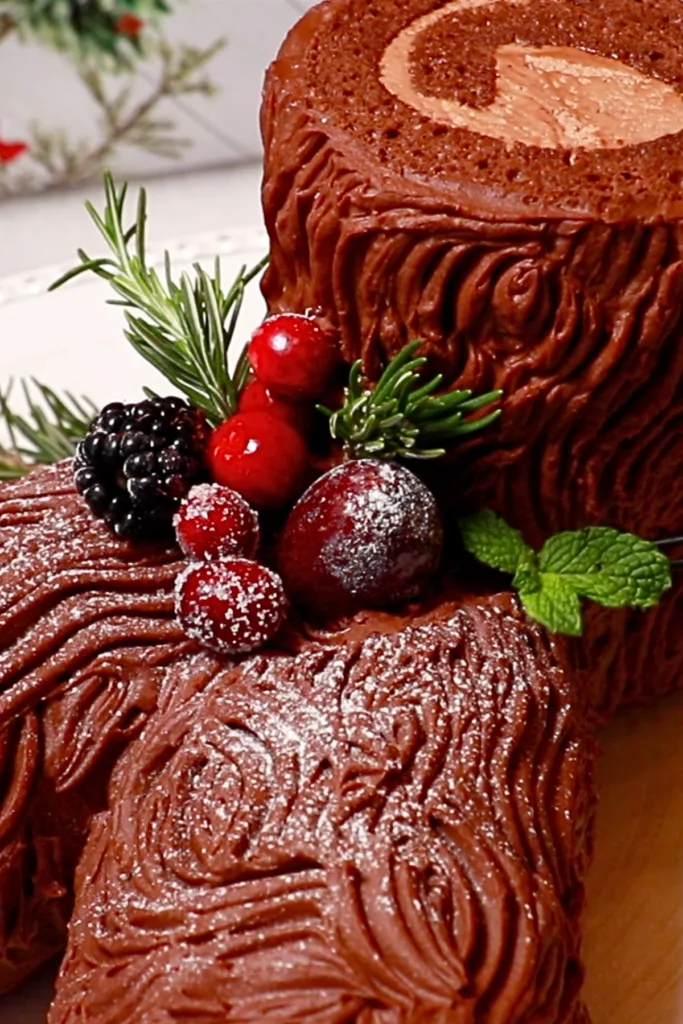
And it is complete! Merry Christmas!
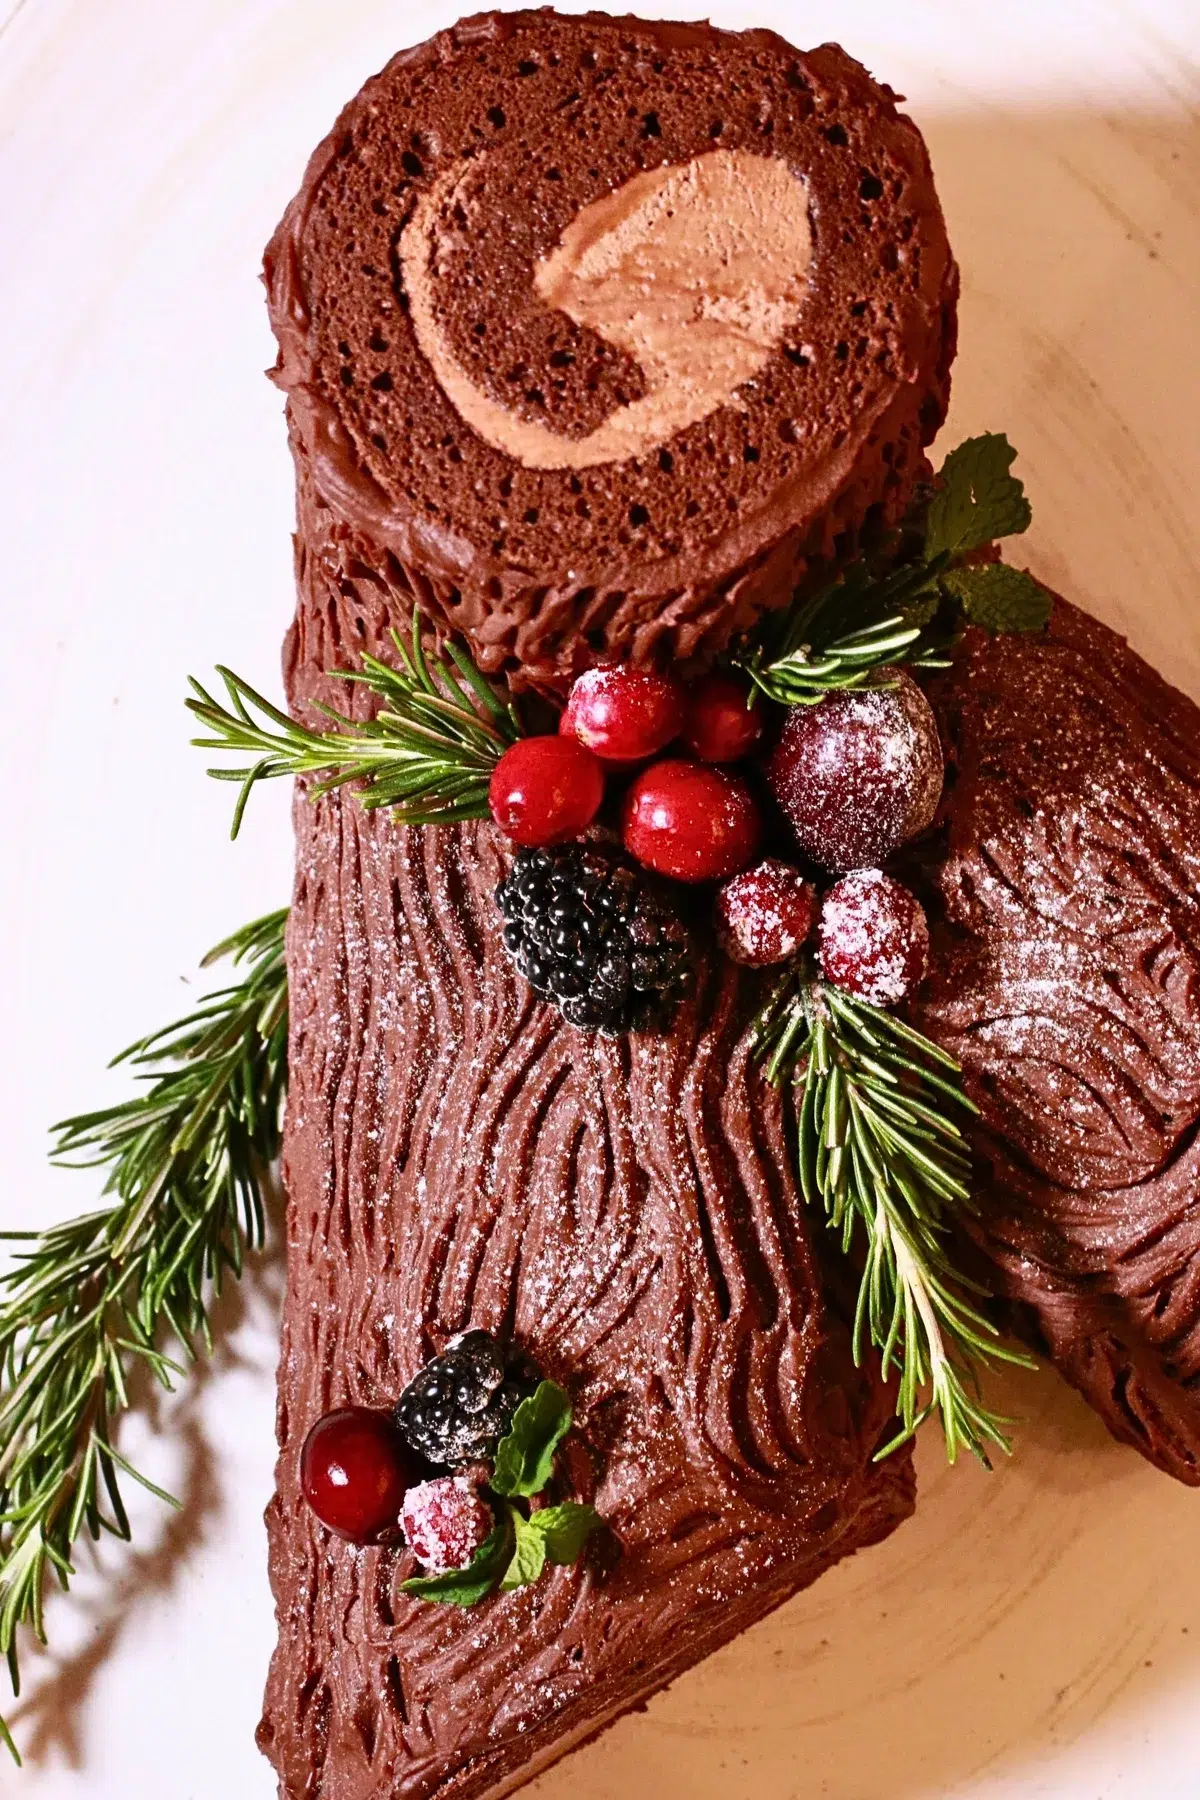

This cake is so soft and moist but still chocolatey and rich. It's my favorite buche de noel! I hope you're going to love it as much as I do. Let me know how you enjoyed it if you tried it at home!
Frequently Asked Questions
To store this cake, protect the cut sides with plastic wrap to prevent them from drying. And ideally, put that in a container or cover it with something else. You can store it in the fridge for up to 4 - 5 days.
Yes. Just know that any buttercream gets firmer in the fridge. Leave the cake at room temperature ahead of time if you want to enjoy a softer texture.
Yes. Today, I used chocolate with 55% cacao content. You can change the percentage as you like. Just note that the higher the percentage is,
the bitter and firmer the cream and ganache get. And the opposite happens when you use chocolate with less cacao content.
Warm it slightly in the microwave or a water bath and mix. It'll get looser again!
Yes, but be careful not to add it too much since it can loosen the batter, which affects the fluffiness of the cake.
VIDEO: Watch How To Make It!
Watch the video to learn how to make the yule log cake visually and have a deeper understanding of each step!
Don't forget to subscribe if you liked it 😉
More Chocolate Cakes
If you love this buche de noel recipe, also check out other delicious chocolate cake recipes!
More Christmas Desserts
Check out other Christmas dessert recipes you can try during this Holiday season!
- 10 Holiday cookies from one dough!
- Gingerbread cookies
- Slice-and-Bake Christmas cookies - Santa, Santa boots, and wreath cookies
- Slice-and-Bake Christmas cookies - Christmas Tree, Reindeer & Gift Box
- Shortbread cookies
Printable Recipe
💬 If you loved this yule log cake recipe, please share your feedback on this post! I always love hearing how you enjoyed it with your friends and family.
If you have a question about the tutorial, leave it in the comment section below, and I'll get back to you as soon as possible!

Fluffy & Moist Yule Log Cake (Buche De Noel)
Equipment
- Stand mixer with a whink attachment or hand mixer
- Parchment paper
- Sieve
- Rubber spatula
- Whisk
- Pastry brush
- Serrated knife
- Cake palette
Ingredients
Chocolate Sponge Cake
- 210 g (From 6 large eggs) Egg whites
- 100 g (½ cup) Granulated sugar
- 100 g (6 yolks) Egg yolks
- 33 g (⅙ cup) Granulated sugar for yolks
- 80 g (⅔ cup) Cake flour
- ½ teaspoon Baking powder
- 60 g (4 Tablespoons) Milk
- 60 g (4 Tablespoons) Oil
- ⅛ teaspoon Salt
- 33 g (⅓ cup) Cocoa powder
Cake Syrup
- 30 g (2 Tablespoons) Water
- 30 g (2.5 Tablespoons) Granulated sugar
Chocolate Whipped Cream Filling
- 80 g (½ cup) Dark chocolate
- 60 g (¼ cup) Heavy cream (warm)
- 180 g (¾ cup) Heavy cream (cold)
Chocolate Ganache Frosting
- 80 g (½ cup) Dark chocolate
- 160 g (⅔ cup) Heavy cream
- 10 g (½ Tablespoon) Honey
Decorations
- Some (Some) Fresh fruits, such as cranberries
- Some (Some) Herbs, such as rosemarries
NOTE: For best results, measure ingredients with a scale. All recipes are designed with weighed ingredients using grams/ounces. Cup measurements (US customary units) are provided for your convenience.
Instructions
Bake chocolate sponge cake.
- PreparationLine parchment paper on a half-sheet rectangle baking sheet. (12-inch x 17-inch | 30 cm x 43 cm)Sift cake flour and baking powder ahead with a fine sieve.Mix milk, oil, salt, and cocoa powder ahead of time to make the process a little bit easier, especially if this is your first time making it. (You can do it later while whipping the meringue once you start getting used to the process.) In the beginning, it will look separated, but don't worry; continue mixing until it looks nice and smooth. Set it aside.Preheat the oven to 355ºF (180ºC).60 g Milk, 60 g Oil, 33 g Cocoa powder, ⅛ teaspoon Salt
- Whip egg yolks - Whip eggs and granulated sugar in a large bowl at high speed with a whisk attachment until fluffy and pale in color.You can whip the yolks and egg whites at the same time if you have a hand mixer and stand mixer.100 g Egg yolks, 33 g Granulated sugar for yolks
- Whip egg whites - Whip egg whites in a bowl of a stand mixer at medium speed. Add about half of the sugar when the meringue looks bubbly, like hand soap. Add the rest of the sugar when it looks fluffier, like fluffy shampoo. Once it is soft peaks, lower it at low speed for a few minutes to make the bubble smaller and create a silkier meringue. Mix it with a whisk, and lift it - It is ready when the tip curls up, like in the image below.210 g Egg whites, 100 g Granulated sugar, 100 g Egg yolks, 33 g Granulated sugar for yolks, 80 g Cake flour, ½ teaspoon Baking powder, 60 g Milk, 60 g Oil, ⅛ teaspoon Salt, 33 g Cocoa powder

- Combine the yolks and meringue - Add the meringue to the yolk immediately after it's made and start folding. Fold until about 50% is blended.When you are folding with a whisk, repeat scooping the batter and dropping it as you turn the bowl. You can also use a rubber spatula.
- Add the sifted flour - Continue folding just until you don't see any flour. (Watch the video tutorial to see the movement.)
- Add cocoa powder liquids - Continue folding until 70 to 80% is blended.Switch a whisk with a rubber spatula at the very end to catch everything on the side and bottom of a bowl to make an even batter. Be careful not to over-mix at this point. you can stop as soon as everything is incorporated evenly!
- Pour it into the baking sheet - Immediately pour the cake batter onto a prepared baking sheet and spread it with the offset spatula. Toss sometimes to eliminate some big air bubbles.
- Bake the sponge cake at 355ºF (180ºC) for 8 - 10 mins until the surface bounces back gently when you touch it. Adjust the baking time depending on the oven. Be careful not to overbake it to prevent it from getting dry.After it's baked, take it out from the baking sheet, gently transfer it onto a wire rack, and seal the surface with plastic wrap. The plastic wrap prevents the cake from getting dry and also removes the baked skin later - When the thin layer of baked skin is still attached to the sponge, the cake syrup does not get soaked easily, and it also gets mushy after it's wet.
Brush cake syrup over sponge cake.
- Applying cake syrup is recommended to keep the sponge cake moist for a longer time. Make cake syrup while the cake is cooling.1. Heat water and granulated sugar in the microwave until simmering hot. Mix well to dissolve sugar.2. Once the cake is cooled completely, flip it gently and remove the parchment paper.3. Place new parchment paper and flip it back.4. Hold the edges of parchment paper with the other hand and remove the plastic wrap at very fast speed to peel off the baked skin. If you see any part that didn't come off, gently rub the surface with a serrated knife, and it should come off. Clean your knife each time. There is no need to remove all of them perfectly!5. As an option, cut one of the edges of the short end diagonally so that the end line fits a little bit better after you roll it.6. Trim the other side straight and insert four to five lines of small cuts with about half-inch intervals so that you can curl the sponge a bit more easily. 7. Apply the cake syrup all over the surface.30 g Water, 30 g Granulated sugar

Spread chocolate whipped cream filling.
- Make the cream while the sponge is cooling down.1. Melt chocolate with a water bath. 2. Add ⅓ of the warm heavy cream and mix well until even. Clean the spatula and the bowl on the way to make an even ganache.3. Add half of the cream and mix well. 4. Add the remaining heavy cream and mix. 5. Pour cold heavy cream into the ganache and mix, dividing it three to four times.6. Dip the bowl in icy water and whip it until fluffy and stiff so that it can hold the body of the soft chocolate sponge cake after rolling it.7. Spread the cream on top of a cooled cake. Don't spread too much cream near the end line to prevent it from coming out after rolling it.80 g Dark chocolate, 60 g Heavy cream (warm), 180 g Heavy cream (cold)

Roll the cake.
- 1. Curl the edge of the sponge by hand. Gently push the edge inward to make the round shape.2. Once it's curled nicely, hold the parchment paper on the ground to prevent it from sliding, and pull the top parchment paper forward with the other hand to finish rolling. Ensure that the edge of the sponge cake is on the very bottom.3. Fill the hollows on the edges with extra cream.4. When you feel the sponge is not rolled tight enough, tighten it up by holding the bottom parchment paper, placing your hand or cake palette on the side of the cake, and pulling it inward at the same time. (Watch the video tutorial to see it visually!)5. Tape the parchment paper or wrap the cake with a towel to hold the shape.6. Chill this in the fridge for at least 1 hour to make the cream firmer. You can slice the cake more easily by doing this.
Make chocolate ganache.
- Make the chocolate ganache while waiting for the rolled cake to set in the fridge.1. Melt dark chocolate with a water bath. 2. Add warm heavy cream, dividing it three to four times. Clean up the spatula and bowl well on the way to make an even ganache. 3. Add honey. 4. It looks very soupy initially, but don't worry; wait for about 1 hour to 1.5 hours at room temperature, and it'll slowly get firmer. (The time can vary depending on the room temperature.) Mix sometimes to make a smooth ganache. Once it gets to the spreadable consistency, use it immediately before it gets too firm!5. Slice the cake - Use a hot, sharp knife to slice the cake neatly. Warm it with hot water and wipe it each time you slice it. First, trim one of the edges. Next, cut the other side to any length you would like to get 2 trunks. Finish slicing the cake before the ganache is thickened enough so that you can use it right after it's ready.80 g Dark chocolate, 160 g Heavy cream, 10 g Honey

Spread the ganache and make patterns with a fork.
- 1. Apply a good amount of ganache on top of the cake and attach the cut trunks. Fill the gaps around the bottom edge. 2. Spread the remaining ganache all over the entire surface. It doesn't have to look pretty at this point - Finish this part as fast as possible before the ganache gets hardened too much. 3. Create patterns using a fork.
Finish decorations.
- Decorate the top of the cake with some herbs and fresh fruits. Use any ingredients of your choice!Some Fresh fruits, such as cranberries, Some Herbs, such as rosemarries

Video






Namrata says
Can I skip oil? or is there any substitute?
ayacaliva says
Hi! I recommend using it to make it feel a bit more moist. When you don't use it, you might want to increase the amount of the milk a little bit. I would not add butter for this recipe since it makes the texture denser. Hope that helps a bit!
Namrata says
Made it using oil itself, I am amazed how light and fluffy it turned out to be, also I did not have any taste of the oil. Best sponge ever, thank you.
Yvonne Lim says
Took me almost the whole day. But it was worth it. Very yummy sponge! Thank you! Merry Xmas and a Happy New Year!
ayacaliva says
Thank you! I'm glad it was a success! Merry Christmas and A Happy New Year to you too.
Nisreen Takulla-Khalil says
Hi,
Can I make this 2 days in advance?
ayacaliva says
Hi! Yes you can, the roll cake should feel slightly sweeter and richer in 2 days.